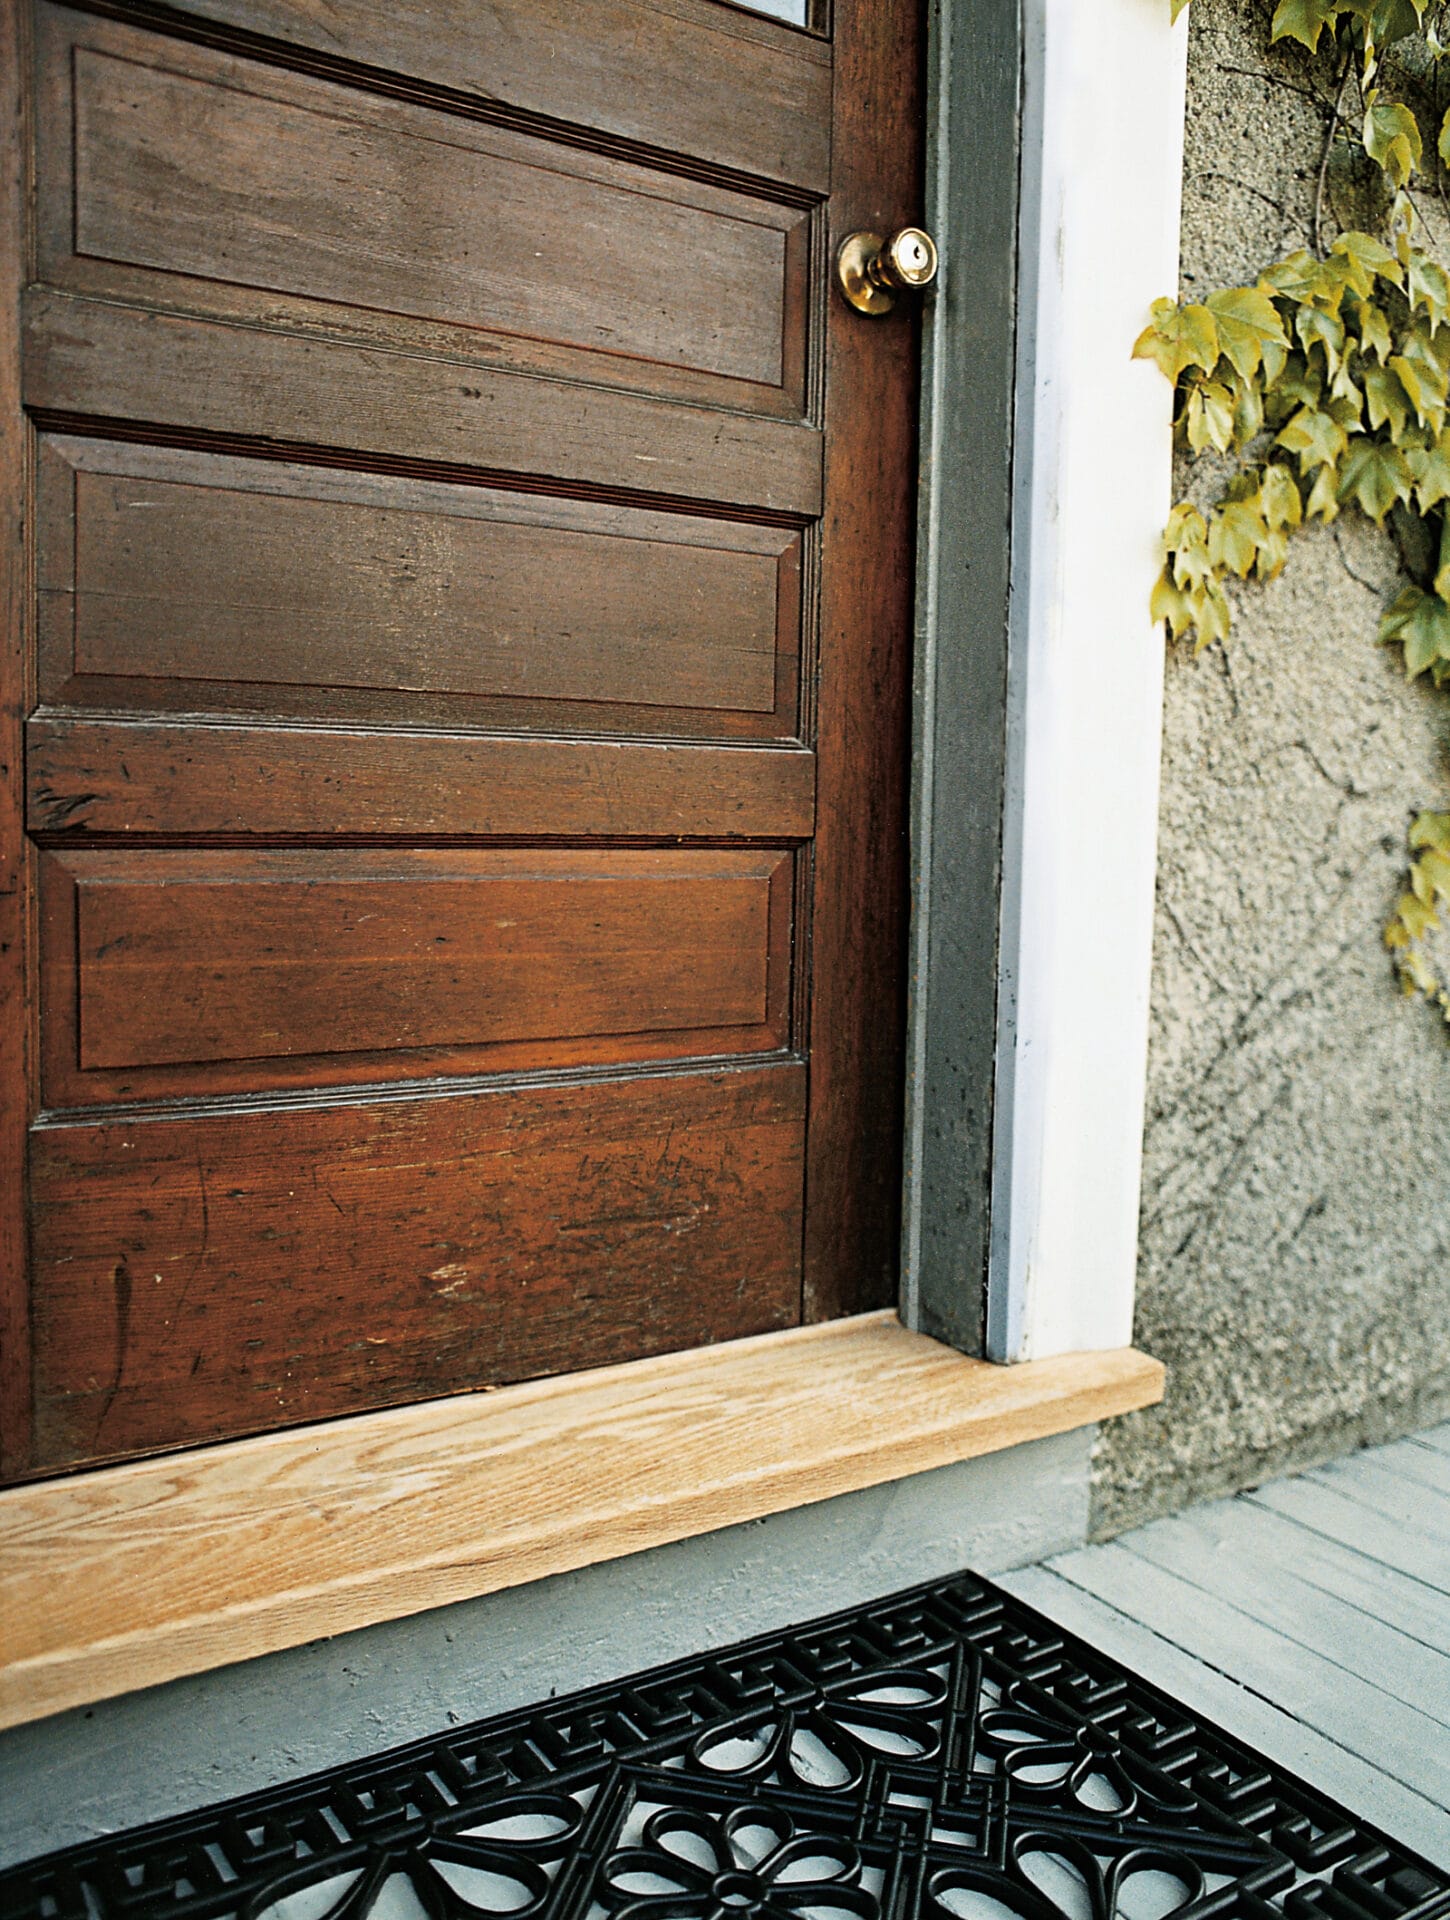
A worn-out door threshold is one of those small home problems that acts bigger than it looks. One day it is just a scuffed strip under the door. The next day, it is inviting drafts, rainwater, dust, bugs, and mysterious crunchy debris into your entryway like it owns the place. The good news? Learning how to replace a door threshold is a manageable DIY project for many homeowners, especially if the door frame and subfloor are still solid.
A threshold sits at the bottom of a doorway and helps create a tight seal between the door and the floor. On an exterior door, it also helps shed water, reduce air leaks, support weatherstripping, and protect the transition between indoors and outdoors. Interior thresholds are usually simpler, often serving as trim between two flooring types. Exterior thresholds, however, deserve extra attention because they deal with weather, temperature changes, and foot traffic from humans, pets, delivery drivers, and that one neighbor who always “just stops by.”
This guide walks you through how to replace a door threshold in 9 steps, including measuring, removing the old threshold, cutting the new one, sealing it properly, and testing the final fit. You do not need to be a professional carpenter, but you do need patience, accurate measurements, and the courage to use a pry bar without turning your entryway into modern art.
What Is a Door Threshold?
A door threshold is the horizontal piece installed at the bottom of a door opening. It can be made from wood, aluminum, vinyl, composite material, or a combination of materials. Many exterior thresholds include a rubber or vinyl insert that presses against the bottom of the door or door sweep to block drafts and moisture.
It is easy to confuse a threshold with a sill. The sill is usually the structural base beneath the door frame, while the threshold is the visible piece you step over. In many modern exterior door systems, these parts may be integrated, but for many replacement projects, you are replacing only the threshold or the adjustable cap, not rebuilding the entire door sill.
Signs You Need to Replace a Door Threshold
You may need a threshold replacement if you notice daylight under the door, drafts near the floor, water stains inside the entry, cracked wood, loose screws, gaps at the corners, or a door sweep that no longer touches the threshold evenly. If the threshold rocks when you step on it, the fasteners may be loose or the material underneath may be damaged.
Rot is the big warning sign. If the wood below the threshold is soft, spongy, dark, or crumbling, replacing only the threshold will not solve the problem. In that case, you may need sill repair, subfloor repair, or a full exterior door frame replacement. A new threshold on rotten framing is like putting a fresh welcome mat over a pothole: optimistic, but not effective.
Tools and Materials You Will Need
Tools
- Tape measure
- Pencil or marker
- Utility knife
- Pry bar
- Hammer
- Screwdriver or drill
- Oscillating multi-tool, handsaw, jigsaw, or hacksaw
- Chisel
- Caulk gun
- Safety glasses and work gloves
- Vacuum or shop vac
Materials
- Replacement door threshold
- Exterior-grade screws
- Exterior-grade silicone, polyurethane, or elastomeric sealant
- Wood filler or epoxy filler if minor repairs are needed
- Primer or wood preservative for exposed wood
- Replacement door sweep or weatherstripping if needed
- Painter’s tape for cleaner caulk lines
How to Replace a Door Threshold in 9 Steps
Step 1: Inspect the Door, Frame, and Existing Threshold
Before buying anything, inspect the current threshold carefully. Open and close the door several times. Look at where the bottom of the door meets the threshold. Check whether the door rubs, leaves gaps, or closes too tightly. If you can see daylight beneath the door, the threshold may be too low, damaged, or missing a proper seal.
Press along the threshold and the wood around it. If anything feels soft or moves under pressure, investigate further. A threshold replacement works best when the surrounding frame is solid. Also check the corners where the threshold meets the jambs. These are common spots for water leaks because they depend on good sealant and tight contact.
If the door itself is sagging, fix that first. Tighten hinge screws, check the latch alignment, and make sure the slab sits square in the frame. Replacing a threshold under a crooked door can lead to a poor seal, even if your new threshold is installed perfectly.
Step 2: Measure the Old Threshold
Measure the length, width, and height of the existing threshold. Measure from jamb to jamb and note whether the ends are notched around door stops. If possible, remove a small piece of weatherstripping or take photos before shopping. Threshold profiles vary, and matching the old shape saves a lot of trimming.
For exterior doors, measure the door thickness and the gap under the door. Many residential entry doors are 1 3/4 inches thick, but never assume. Adjustable thresholds are helpful when the gap is uneven or when you need fine tuning after installation. Aluminum thresholds with vinyl inserts are common because they resist wear and provide a good weather seal. Wood thresholds look classic, especially with older homes, but they require more maintenance and sealing.
Buy a replacement threshold that is slightly longer than the opening. It is easier to trim a threshold down than to stretch one that is too short. Home improvement stores typically sell thresholds in common lengths such as 36 inches, but wider doors, double doors, and older homes may need longer or custom options.
Step 3: Remove the Door Sweep and Weatherstripping if Needed
If the door has a bottom sweep that blocks access to the threshold, remove it before starting. Some sweeps are screwed to the face of the door. Others slide into a channel or wrap around the bottom edge. Keep the screws if they are still in good condition, but plan to replace rusty or stripped hardware.
Remove any weatherstripping attached directly to the threshold. If the weatherstripping is cracked, brittle, flattened, or missing chunks, replace it along with the threshold. A new threshold paired with old, tired weatherstripping is like buying new running shoes and keeping the socks from a swamp hike.
Step 4: Cut the Seal and Remove Fasteners
Use a utility knife to cut through old caulk or paint along the edges of the threshold. This helps prevent damage to the door jamb, flooring, or trim when you pry the threshold loose. Work slowly, especially around painted surfaces.
Next, remove visible screws or nails. Some thresholds have screws hidden under a vinyl insert, rubber gasket, or decorative cap. Pull the insert out carefully to expose the fasteners. If the screws are corroded, use penetrating oil, a screw extractor, or an oscillating tool to cut stubborn hardware.
Do not yank the threshold upward before confirming how it is attached. Many thresholds are tucked under the door stops or jambs. Forcing it out can split trim or damage the frame, and then your “simple Saturday project” becomes a “why is there a hole in the house?” situation.
Step 5: Pry Out the Old Threshold
Slide a pry bar under one end of the threshold and gently work it loose. Use a scrap block of wood under the pry bar to protect the floor or sill. If the threshold refuses to move, check again for hidden nails, screws, adhesive, or caulk.
For wood thresholds, you may need to cut the old piece in half with an oscillating tool or handsaw, then remove it in sections. This is often easier and safer than trying to pry out one long, stubborn piece. For aluminum thresholds, a hacksaw or multi-tool can help cut the metal if needed.
Once removed, keep the old threshold intact if possible. It can serve as a template for marking notches and angles on the new threshold. Even if it looks ugly enough to scare a raccoon, it still contains useful measurements.
Step 6: Clean and Repair the Opening
Vacuum the area thoroughly. Remove old caulk, adhesive, dirt, splinters, and loose paint. A clean surface helps sealant bond properly and allows the new threshold to sit flat. Use a chisel or scraper to remove hardened debris.
Inspect the sill and subfloor. If there is minor surface damage, fill it with exterior-grade wood filler or epoxy filler and let it cure according to the product instructions. If there is rot, stop and repair the damaged wood before moving forward. Exterior thresholds need a solid base because they handle both foot traffic and water management.
If you expose bare wood, apply primer, wood preservative, or an appropriate sealer before installing the new threshold. This helps protect the material from future moisture. Let it dry fully before applying caulk or setting the threshold.
Step 7: Mark and Cut the New Threshold
Place the old threshold on top of the new one and trace the ends, including any notches around the door jambs or stops. If the old threshold broke during removal, measure the opening directly and transfer those measurements to the new piece.
Cut carefully. Use a hacksaw for aluminum, a handsaw or jigsaw for wood, and an oscillating tool for detailed notches. Cut slightly outside your line, then trim gradually for a snug fit. You want the threshold to fit tightly between the jambs without forcing it so hard that it bows or damages the frame.
Dry-fit the new threshold before adding sealant. Close the door and check the gap. If the door rubs, the threshold may be too high. If there is still daylight, the threshold may be too low, the sweep may need adjustment, or the door may be out of square. For adjustable thresholds, make sure the adjustment screws are accessible and functioning.
Step 8: Apply Sealant and Fasten the Threshold
Once the dry fit looks good, remove the threshold and apply exterior-grade sealant. Run continuous beads where the threshold will contact the sill or floor. Also seal the ends where the threshold meets the jambs. The goal is to block water and air from sneaking underneath or around the threshold.
Set the threshold in place and press it firmly into the sealant. Check that it is centered and properly aligned under the door. Drill pilot holes if the threshold does not already have them, especially when fastening into wood or masonry. Use exterior-grade screws long enough to hold securely without splitting the material.
If installing over concrete, use appropriate masonry anchors. If fastening into wood, avoid overdriving screws. The threshold should be secure, not crushed. Wipe away excess sealant before it skins over. For a clean finish, use painter’s tape along the edges before caulking, then remove the tape while the sealant is still wet.
Step 9: Test the Door and Adjust the Seal
Close the door and inspect the bottom seal. The door should close smoothly without slamming, scraping, or needing a shoulder check worthy of a football highlight reel. Look for daylight from inside. If you see a line of light, adjust the threshold if possible or install a new door sweep.
For adjustable thresholds, turn the adjustment screws gradually. Raising the threshold can improve contact with the door sweep, but raising it too high can make the door hard to close. Aim for a firm, even seal across the width of the door.
Finally, caulk the exterior edges and corners as needed. Pay special attention to the sill-jamb joints, where water often finds a path inside. Allow the sealant to cure fully before heavy use or exposure to rain if the product instructions recommend it.
Common Mistakes to Avoid
Buying the Wrong Threshold Profile
Thresholds are not one-size-fits-all. A low-profile aluminum threshold, an adjustable threshold, a saddle threshold, and a wood threshold may all look similar in the aisle, but they perform differently. Match the old profile as closely as possible unless you are intentionally upgrading the door seal.
Skipping the Dry Fit
Always test the new threshold before caulking. Sealant has a magical way of making mistakes messier. A dry fit lets you spot rubbing, gaps, crooked cuts, or alignment problems before things get sticky.
Ignoring Rot
If the sill or subfloor is rotten, do not hide it under a new threshold. Moisture damage will continue spreading, and the new threshold may fail quickly. Repair the structure first, then install the replacement threshold.
Using Interior Caulk Outside
Use exterior-rated sealant that can handle temperature changes, moisture, and movement. Silicone, polyurethane, or elastomeric sealants are common choices for exterior door projects. Interior painter’s caulk is not built for this job.
Should You Replace the Threshold or the Whole Door Unit?
A threshold replacement is usually enough when the door frame is square, the sill is solid, and the problem is limited to a worn threshold or bad bottom seal. However, a full door unit replacement may be smarter if the jambs are rotting, the door slab is warped, the sill pan has failed, or water has damaged the surrounding structure.
If your entry door is older and has multiple issues, replacing only the threshold might feel like fixing one leak on a boat made of crackers. In that case, consider whether a prehung exterior door would provide better long-term performance, energy efficiency, and weather protection.
Maintenance Tips After Replacing a Door Threshold
Inspect your threshold at least twice a year, especially before rainy or cold seasons. Look for cracked caulk, loose screws, worn inserts, and uneven gaps. Clean debris from the threshold regularly because grit can wear down seals faster. If you have an adjustable threshold, check that the screws still move and that the seal remains even.
Keep the area outside the door draining away from the house. If water pools against the threshold, even a good installation can struggle over time. Gutters, grading, porch slope, and door mats all play a role in keeping water away from the entry.
Real-World Experience: Lessons From Replacing Door Thresholds
The most important lesson from replacing a door threshold is that the project is less about brute force and more about detective work. The visible threshold is only the final clue. Before removing it, take time to understand why it failed. Was it simply worn from years of foot traffic? Did the rubber insert crack from sun exposure? Did water get trapped at the corners? Did someone install it without enough sealant? The answer changes how you approach the repair.
One common experience is discovering that the old threshold was hiding a surprisingly large amount of dirt, old caulk, and mystery crumbs. This is normal. Entry doors collect everything: sand, pet hair, leaves, pollen, and tiny stones that somehow act like they pay rent. Cleaning the opening thoroughly may feel like a small step, but it makes a major difference in how flat and secure the new threshold sits.
Another practical tip is to take more photos than you think you need. Photograph the threshold before removal, after removing weatherstripping, after exposing screws, and after taking the threshold out. These photos help you remember how the old parts overlapped. They are especially useful if you need to make a second trip to the hardware store, which is a sacred tradition in DIY home improvement.
Measuring is where many homeowners get humbled. Measure the opening, then measure the old threshold, then measure the replacement. Do not rely only on the label on the product package. A “36-inch threshold” may still need trimming because the doorway opening is rarely exactly 36 inches once you account for jambs, stops, flooring, and old-house personality. Older homes in particular love to introduce tiny angles where you expected straight lines.
Cutting the threshold slowly is worth it. It is better to trim three times than to cut once and create a gap big enough to make your caulk gun nervous. When cutting aluminum, use steady pressure and support the piece so it does not vibrate. When cutting wood, seal any freshly cut ends before installation because end grain absorbs moisture quickly.
The dry fit is the moment of truth. Put the threshold in place without sealant, close the door, and look from inside with the lights off if needed. Daylight is a useful diagnostic tool. If light appears under the door, the seal is not complete. If the door rubs or refuses to latch, the threshold may be too high or misaligned. Adjust before caulking, because fixing alignment after sealant is applied is like trying to frost a cake during an earthquake.
Caulking technique also matters. A continuous bead under the threshold helps block air and water. Extra attention at the corners helps prevent leaks where the jambs meet the sill. Smooth the sealant neatly, but do not wipe away so much that you remove the protection. The best caulk line is not the biggest one; it is the one that stays bonded and sheds water.
Finally, expect the new threshold to need small adjustments after a few days of use. Weatherstripping can compress, the door sweep may settle, and temperature changes can slightly affect the fit. Recheck the door after the sealant cures and after the first heavy rain. A few turns on an adjustable threshold or a slight sweep adjustment can turn a good installation into a great one.
Conclusion
Replacing a door threshold is a practical DIY project that can improve comfort, reduce drafts, help keep moisture out, and make an entryway look cleaner. The key is to slow down during measuring, inspect the structure beneath the old threshold, dry-fit the replacement, and seal the edges carefully. A threshold may be a small strip at the bottom of the door, but it does a big job every day.
If your door frame is solid and the damage is limited to the threshold, this 9-step method can help you complete the repair with confidence. If you discover rot, major water damage, or a badly warped door, it may be time to call a professional or consider a larger door replacement project. Either way, your doorway will be better protected, and your house will stop giving outdoor air a free backstage pass.
Note: This article is written for general educational and DIY guidance. Always follow the installation instructions provided with your specific threshold product, and consult a qualified contractor if you find structural damage, active leaks, or extensive wood rot.