If you have ever looked at a stack of delivery boxes and thought, “One of you could be fabulous,” this project is your moment. Making window valances from cardboard boxes is one of those rare DIY ideas that checks almost every box: it is affordable, surprisingly stylish, beginner-friendly, and deeply satisfying in a I made that from trash kind of way. Better yet, it lets you fake the look of a custom box valance or soft cornice without spending custom-workroom money.
A cardboard box valance is basically a lightweight decorative top treatment that sits above your window. It can hide a plain curtain rod, dress up blinds, soften a bare window, and make a room feel more finished. In the right fabric or paint color, it can look polished enough that nobody will suspect its glamorous former life involved shipping labels and packing tape.
In this guide, you will learn how to create window valances from cardboard boxes step by step, how to measure them so they actually fit, how to make them look less “recycling bin chic” and more “intentional home decor,” and what mistakes to avoid if you want the final result to look custom instead of crafty. Cardboard may be humble, but with a little planning, it can absolutely punch above its weight class.
Why Make a Window Valance from Cardboard?
Let’s start with the obvious reason: cost. Traditional wood valances, upholstered cornices, and custom top treatments can get expensive fast. Cardboard boxes, on the other hand, are often free. That means you can experiment with shapes, colors, and fabrics without feeling like every bad cut is a financial tragedy.
The second reason is weight. Cardboard is much lighter than wood, which makes it easier to handle, easier to hang, and friendlier for renters or casual DIYers who are not in the mood for a weekend romance with power tools.
Third, cardboard is flexible. You can wrap it in fabric, paint it, cover it with wallpaper, add trim, staple on pom-poms if that is your design destiny, or keep it crisp and simple. Whether your style leans farmhouse, modern, cottage, boho, or “my budget said no but my taste said yes,” cardboard can adapt.
And finally, there is the upcycling angle. Turning used boxes into home decor is a smart way to reuse materials you already have. It saves money, reduces waste, and gives your online shopping habit a chance to contribute something noble to society.
What You Need
Basic materials
- Large cardboard boxes in good condition
- Measuring tape
- Pencil
- Metal ruler or straightedge
- Utility knife or heavy-duty scissors
- Hot glue gun, strong craft glue, or double-sided tape
- Packing tape or painter’s tape for reinforcement
- Fabric, wallpaper, contact paper, or paint
- Optional batting or thin foam for a softer upholstered look
- Stapler or staple gun if you are wrapping fabric around a sturdier insert
- Velcro strips, small L-brackets, or curtain hardware for mounting
Optional upgrades
- Decorative trim, tassels, ribbon, or fringe
- Iron-on hem tape for a cleaner fabric finish
- Primer if you plan to paint
- Binder clips or clothespins to hold fabric in place while glue sets
One practical note: if you use spray adhesive, use it in a well-ventilated area and away from heat. In other words, do not turn your craft session into an accidental action movie.
Choose the Right Cardboard Box
Not all cardboard is created equal. For this project, you want boxes that are clean, dry, and still sturdy. Avoid anything damp, greasy, crushed, or suspiciously scented. Your valance should make the room smell like fresh style, not like the ghost of takeout past.
Double-wall cardboard is ideal because it holds shape better, but regular corrugated cardboard can also work if you layer it. If your box has creases or bends, cut around the damaged areas or laminate two pieces together for extra strength. A flatter, firmer surface will give you a more professional-looking result and make wrapping or painting far easier.
How to Measure for a Cardboard Window Valance
This is the part where patience pays off. A beautiful valance with bad measurements is still a bad valance.
Step 1: Measure the window width
Measure the width of the window at the top. If your trim is uneven, measure a few times. If you are mounting inside a recessed area, use the narrowest measurement so the valance does not fight the window frame like two people trying to fit through one doorway at the same time.
Step 2: Decide on inside mount or outside mount
An inside mount sits within the window recess and looks neat and tailored. An outside mount sits above and around the frame and is usually easier for cardboard DIY projects. It also lets you fake a wider or taller window, which is one of decorating’s favorite illusions.
Step 3: Add the side returns
The “returns” are the short side pieces that angle or wrap back toward the wall. These make the valance look finished instead of flat. A typical return depth is anywhere from 3 to 6 inches, depending on how far your curtain rod or blinds project from the wall. Measure that depth before cutting. If your hardware sticks out farther than the valance, the whole project will look like it forgot its assignment.
Step 4: Choose the drop
The “drop” is how tall the front of the valance will be. For most rooms, 10 to 16 inches works well. Shorter looks cleaner and more modern. Taller feels more dramatic and traditional. Kitchens often look great with a smaller valance, while living rooms and bedrooms can handle a deeper one.
Simple example
Let’s say your window is 36 inches wide. You want an outside-mount valance with 3-inch returns on each side and a 12-inch drop. Your front panel might be cut around 42 inches wide to give the window a more substantial look, and your two side returns would each be 3 inches deep by 12 inches tall. Add a top strip if you want a full box shape.
How to Build the Valance Frame
1. Break down the box and mark your pieces
Flatten your cardboard and use a ruler to mark the front panel, side return pieces, and top strip. If you want a simple flat valance, you can stop at the front piece. If you want a custom box-valance look, cut all four parts.
2. Double up the cardboard
For a stronger structure, cut a second set of matching pieces and glue them together. This is one of the best tricks for making cardboard feel more substantial. Think of it as giving your valance a spine.
3. Score before folding
If you are folding a single piece into shape, lightly score the cardboard with a utility knife instead of cutting all the way through. This helps you create cleaner bends and sharper corners. Go gently. You want a controlled fold, not a dramatic cardboard collapse.
4. Assemble the box shape
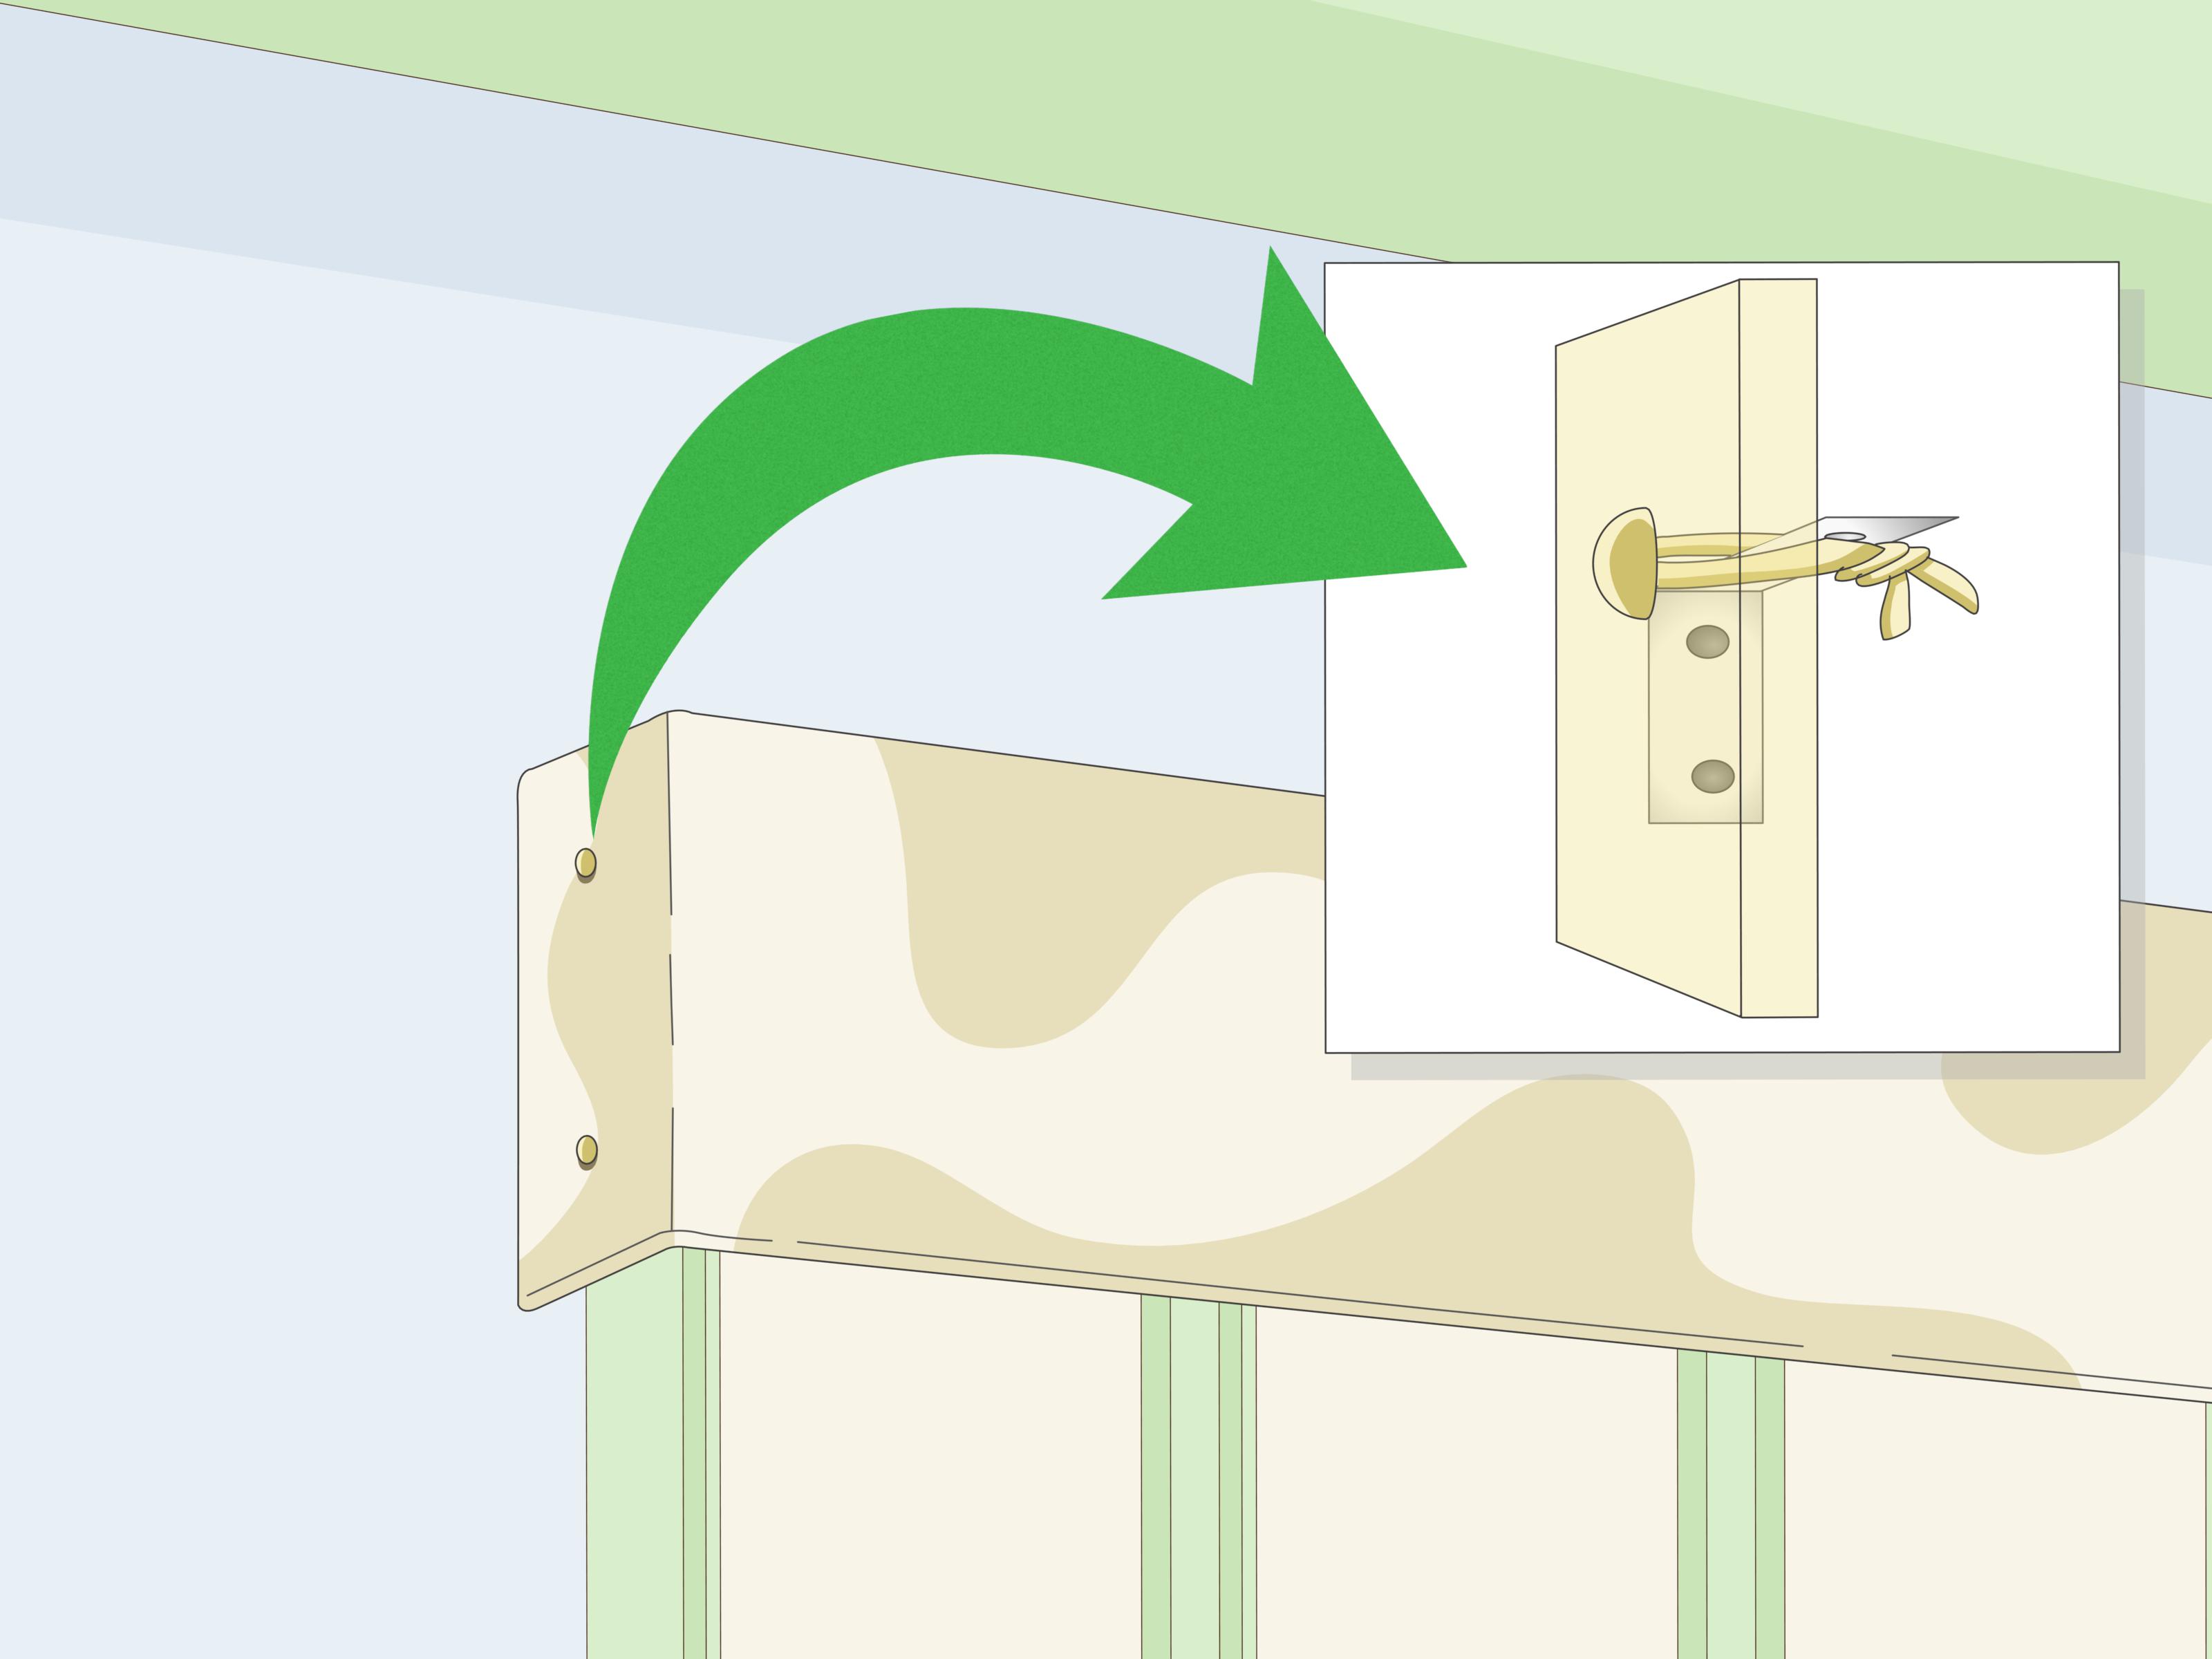
Glue or tape the top strip to the front panel, then attach the side returns. Reinforce the inside seams with extra strips of cardboard or tape. If the valance feels wobbly, add an extra strip across the back like a brace. Lightweight does not have to mean flimsy.
5. Test-fit it before decorating
Hold the unfinished frame over the window and make sure it clears your blinds, rod, or trim. This is the right time to trim, tweak, or mutter mildly annoyed DIY phrases under your breath. It is not the right time to discover a problem after the pretty fabric is already glued on.
How to Cover the Cardboard So It Looks Good
Option 1: Fabric-covered valance
This is the classic choice and usually the prettiest. Cut your fabric several inches larger than the valance on all sides. If you want a softer look, wrap the cardboard first with thin batting or foam. Then pull the fabric taut and glue or staple it around the back edges. Work from the center outward to avoid puckers and weird bunching.
Fold corners neatly, as if you are wrapping a gift for someone you actually like. Crisp corners make a huge difference. If your fabric has a pattern, line it up carefully before gluing. A floral print installed sideways has a certain rebellious energy, but probably not the kind you want for your living room.
Option 2: Paint
If you prefer a cleaner or more modern look, paint works well. Prime first if the cardboard is dark or heavily printed. Then apply two light coats rather than one thick coat. Thick paint can soften cardboard and highlight texture in all the wrong ways. Matte finishes tend to hide imperfections best.
Option 3: Wallpaper or contact paper
This is a great middle ground between paint and fabric. It gives you pattern without the bulk of upholstery. Smooth it on slowly and use a plastic card or ruler to push out bubbles. If the pattern is bold, keep the shape of the valance simple so the whole thing does not become a visual wrestling match.
How to Mount a Cardboard Box Valance
Rent-friendly method
Use heavy-duty Velcro strips if the valance is lightweight and the surface is smooth. This works best for smaller windows and very light designs.
More secure method
Use small L-brackets or attach the cardboard valance to a lightweight wood strip, then install that strip above the window. This gives you better stability and keeps the valance from sagging over time.
No-fuss layering method
If you already have a curtain rod, the valance can sit above it to hide the hardware while curtains or shades handle privacy and light control. This layered look is especially effective if your room feels a little bare or your blinds look purely functional and not remotely charming.
Best Design Ideas for Cardboard Window Valances
- Farmhouse: neutral linen-look fabric, ticking stripes, or a soft beige paint finish
- Modern: straight edges, no trim, solid color, and clean geometry
- Cottage: floral fabric, scalloped bottom edge, and light padding
- Kids’ room: playful prints, decals, painted shapes, or themed trim
- Kitchen: shorter valance in a cheerful pattern, especially above blinds or café curtains
If you want the window to look taller, mount the valance slightly above the frame. If you want it to look wider, extend the valance past the sides of the window. Tiny visual tricks, big decorator energy.
Common Mistakes to Avoid
Using flimsy cardboard
If the material bends like a sad pizza box, reinforce it or choose another box.
Skipping the test fit
Always test the shape before adding fabric or paint. This saves you from heartbreak and unnecessary re-gluing.
Choosing a too-heavy fabric
Very thick upholstery fabric can weigh down lightweight cardboard. Medium-weight cotton, canvas, faux linen, or lightweight home decor fabric is usually easier to manage.
Ignoring room conditions
Cardboard works best in dry interior spaces. I would not use it where it will be exposed to heavy moisture, grease, or regular splashing. Your valance deserves better than a life of steam and chaos.
Overdecorating it
Trim can be lovely, but too many embellishments can push the project from “custom DIY” to “craft fair fever dream.” Pick one or two accents and let them shine.
Is a Cardboard Valance Worth It?
Yes, especially if you want a budget-friendly window treatment with a custom look. A cardboard valance is not the forever heirloom piece you will pass down for generations while dramatic music swells in the background. But it is a smart, stylish, creative solution that can last surprisingly well when made carefully and used in the right room.
It is perfect for renters, first apartments, quick room refreshes, staged homes, kids’ rooms, laundry rooms, craft rooms, and anyone who wants better-looking windows without opening a wallet wide enough to hear it cry.
Conclusion
Learning how to create window valances from cardboard boxes is one of those DIY wins that feels bigger than it is. You start with something ordinary, maybe even annoying, and end up with something useful, decorative, and genuinely impressive. With good measurements, strong assembly, and a finish that suits your room, cardboard can look far more upscale than its humble origin story suggests.
So the next time a delivery shows up, do not just break the box down and move on. Give it a second look. That boring cardboard might be one fabric wrap away from becoming the finishing touch your window has been waiting for.
Real-Life Experiences and Lessons from Making Cardboard Box Window Valances
One of the most interesting things about making a window valance from cardboard is how quickly your opinion of cardboard changes. At first, it feels temporary, almost suspiciously humble. You expect it to behave like a backup plan. But once you start measuring, cutting, reinforcing, and covering it, the project begins to feel less like a shortcut and more like a clever design decision.
The first real lesson most people learn is that measuring calmly beats fixing frantically. A lot of DIY frustration comes from rushing the early part because the fun part is fabric, paint, and styling. But the people who end up happiest with the final look are usually the ones who spend extra time checking width, return depth, and hardware clearance. In practice, that five-minute double-check can save an hour of patching, trimming, and pretending you “meant to do that.”
Another common experience is being shocked by how much cleaner the project looks when the cardboard is doubled. A single layer can work, but two layers instantly feel sturdier and more intentional. It is the difference between “I made a thing” and “I may now have opinions about custom window treatments.” Reinforcement sounds boring, but visually, it matters.
Fabric choice also changes the whole mood. Light cotton prints often make the valance feel cheerful and approachable, while linen-look neutrals can make it feel surprisingly expensive. Painted finishes tend to highlight shape, while fabric tends to soften it. People often discover that the same cardboard structure can look farmhouse, modern, playful, or tailored depending on the finish alone. That flexibility is part of the magic.
There is also a deeply satisfying moment when the valance goes up over a plain blind or a basic rod and the whole window suddenly looks “done.” That is usually when the project stops feeling like a craft and starts feeling like decor. Bare windows can leave a room feeling unfinished, but a top treatment pulls the eye upward and makes the space feel more deliberate. Even a small valance can have that effect.
Of course, real-life DIY is never entirely glamorous. Sometimes glue strings appear like festive spiderwebs. Sometimes a patterned fabric is one inch off center and you will absolutely notice it forever, even if nobody else does. Sometimes the left side return is perfect and the right side has a little personality. That is normal. Handmade projects usually carry tiny quirks, and those quirks rarely matter once the piece is installed and the room is pulled together.
What many people end up loving most is the confidence boost. After making one cardboard valance, other projects start to feel less intimidating. You begin looking at leftover wallpaper differently. You stop seeing delivery boxes as clutter and start seeing structure, shape, and possibility. It becomes easier to trust your eye, edit your choices, and create something that fits your home rather than settling for whatever the store happened to stock.
In the end, the experience is about more than saving money. It is about using creativity to solve a design problem with materials you already have. And honestly, turning a shipping box into something stylish enough to hang in your living room is the kind of tiny domestic triumph that deserves at least one dramatic before-and-after photo.