Note: This article uses a simple Windows Forms example in Visual Studio because it is the easiest beginner-friendly way to type two numbers, click one button, and instantly see the result. It is also clean HTML only, with no extra citation artifacts or placeholder elements.
Everybody starts somewhere in programming, and sometimes that “somewhere” is gloriously simple: add two numbers together and make the computer stop acting like it is smarter than you. The good news is that Visual Basic.NET is a friendly place to begin. The language reads almost like plain English, Visual Studio gives you a drag-and-drop interface, and a tiny project like this teaches you several useful skills at once: working with controls, collecting user input, converting text into numbers, handling errors, and displaying results without drama.
In this guide, you will learn how to build a basic VB.NET app that adds two numbers together in 14 easy steps. Along the way, you will also learn why beginner apps sometimes fail in funny ways. Spoiler alert: the computer is not “being rude.” It just does exactly what you tell it, which is both helpful and terrifying.
Why This Tiny Project Matters
At first glance, a two-number addition app looks almost too simple. But it is actually a perfect beginner project because it teaches the building blocks of larger programs. You create a form, place controls on it, respond to a button click, read values from text boxes, validate input, and show output. Those same ideas appear later in calculators, login screens, dashboards, database apps, and all sorts of practical desktop tools.
So yes, you are “just” adding 7 and 12. But behind the scenes, you are learning how software thinks. That is a pretty good deal for one little button.
The 14 Steps
-
Step 1: Open Visual Studio
Launch Visual Studio on your Windows computer. If you have not installed it yet, make sure your setup includes tools for .NET desktop development. Once Visual Studio opens, choose the option to create a new project. This is the front door to your app, and thankfully it does not require a secret password or a wizard robe.
-
Step 2: Create a New Visual Basic Project
In the project search box, type Windows Forms App. Then choose Visual Basic as the language. A Windows Forms project is ideal for this tutorial because it gives you a visual designer. Instead of building everything by typing code from scratch, you can place controls on a form and wire them up with code behind the scenes.
-
Step 3: Name Your Project
Give your project a clear name such as AddTwoNumbersApp. Avoid vague names like Project1, unless you enjoy opening old files later and wondering who created them. Set the save location, click Create, and let Visual Studio generate the starter files. In a moment, the form designer will appear.
-
Step 4: Get Familiar with the Form Designer
You should now see a blank form. Think of this as the face of your app. The Toolbox contains controls you can drag onto the form, and the Properties window lets you rename those controls and adjust their appearance. This is where VB.NET starts to feel friendly: you can actually see your app taking shape instead of staring at a black screen and pretending that is exciting.
-
Step 5: Add Two Labels for Instructions
Drag two Label controls onto the form. Set their text to something like First Number and Second Number. Labels help users understand what each text box is for. Without them, your app becomes a guessing game, and users do not usually enjoy software-themed mystery novels.
-
Step 6: Add Two TextBoxes for Input
Drag two TextBox controls onto the form, placing one beside each label. These boxes will hold the numbers the user enters. Rename them in the Properties window so your code stays readable. For example, use txtFirstNumber and txtSecondNumber. Clear naming is one of those habits that feels boring now and heroic later.
-
Step 7: Add a Button to Perform the Math
Drag a Button control onto the form. Change its text to Add Numbers and rename it to btnAdd. This button will trigger the code that reads the input and calculates the sum. In Windows Forms, button clicks are classic event-driven programming: when the user clicks, your code runs. Tiny action, big lesson.
-
Step 8: Add a Label to Display the Result
Now add one more label below the button. Set its text to something simple such as Result will appear here, and rename it to lblResult. This label becomes your output area. Once the user clicks the button, your program will change this label’s text and show the final answer.
-
Step 9: Double-Click the Button to Create the Click Event
Double-click the Add Numbers button in the designer. Visual Studio will open the code editor and create a Click event for that button automatically. This is where your app becomes more than a pretty rectangle. It now has behavior. The form is no longer just sitting there looking decorative; it is ready to do work.
-
Step 10: Declare Variables for the Two Numbers
Inside the button click event, declare variables to hold the numbers. For example, use Integer if you want whole numbers. If you expect decimal values, you could use Double instead. For a beginner addition app, integers keep things nice and simple:
This tells VB.NET what kind of data you expect. Computers love clarity. They do not love guessing.
-
Step 11: Convert TextBox Input into Numbers Safely
TextBox values come in as text, not numbers. That means “12” is a string until you convert it. A beginner mistake is to use direct conversion and hope for the best. A safer option is Integer.TryParse, which attempts the conversion and lets you handle invalid input gracefully. That means fewer crashes and fewer moments of staring at the screen like it betrayed you personally.
-
Step 12: Add the Two Numbers
Once both values are successfully converted, create a third variable to store the sum:
This is the heart of the project. Two values go in, one result comes out, and suddenly you are doing real programming. Simple? Yes. Important? Also yes.
-
Step 13: Show the Result on the Form
Update the result label so the user can see the answer:
You can also use a message box if you want a pop-up, but updating the label keeps everything visible on the form. That makes the app feel cleaner and more like a real tool rather than a surprise announcement system.
-
Step 14: Test the App and Handle Bad Input
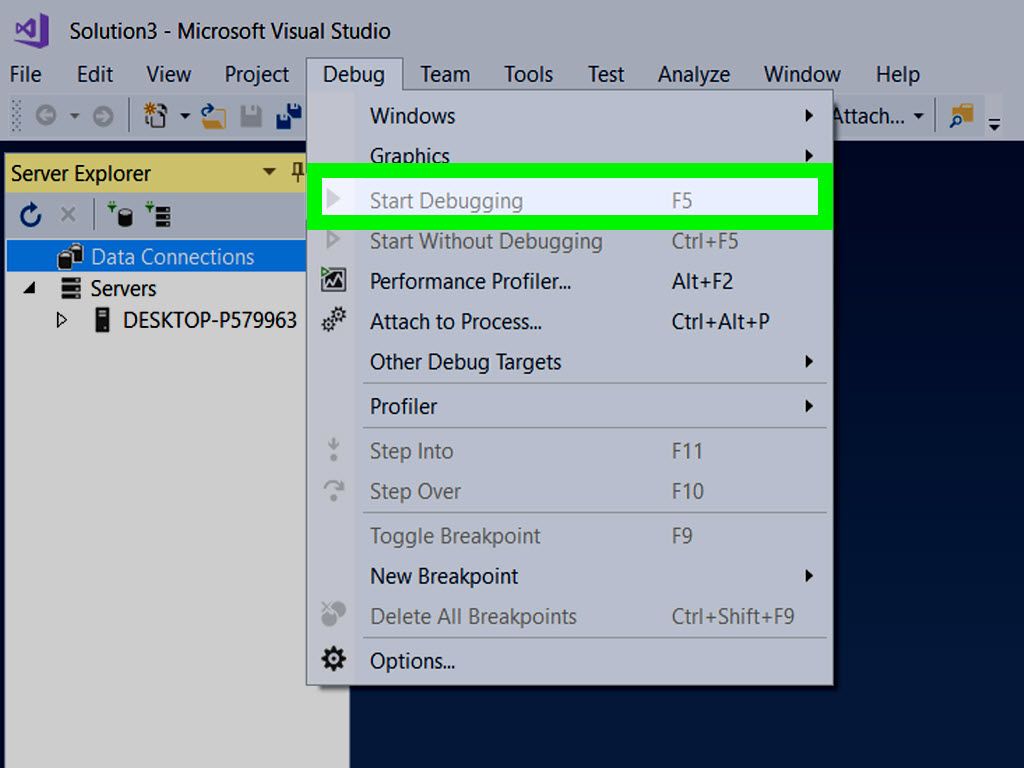
Run the program by pressing F5. Enter numbers such as 8 and 15, then click the button. You should see the sum displayed. Also test bad input like blank text, letters, or symbols. Good beginner apps do not just work when the user behaves perfectly. They also stay calm when the user types things like banana into a number box.
Complete Sample VB.NET Code
Here is a clean version of the button click code using Integer.TryParse:
Why This Code Works
This code works because it follows a logical flow. First, it reads the text from both text boxes. Next, it checks whether each value can be converted into an integer. If both conversions succeed, it adds the values and updates the result label. If either conversion fails, it shows an error message instead of letting the program crash. That is a great beginner habit: do not just assume the input is valid; prove it first.
Common Beginner Mistakes
Using Text Instead of Numbers
If you forget to convert the input, you may end up combining strings instead of doing math. In some languages, that produces weird output. In VB.NET, it can also lead to confusion depending on your settings and conversions. Moral of the story: be clear about data types.
Forgetting to Rename Controls
If every control is still called TextBox1, TextBox2, and Label3, your code will still run, but your future self will not send thank-you notes. Meaningful names make code easier to read, debug, and update.
Skipping Validation
Beginners often test only with perfect input. Real users, however, are wildly creative. They enter spaces, commas, letters, emojis, and occasionally what appears to be keyboard-based abstract art. Validation protects your app from all of that.
Helpful Tips for Making the App Better
Once your basic adder works, you can improve it in several ways. Add a Clear button to reset both text boxes. Set focus to the first text box when the form opens. Allow decimal numbers by switching from Integer to Double. Turn on Option Strict if you want cleaner type rules and more disciplined code. Small upgrades like these turn a beginner project into a solid practice exercise.
Conclusion
Learning how to add two numbers in Visual Basic.NET is one of those classic beginner wins that deserves more respect than it gets. It teaches form design, input handling, type conversion, event-driven programming, error checking, and output display in one compact lesson. Better yet, it gives you a result you can see immediately, which is wonderfully motivating. The app may be tiny, but the skills are real. Every calculator, invoice tool, grading app, and business form starts with the same basic idea: get input, process it, show output. Today it is addition. Tomorrow it might be an entire desktop application.
Extra Experiences and Lessons from Building a Simple VB.NET Adder
One of the most interesting things about building a tiny program like this is how quickly it reveals the way beginners think. At first, many new programmers assume adding two numbers will take only one line of code and absolutely no confusion. Then they build the form, drag in the controls, double-click the button, and suddenly discover that the computer wants details. It wants to know where the numbers come from, what data type they should be, what happens when the input is invalid, and where the answer should appear. That is usually the moment when programming stops feeling like magic and starts feeling like a conversation with a very literal machine.
A common beginner experience is typing values into the text boxes, clicking the button, and getting an error because the app is reading text instead of numbers. That moment is frustrating, but it is also valuable. It teaches a major lesson early: user input is almost always messy. Once beginners learn to use Integer.TryParse, they often feel a small but genuine burst of confidence. Suddenly they are not just writing code that works under ideal conditions. They are writing code that behaves responsibly.
Another experience many people have is forgetting to rename controls. The project begins with TextBox1, TextBox2, Button1, and Label1. Then the code grows, and everything starts looking like a bowl of alphabet soup. After one or two confusing moments, most learners understand why descriptive names matter. Renaming controls to txtFirstNumber, txtSecondNumber, btnAdd, and lblResult feels like a tiny detail, but it makes the project much easier to read.
There is also the funny experience of entering test values that are technically numbers but not the kind the code expects. Someone types 12.5 into an integer-based app. Someone else enters a blank space. Someone gets ambitious and types 1,000 with a comma. These moments teach that software needs rules, and those rules need to be clear. A beginner who starts with a simple adder often ends up learning about data types, decimal values, formatting, and validation faster than expected.
Perhaps the best experience, though, is the first time the app works exactly as intended. You enter 9 and 14, click the button, and the label changes to Sum: 23. It is a small success, but it feels big because you built the behavior yourself. That one click proves that code is not just theory. It does something. It responds. It obeys. For many beginners, that tiny project becomes the first moment they genuinely believe they can learn programming.
And that is why this exercise still matters. It is not really about adding two numbers. It is about learning to think step by step, communicate clearly with the computer, and improve your code each time something breaks. In other words, it is exactly the kind of small project that grows real skills.