Note: This publish-ready article is written in standard American English and synthesizes practical drywall, plaster, wall-patching, sanding, priming, painting, and decorating guidance commonly recommended by reputable U.S. home-improvement experts, retailers, and paint professionals.
A hole in the wall has a special talent: it can make an otherwise tidy room look like it recently hosted a wrestling match between a chair, a doorknob, and regret. The good news? Whether you are dealing with a tiny nail hole, a doorknob dent, a mystery crater behind the couch, or a larger drywall opening that looks like it deserves its own ZIP code, you can fix itor at least hide it beautifullywithout turning your home into a construction zone.
This guide explains how to cover a hole in the wall using repair methods and clever concealing tips that work for renters, homeowners, beginners, and anyone who has ever said, “I’ll patch that later,” then ignored it for six months. We will cover the right materials, step-by-step repair techniques, painting tricks, and fast cover-up ideas for when guests are arriving in one hour and the wall is still telling on you.
First, Figure Out What Kind of Hole You Have
Before grabbing spackle like a heroic wall surgeon, identify the size and type of damage. The repair method depends on whether the hole is cosmetic, shallow, structural, or large enough to require a backing piece.
Small Holes: Nail Holes, Pin Holes, and Screw Marks
Small holes are usually caused by picture hooks, nails, screws, curtain brackets, or wall anchors. These are the easiest to repair. A little spackling compound, a putty knife, light sanding, and touch-up paint can make them disappear faster than snacks at a family movie night.
Medium Holes: Doorknob Dents and Anchor Damage
Medium holes often range from about half an inch to several inches wide. They may happen when a door swings too hard, an anchor tears out, or furniture bumps the wall. These usually need mesh tape, a self-adhesive wall patch, or a patch kit instead of just filler.
Large Holes: Bigger Drywall Breaks
Large holes require more structure. If the hole is bigger than a few inches, you may need to cut the damaged area into a clean square, add support backing, install a new drywall piece, tape the seams, apply joint compound, sand, prime, and paint. It sounds dramatic, but it is very manageable when done in layers.
Tools and Materials You May Need
You do not need a contractor’s truck to repair a wall. Most small and medium jobs require only basic supplies. Keep these items in mind:
- Spackling compound for small holes
- Joint compound for larger repairs
- Putty knife or drywall knife
- Self-adhesive mesh patch or drywall repair patch
- Fine-grit sandpaper or sanding sponge
- Utility knife
- Drywall tape for seams or cracks
- Primer
- Matching wall paint
- Paintbrush or small roller
- Dust mask and safety glasses
- Drop cloth or old towel
For larger repairs, you may also need a piece of drywall, wood backing strips, drywall screws, a drill, and a larger drywall knife for feathering the compound.
How to Cover a Small Hole in the Wall
Small holes are perfect beginner repairs. If you can frost a cupcake, you can probably spackle a nail hole. Just do not eat the spackle. Home improvement has limits.
Step 1: Clean the Area
Remove loose paint, crumbled drywall, dust, or raised edges around the hole. If the wall surface is bumpy, gently scrape or sand the area so the filler can sit flat.
Step 2: Apply Spackling Compound
Use a putty knife to press spackle into the hole. Swipe across the surface in different directions to fill the space completely. Then scrape away excess compound so the patch is slightly flush with the wall.
Step 3: Let It Dry
Follow the product instructions. Some lightweight spackles dry quickly, while deeper repairs need more time. Do not rush this step. Painting over damp filler is how a “quick fix” becomes a “why does this look worse?” fix.
Step 4: Sand Smooth
Once dry, lightly sand the area with fine-grit sandpaper or a sanding sponge. The goal is to blend the repair into the wall, not sand your way into the next room.
Step 5: Prime and Paint
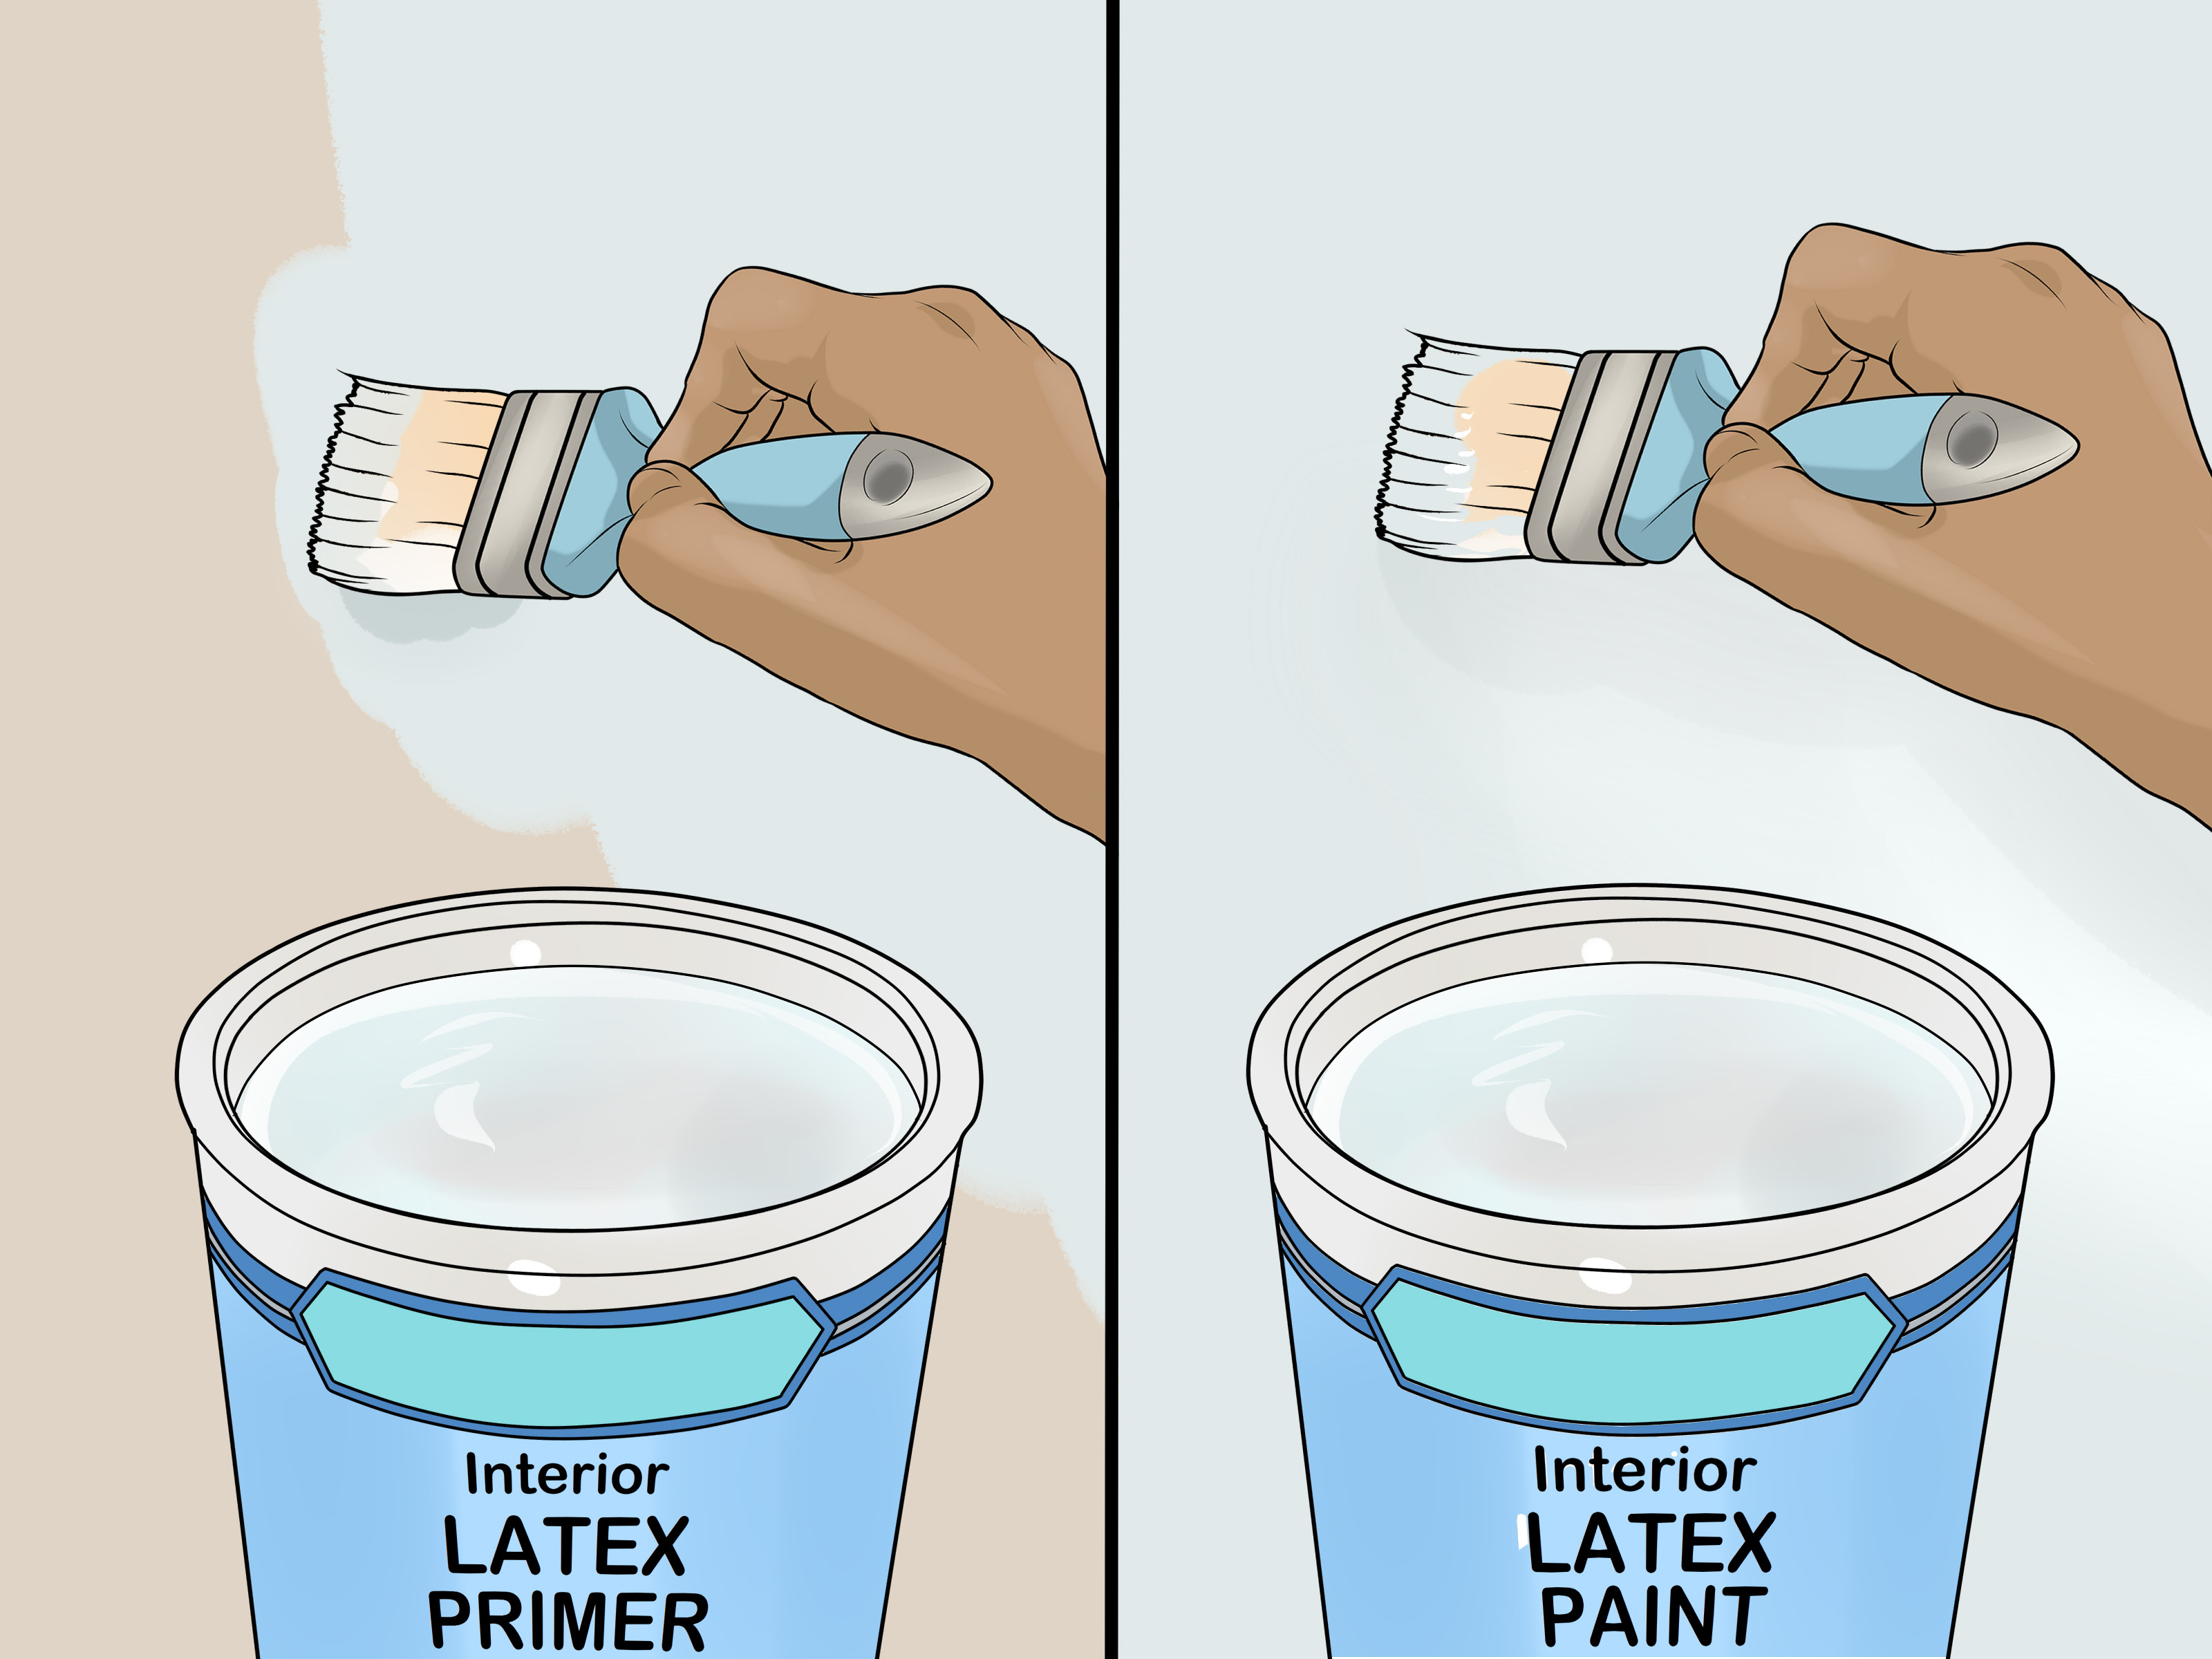
For the cleanest finish, apply primer before paint, especially if the patch is noticeable or the wall has a sheen. Then use matching paint and feather the edges outward so the touch-up blends naturally.
How to Repair a Medium Hole with a Wall Patch
Medium holes need more support than spackle alone can provide. Filling a larger hole with a giant blob of compound may seem tempting, but it can shrink, crack, sag, or dry unevenly. A self-adhesive mesh or metal patch gives the repair something to hold onto.
Step 1: Trim Loose Edges
Use a utility knife to remove torn paper, loose drywall, or ragged edges. The patch will sit better on a clean, flat surface.
Step 2: Apply the Patch
Choose a patch that overlaps the damaged area by at least an inch or two on all sides. Press it firmly against the wall so it adheres smoothly.
Step 3: Cover with Joint Compound
Use a drywall knife to spread joint compound over the patch. Apply a thin coat, pressing the compound through the mesh and feathering the edges beyond the patch. Thin layers are your friend. Thick layers are impatient, lumpy, and emotionally unstable.
Step 4: Let It Dry, Then Repeat
After the first coat dries, sand lightly and apply a second coat. For a very smooth finish, you may need a third thin coat. Each layer should extend slightly wider than the previous one to blend the repair into the surrounding wall.
Step 5: Sand, Prime, and Paint
When the final coat is completely dry, sand until smooth. Wipe away dust, prime the patched area, and paint. A small roller often blends texture better than a brush, especially on walls with a subtle orange-peel or roller finish.
How to Fix a Large Hole in Drywall
Large holes look intimidating, but the process is logical: square the opening, add support, install a drywall patch, tape the seams, finish with compound, and paint.
Step 1: Cut the Hole into a Clean Shape
Use a utility knife or drywall saw to cut the damaged area into a neat square or rectangle. A clean shape is easier to patch than a jagged monster hole.
Step 2: Add Backing Support
Place wood backing strips inside the hole and secure them with drywall screws. These strips give the new drywall patch something solid to attach to.
Step 3: Cut and Install the Drywall Patch
Cut a piece of drywall to fit the opening. Screw it into the backing strips so it sits as flush as possible with the existing wall.
Step 4: Tape the Seams
Apply drywall tape around the seams. Mesh tape is easy for many DIYers, while paper tape can create a strong, smooth seam when embedded correctly in joint compound.
Step 5: Apply Joint Compound in Thin Coats
Cover the seams and screws with joint compound. Let it dry, sand lightly, and apply additional coats as needed. Feather each coat wider than the last so the patch does not leave a visible square outline.
Step 6: Prime and Repaint
Primer is especially important for large drywall patches because fresh compound and drywall absorb paint differently than the surrounding wall. Without primer, the patched area may flash, meaning it reflects light differently and announces itself like a tiny billboard.
How to Repair a Hole in Plaster Walls
Older homes may have plaster walls instead of drywall. Plaster can be harder and more brittle, so repairs require a gentler approach. Remove loose material, stabilize the surrounding area, and use patching plaster or compatible repair compound. For larger plaster holes, mesh reinforcement or backing may be needed. If the plaster is cracking widely, pulling away from the lath, or crumbling in multiple areas, consider getting a professional opinion before patching over a bigger problem.
How to Conceal a Hole Without Repairing It
Sometimes you need a temporary solution. Maybe you are renting, waiting for supplies, or hosting dinner before you can repair the damage. Concealing is not the same as repairing, but it can buy time and save your room from looking unfinished.
Hang Art or a Framed Print
A framed print, canvas, or gallery wall can hide a hole instantly. This works best when the hole is at a natural viewing height. If the hole is three inches above the baseboard, hanging a portrait there may raise questions.
Use a Mirror
Mirrors are excellent for covering wall flaws while making a room feel brighter and larger. Choose a mirror that fits the room’s style so it looks intentional, not like the wall is wearing sunglasses indoors.
Install Peel-and-Stick Wallpaper
For small surface damage or multiple tiny holes, peel-and-stick wallpaper can refresh an accent wall. However, do not use wallpaper to cover deep, unstable, or crumbling damage. Smooth the area first if possible.
Move Furniture Strategically
A bookcase, console table, plant stand, or tall chair can hide lower wall damage. This is a classic move. It is also how many apartments have survived move-out week.
Try Wall Panels or Wainscoting
If the wall has several imperfections, decorative paneling, beadboard, or wainscoting can cover flaws and upgrade the room. This is a bigger project, but it can turn damage control into a design feature.
Painting Tips for an Invisible Repair
The patch is only half the job. Paint is where many repairs either disappear or become oddly shiny rectangles. To get a professional-looking result, keep these tips in mind.
Use Primer Before Paint
Primer seals the repaired area and helps paint absorb evenly. This is especially important over joint compound, new drywall, or larger spackle patches.
Match the Paint Carefully
If you do not have leftover paint, take a small paint chip to a paint store for matching. Remember that older wall paint may have faded, so a perfect can match may still look slightly different on the wall.
Feather the Edges
Instead of painting only the exact repair spot, lightly blend paint outward. Feathering helps avoid hard edges that catch the eye.
Use the Same Application Method
If the wall was originally rolled, use a small roller for touch-ups. If it was brushed, use a brush. Texture matters. A brush mark on a rolled wall can stand out like a typo in a wedding invitation.
Common Mistakes to Avoid
Wall repair is simple, but a few mistakes can make the patch more noticeable than the original hole. Avoid these common repair traps:
- Using too much compound: Thick layers take longer to dry and are harder to sand.
- Skipping sanding: Even a small ridge can show through paint.
- Painting without primer: This can cause flashing or uneven sheen.
- Ignoring loose edges: Compound needs a stable surface to bond properly.
- Using spackle for a large hole: Larger damage needs mesh, backing, or drywall patching.
- Rushing drying time: Damp repairs can crack, shrink, or look uneven later.
When Should You Call a Professional?
Many wall holes are easy DIY projects, but some situations deserve expert help. Call a professional if the wall has water damage, mold, electrical wires near the hole, widespread cracking, structural concerns, or damage larger than you feel comfortable repairing. Also, if the wall has a complicated texturesuch as heavy knockdown, skip trowel, or custom plastera pro may be able to blend it more cleanly.
Repairing vs. Concealing: Which Is Better?
If the hole is small and you have the materials, repair it. A proper patch protects the wall and keeps the surface strong. Concealing is useful for temporary situations or design upgrades, but it should not be used to hide serious damage. Think of concealment like wearing a hat on a bad hair day. Helpful? Absolutely. A substitute for washing your hair forever? Not ideal.
Real-World Experience: What Actually Makes Wall Repairs Look Better
After dealing with wall holes in bedrooms, apartments, hallways, rental units, and “how did that even happen?” living rooms, one lesson becomes very clear: patience matters more than fancy tools. Most bad patches do not fail because the person used the wrong brand of spackle. They fail because the compound was applied too thick, sanded too aggressively, painted too soon, or matched with the wrong sheen. A small repair can look professional when done slowly, and a large repair can look suspicious when rushed.
One of the best practical experiences is learning to feather compound wider than feels necessary. Beginners often try to keep the repair tiny, thinking a smaller patch will be less noticeable. In reality, a tiny mound in the exact shape of the hole catches light. A wider, thinner blend disappears better. For example, when repairing a doorknob hole behind a bedroom door, a patch that extends several inches beyond the damage usually looks smoother than one that barely covers the mesh. It feels excessive during application, but after sanding and painting, the wall looks flatter.
Another useful lesson is that paint sheen can betray you. Flat paint is forgiving. Eggshell and satin are more reflective. Semi-gloss will reveal patch edges like it has been hired as a private investigator. If you are touching up a shiny wall, use primer and apply paint with the same tool used on the original wall. A small roller often works better than a brush because it recreates the surrounding texture. If the wall paint is old, painting from corner to corner may look better than spot painting, especially in bright rooms.
There is also a big difference between “covered” and “fixed.” A poster over a hole works in a dorm room or quick staging situation, but it will not strengthen broken drywall. Furniture can hide damage near the floor, but it will not stop crumbling edges. The smartest approach is to repair what affects the wall’s surface and use decorating tricks only when they make sense visually. A mirror over a repaired patch? Great. A mirror randomly floating behind a sofa arm because it is hiding a dent? Less great.
For renters, the safest experience-based tip is to keep repairs simple and reversible when possible. Fill nail holes cleanly, sand lightly, and use paint that matches the landlord’s finish. Do not over-improve one tiny area until it becomes shinier and smoother than the entire wall. A repair should blend in, not audition for a renovation show.
Finally, always check what caused the hole. A normal nail hole is no big deal. A recurring crack, soft drywall, bubbling paint, or damp patch may signal moisture or movement. Covering that kind of damage is like putting a Band-Aid on a leaky faucet. Fix the cause first, then repair the wall. The goal is not just to hide the hole todayit is to keep it from coming back tomorrow wearing a fake mustache.
Conclusion
Learning how to cover a hole in the wall is one of the most useful DIY skills you can have. Small holes need spackle, sanding, primer, and paint. Medium holes need a mesh or metal patch with thin coats of joint compound. Large holes require backing support, a drywall insert, tape, compound, sanding, primer, and paint. And when you need a fast visual save, artwork, mirrors, peel-and-stick wallpaper, furniture, or decorative wall panels can conceal damage until you are ready for a proper repair.
The secret to a clean wall repair is not speed. It is preparation, thin layers, drying time, gentle sanding, and smart paint blending. Treat the wall kindly, and it will stop reminding everyone about that one unfortunate doorknob incident.