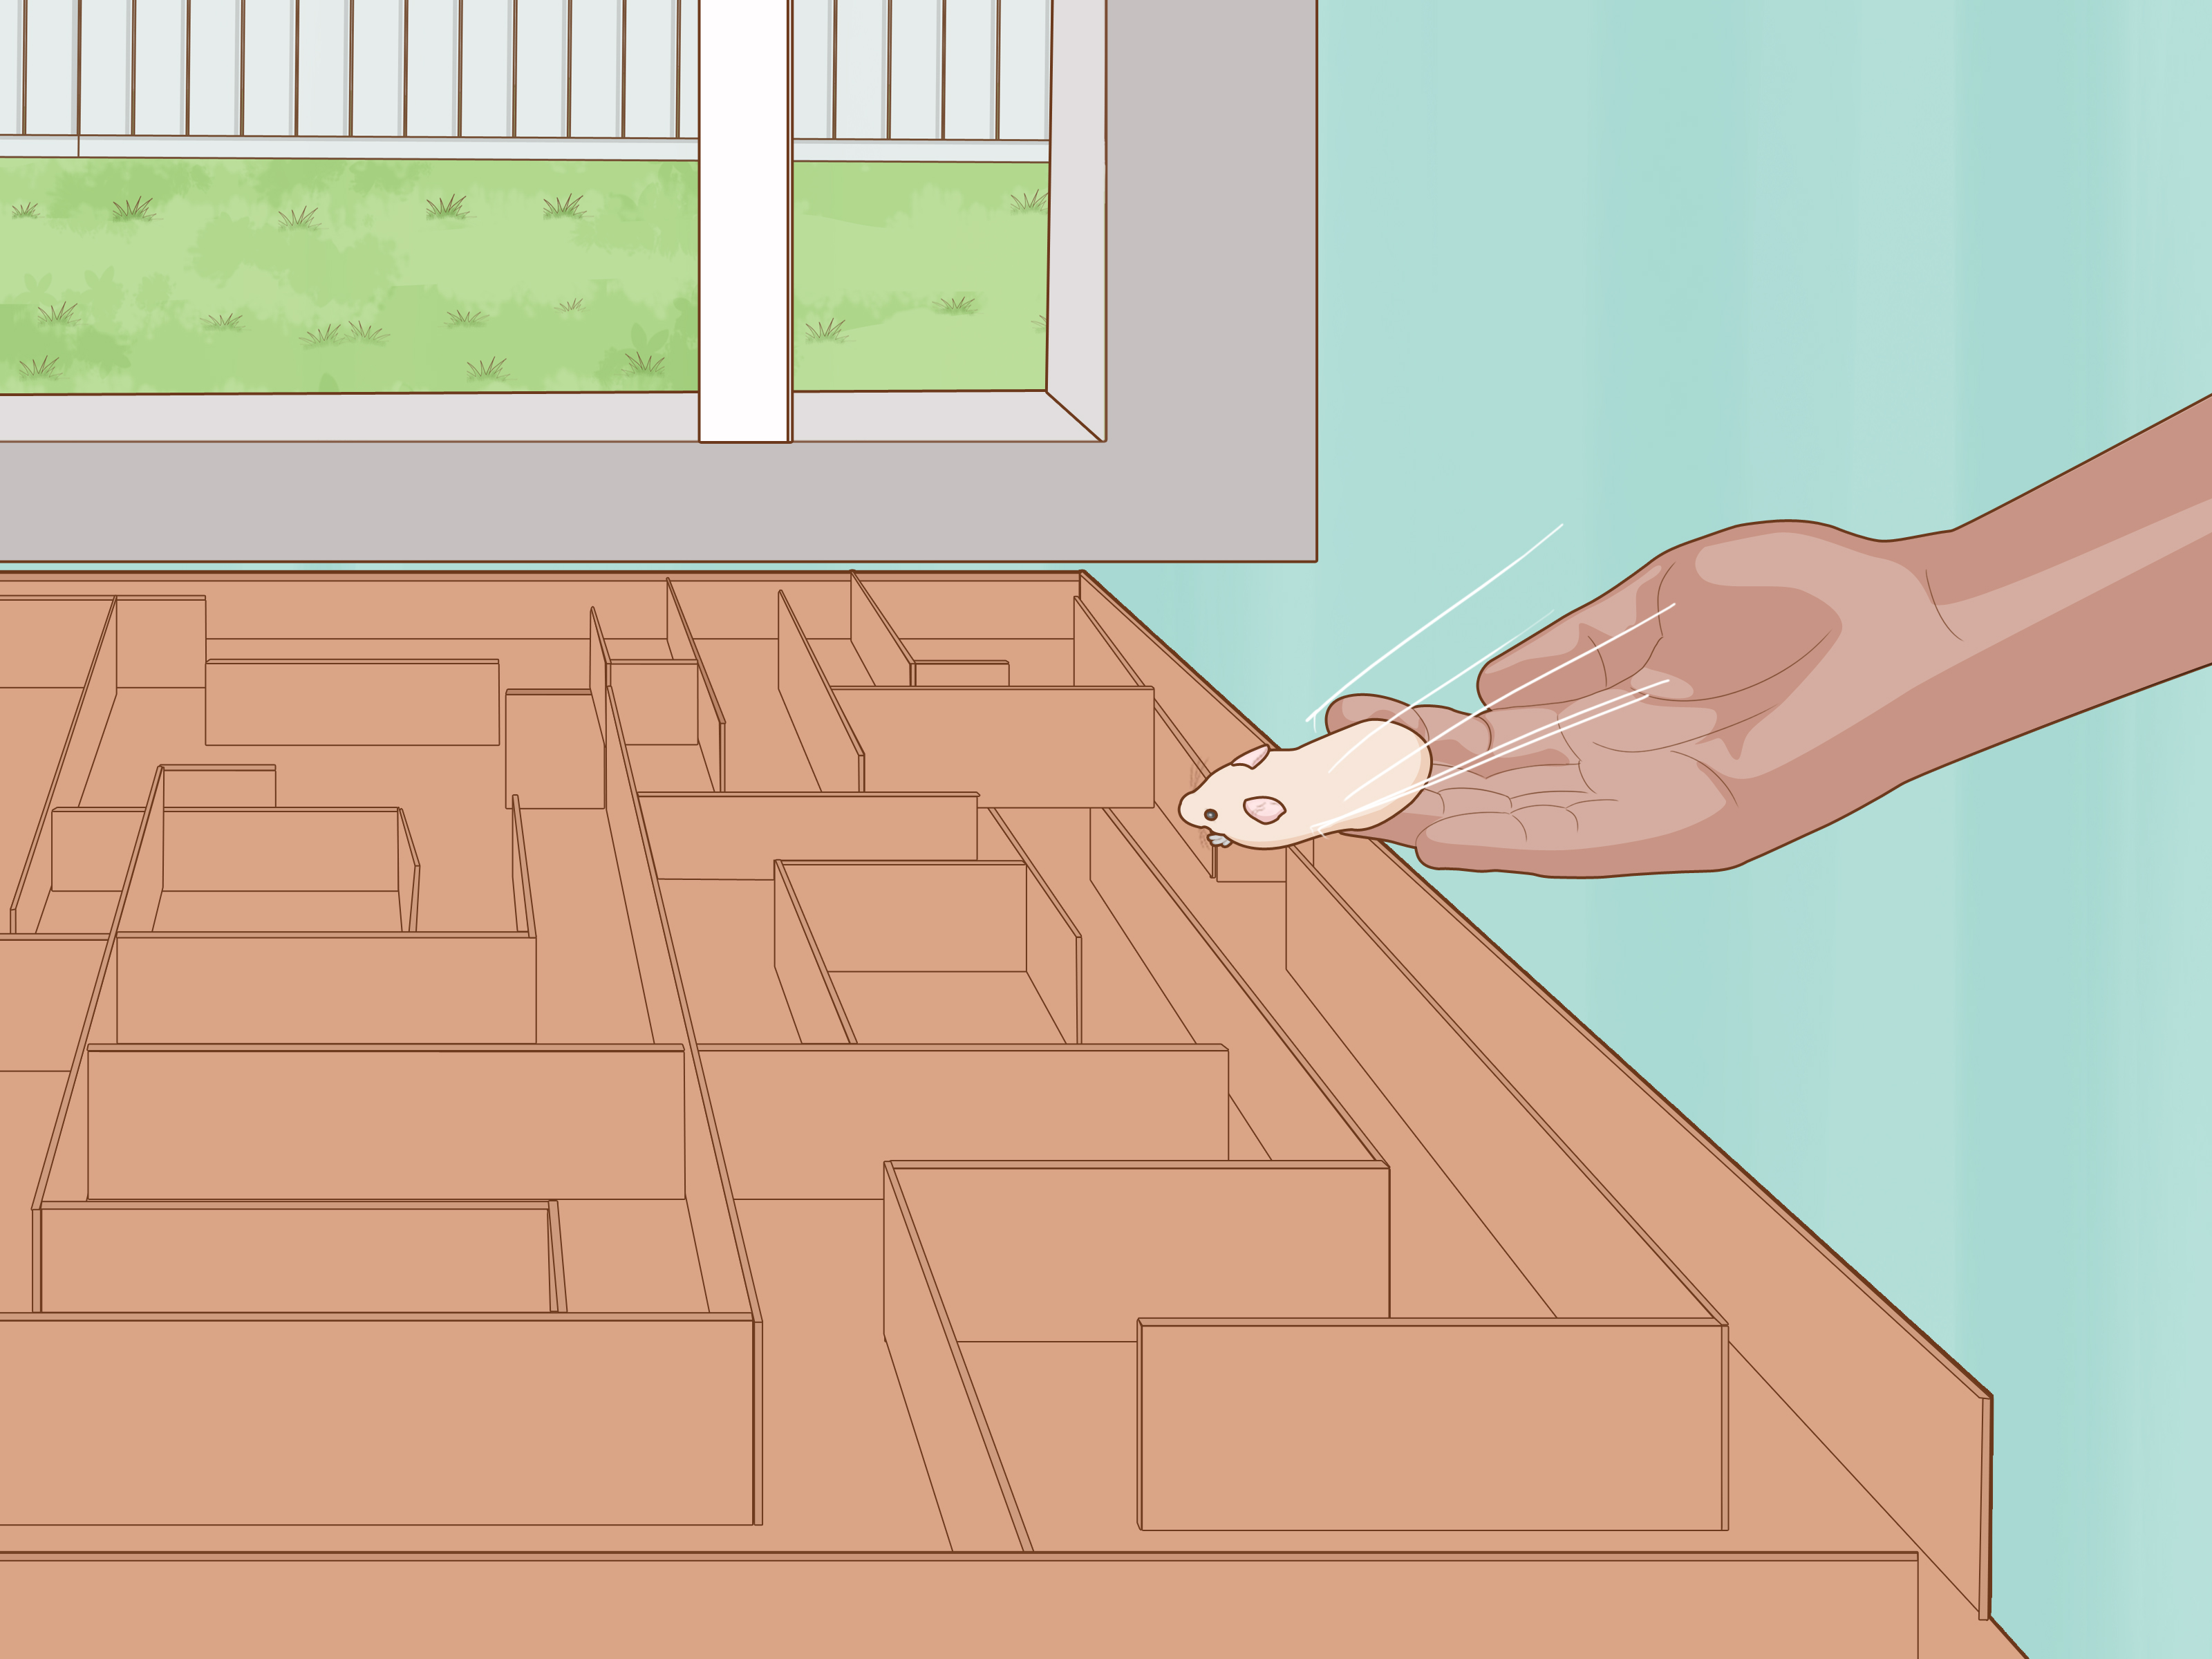
Building a hamster maze is one of those projects that sounds simple until your tiny roommate looks at your masterpiece, sniffs the entrance, and immediately tries to chew the corner instead. That is not failure. That is hamster feedback. A good hamster maze should be safe, interesting, chew-friendly, easy to clean, and designed for a creature whose life motto is: “Can I fit through this? Can I eat this? Can I escape this?”
Whether you want a quick cardboard hamster maze for weekend playtime or a reusable DIY hamster maze with tunnels, turns, and snack stations, the goal is not to create a high-pressure puzzle. Your hamster is not training for the rodent Olympics. The goal is enrichment: encouraging natural behaviors such as exploring, sniffing, hiding, chewing, and foraging. When built correctly, a maze can turn ordinary supervised playtime into a miniature adventure park.
This guide explains how to build a hamster maze step by step, what materials to use, what to avoid, how to keep your pet safe, and how to make the maze fun without turning it into a tiny cardboard tax audit.
Why Build a Hamster Maze?
Hamsters are naturally curious animals. In the wild, they explore tunnels, search for food, retreat into hiding spaces, and use their senses to navigate their surroundings. A homemade hamster maze can support those instincts in a safe, controlled way. Instead of simply placing your hamster on the floor and hoping for the best, a maze gives playtime structure.
A maze can help your hamster stay mentally stimulated, encourage gentle exercise, reduce boredom, and give you a fun way to observe your pet’s personality. Some hamsters sprint confidently through tunnels like furry little commuters. Others pause at every turn as if they are reviewing real estate options. Both responses are normal.
Maze Time Is Enrichment, Not a Replacement for Proper Care
A hamster maze should never replace a spacious enclosure, deep bedding, a proper wheel, chew toys, hiding places, fresh water, and a balanced diet. Think of the maze as a bonus activity. It is the hamster version of a weekend escape room, except the prize is usually a sunflower seed and the participant may decide to remodel the walls with their teeth.
Safety First: The Golden Rules of Hamster Maze Building
Before you cut cardboard, collect tubes, or design a maze worthy of a tiny mythological hero, start with safety. Hamsters are small, delicate, quick, and very talented at discovering design flaws. Your maze should protect them from falls, sharp edges, toxic materials, overheating, and escape routes.
Always Supervise Maze Play
Never leave your hamster alone in a maze. Even a safe cardboard hamster maze can become unsafe if your hamster chews through a wall, climbs over a barrier, gets stuck, or decides the exit should be wherever they personally declare it. Supervised play lets you intervene quickly and keeps the experience calm.
Use Chew-Safe Materials
Good maze materials include plain cardboard, paper towel tubes, toilet paper rolls, untreated wood, paper bags, and clean cardboard boxes. Avoid glossy cardboard, heavily printed packaging, tape within reach, staples, pins, sharp plastic, foam, rubber, and anything with strong fragrance or chemical residue.
Hamsters chew because their teeth continue growing and chewing is part of normal behavior. That means every material inside the maze should be chosen with the assumption that your hamster may taste-test it. If you would panic if your hamster nibbled it, do not use it.
Avoid Hot Glue Where Your Hamster Can Chew
Hot glue may be convenient for crafts, but it is not ideal for chewable hamster toys because dried glue is still a plastic-like material. If a hamster gnaws and swallows pieces, it can create health risks. For maze construction, use interlocking cardboard slots, folded tabs, paper ties placed out of reach, or a small amount of child-safe, non-toxic PVA glue only where your hamster cannot chew it.
Keep the Maze Low and Stable
Hamsters can climb better than many owners expect, but they are not built for dramatic falls. Keep ramps gentle, platforms low, and walls high enough to discourage climbing. A maze should sit on a flat, secure surface such as the floor, inside a dry bathtub, or inside a large playpen. Do not place it on a table unless the entire area is fully enclosed and escape-proof.
Best Materials for a DIY Hamster Maze
The best hamster maze materials are affordable, replaceable, and safe to chew. Fancy supplies are optional. Your recycling bin may already contain the foundations of a five-star hamster entertainment complex.
Recommended Materials
- Plain cardboard sheets or shipping boxes
- Paper towel rolls and toilet paper rolls
- Small cardboard boxes, such as cereal boxes with glossy surfaces removed or avoided
- Untreated wooden bridges or chew-safe wood blocks
- Brown paper bags
- Child-safe, non-toxic PVA glue used sparingly and out of chewing zones
- Scissors or a craft knife for adult use only
- A ruler and pencil for measuring walls
- Hamster-safe treats for reward stations
- Unscented paper bedding for cozy corners
Materials to Avoid
- Glossy magazine paper or shiny coated cardboard
- Plastic pieces that can be chewed off
- Foam, rubber, or sponge materials
- Staples, thumbtacks, pins, or exposed wire
- Strong tape inside the maze
- Scented paper, perfume-treated materials, or cleaning chemical residue
- Paints, markers, or dyes not clearly labeled pet-safe
- Fabric scraps, loose string, yarn, or cotton fluff that could tangle around feet or be swallowed
Step-by-Step Guide: How to Build a Hamster Maze
You do not need engineering software to build a hamster maze. You need a plan, a safe layout, and the humility to accept that your hamster may ignore your most impressive feature and spend five minutes inside a toilet paper tube.
Step 1: Choose a Safe Play Area
Pick a quiet, escape-proof area where your hamster can explore without loud noise, other pets, or small children reaching in unexpectedly. A clean dry bathtub, a large playpen, or a blocked-off floor area can work well. Make sure the temperature is comfortable and the surface is dry.
If you use the floor, block gaps under furniture and remove cords, houseplants, shoes, crumbs, and anything your hamster should not chew. Hamsters are excellent at finding the one forbidden object in a room. They are basically tiny safety inspectors with whiskers.
Step 2: Decide on the Maze Size
For a first maze, start small. A layout around 18 by 24 inches is enough for a beginner cardboard maze. You can always expand later. Keep paths wide enough for your hamster to turn around comfortably. Syrian hamsters need wider tunnels and doorways than dwarf hamsters. When in doubt, make passages larger rather than tighter.
A good rule is to design tunnels and paths so your hamster does not have to squeeze. Squeezing may look cute for half a second, but it can cause stress or lead to getting stuck. Your maze should invite exploration, not require a rescue operation involving scissors and regret.
Step 3: Sketch a Simple Layout
Draw your maze on paper before cutting anything. Include one entrance, one exit, several turns, and a few fun features. Avoid making the maze too complicated. Hamsters rely heavily on scent and curiosity, but a maze with endless dead ends can become frustrating.
For a beginner layout, try this structure: an entrance tunnel, a left-right choice, one short dead end with a treat, one tunnel loop, one hideout box, and a clear exit. This gives your hamster choices without turning the activity into a rodent graduate exam.
Step 4: Cut the Walls
Cut cardboard strips for the maze walls. For most hamsters, walls around 5 to 7 inches high are a practical starting point. If your hamster is a skilled climber, use taller walls or place the entire maze inside a secure playpen. Smooth any rough edges and remove loose paper bits.
Cardboard thickness matters. Thin cereal-box cardboard may bend too easily, while sturdy shipping cardboard holds its shape better. If using boxes, cut panels from clean, dry sections with minimal ink.
Step 5: Connect the Walls Safely
The safest construction method is to cut small slots in the cardboard and slide the wall pieces together. This creates a maze that can stand without much glue or tape. You can also fold tabs at the bottom of each wall and secure them underneath the base, away from the hamster’s teeth.
If you need adhesive, use only a small amount of child-safe, non-toxic glue on the outside or underside of the structure. Let it dry completely before playtime. Never put a hamster into a maze with wet glue, strong smells, or loose adhesive edges.
Step 6: Add Tunnels and Hideouts
Paper towel rolls and toilet paper tubes are maze gold. They create tunnels, turning points, sniffing zones, and cozy passages. For larger hamsters, cut a tube lengthwise and open it slightly to create a wider tunnel. You can also connect small boxes to the maze as “rooms.”
Add at least one hideout area where your hamster can pause. A hideout helps the maze feel less exposed and more natural. Hamsters are prey animals, so open spaces can make them nervous. A small cardboard box with two exits is better than one with a single entrance because it prevents your hamster from feeling trapped.
Step 7: Create Gentle Challenges
Once the basic maze is ready, add simple obstacles. Use a low cardboard bridge, a shallow bedding dig box, a treat tucked inside a paper cup, or a crumpled paper “sniff station.” Keep everything easy to climb over or move around.
Avoid steep ramps, high platforms, narrow ladders, or slippery surfaces. A hamster maze should be interesting, not extreme. If your design starts looking like a miniature obstacle course from a superhero movie, simplify it.
Step 8: Add Foraging Rewards
Foraging makes the maze more engaging. Place tiny pieces of hamster-safe food in a few locations. Good options may include a small piece of plain vegetable, a bit of pellet food, or a tiny seed used sparingly. Do not overdo treats. The reward should encourage exploration, not turn maze time into an all-you-can-eat buffet.
You can also scatter a pinch of regular food along the route. This supports natural searching behavior and keeps your hamster moving. Always remove fresh food after playtime so it does not spoil.
Step 9: Test the Maze Before Adding Your Hamster
Before playtime, inspect the entire maze. Check for sharp edges, loose tape, glue spots, unstable walls, small holes where feet could get caught, and tight corners. Gently push the walls to see if they wobble. If the maze collapses when touched, your hamster will absolutely discover that feature.
Make sure the exit does not lead to freedom unless freedom means a secure playpen. The maze should end in a safe area, not under the sofa, behind the bookshelf, or into a mysterious household dimension from which socks never return.
How to Introduce Your Hamster to the Maze
The first maze session should be short and calm. Place your hamster near the entrance and let them decide whether to explore. Do not push, chase, blow on, or force your hamster through the maze. If your hamster freezes, grooms, hides, or tries to leave, give them a break.
Some hamsters need several sessions before they feel confident. Others burst into the maze with the energy of a furry pinball. Watch body language. Relaxed exploring, sniffing, and gentle chewing are normal. Repeated frantic climbing, biting at walls, or hiding for a long time may mean the maze is too open, too stressful, or introduced at the wrong time of day.
Best Time for Maze Play
Hamsters are usually most active in the evening or at night. Avoid waking your hamster from deep sleep just to test a maze. A sleepy hamster is not a willing participant; it is a grumpy potato with teeth. Wait until your pet is naturally awake and moving around.
Fun Hamster Maze Ideas
Once your hamster understands the maze, you can change the layout to keep it fresh. Rotating features prevents boredom and gives your hamster new routes to investigate.
The Snack Trail Maze
Create a simple path with tiny food rewards hidden behind turns. Use only small amounts of food and focus on scent-based searching. This is great for cautious hamsters because the rewards build confidence.
The Tunnel City Maze
Use paper rolls, small boxes, and cardboard arches to create a maze that feels like a tiny underground city. Include multiple entrances and exits so your hamster can move freely. This design is especially good for hamsters that love enclosed spaces.
The Dig-and-Discover Maze
Add a shallow box filled with clean paper bedding. Hide a pellet or seed inside and let your hamster dig. Keep the bedding shallow enough that you can monitor your pet easily.
The Beginner Training Maze
Make a short route from entrance to exit with one treat at the end. Over time, add one new turn or tunnel per session. This teaches your hamster that the maze is safe and rewarding.
Cleaning and Reusing a Hamster Maze
Cardboard mazes are inexpensive, but they are not meant to last forever. After each play session, remove leftover food, check for urine, and inspect chewed areas. Replace any piece that becomes damp, dirty, heavily chewed, or unstable.
Do not wash cardboard and reuse it if it has absorbed urine or moisture. Damp cardboard can smell bad and may encourage bacteria or mold. For reusable maze sections, untreated wood or washable pet-safe plastic panels may work, but remove plastic immediately if your hamster chews it.
Store the maze in a dry place between sessions. If it starts looking like it survived a tiny tornado with incisors, thank it for its service and build a new one.
Common Mistakes to Avoid
Making the Maze Too Complicated
A maze with too many dead ends can stress or bore your hamster. Start simple. Add complexity slowly as your pet becomes more confident.
Using Unsafe Craft Supplies
Glitter, paint, scented markers, hot glue blobs, staples, and decorative foam have no place in a hamster maze. Cute for humans does not always mean safe for hamsters.
Forgetting Ventilation
If you create covered tunnels or rooms, make sure air can flow freely. Avoid sealed boxes or long enclosed sections without openings.
Leaving the Hamster Unsupervised
Even the best DIY hamster maze requires supervision. Your hamster may chew, climb, dig, squeeze, or attempt a dramatic escape.
Using Too Many Treats
Treats are helpful, but too many can upset a balanced diet. Use tiny rewards and consider using pieces of your hamster’s regular food.
Experiences From Building Hamster Mazes: What Actually Works
The first thing many hamster owners learn is that the maze you imagine and the maze your hamster chooses are not always the same maze. You may carefully design a clever route with a treat at the finish line, only to watch your hamster sit in the entrance tube and chew it like a gourmet breadstick. This is normal. In fact, it is part of the fun. A hamster maze is not just a puzzle; it is an enrichment environment, and chewing, sniffing, pausing, and rearranging are all forms of participation.
One practical experience is that simple layouts usually work better than elaborate ones. A maze with three or four turns, one hideout, and a snack station often gets more use than a giant maze with twenty corridors. Hamsters enjoy exploring, but they also like feeling secure. If the maze is too open, they may spend most of their time trying to escape. If it is too crowded, they may become confused or frustrated. The sweet spot is a design that offers choices while still letting your hamster move naturally.
Another useful lesson is to build with replacement in mind. Cardboard is wonderful because it is cheap, chewable, and easy to reshape. It is also temporary. A well-loved cardboard hamster maze may look brand new at 7:00 p.m. and like a tiny construction crew attacked it by 7:20. Instead of fighting this, design sections that can be swapped out. Make removable walls, replaceable tunnels, and small boxes that can be changed whenever they become dirty or too chewed.
Timing also matters. Maze play usually goes better when your hamster is already awake and active. If you wake a hamster during the day and place them in a maze, they may be confused, irritated, or uninterested. When introduced during natural active hours, many hamsters explore more confidently. A calm room helps, too. Loud television, barking dogs, or excited children hovering over the maze can make a small prey animal feel unsafe.
Treat placement can completely change the experience. If you put a reward at every turn, your hamster may stop exploring and simply snack. If you use no rewards at all, a shy hamster may not feel motivated. A few tiny rewards placed strategically work best. Try putting one near the entrance, one in a hideout, and one near the exit. Over time, your hamster may begin following scent trails and checking familiar reward spots.
Finally, the best maze is the one your hamster seems relaxed using. Watch your pet closely. If they sniff, explore, groom casually, and return to the maze during future sessions, you are on the right track. If they panic, climb constantly, or hide without moving, simplify the design. Building a hamster maze is partly craft project, partly pet care, and partly negotiation with a very small client who pays in adorable chaos.
Conclusion
Learning how to build a hamster maze is less about creating the perfect cardboard labyrinth and more about giving your hamster safe, supervised enrichment. With plain cardboard, paper tubes, gentle challenges, and a thoughtful layout, you can create a fun play space that encourages exploring, foraging, hiding, and chewing.
Keep the design safe, low, stable, and easy to clean. Avoid risky materials, supervise every session, and let your hamster set the pace. Your first maze does not need to be beautiful. It needs to be safe, interesting, and hamster-approved. If your furry friend explores it, chews it, naps in it, or immediately redesigns it, congratulations. You have successfully entered the world of hamster architecture.