Few crafts deliver as much drama, personality, and giggling as a paper bag puppet. One minute, you have a plain brown lunch bag. Ten minutes later, it has eyebrows, a backstory, and possibly a suspiciously strong opinion about snack time. That is the magic of this classic kids’ craft: it is simple, affordable, flexible, and surprisingly good at turning quiet afternoons into tiny theatrical productions.
Learning how to make a paper bag puppet is also wonderfully practical. You do not need fancy supplies, a craft-room worthy of a television show, or a glitter budget that requires financial counseling. A lunch bag, paper, glue, markers, and a little imagination are enough to create animals, storybook characters, family members, silly monsters, community helpers, holiday figures, and classroom mascots.
This guide covers three creative ways to make a paper bag puppet: a classic animal puppet, a character puppet, and a recycled mixed-media puppet. Each method includes supplies, step-by-step instructions, design tips, and ideas for turning the finished puppet into storytelling, reading, classroom, or family play. Whether you are a parent, teacher, babysitter, homeschooler, or adult who simply believes paper bags deserve a more glamorous life, this project is a winner.
Why Paper Bag Puppets Are Still a Favorite Kids’ Craft
Paper bag puppets have stayed popular for a reason: they combine art, pretend play, storytelling, and hands-on learning in one low-stress activity. Children get to color, cut, glue, fold, choose features, invent names, and then bring the puppet to life with their own voice. That process supports creativity, fine motor practice, language development, emotional expression, and confidence.
For younger children, the activity can be kept very simple: draw a face, glue on ears, and start playing. For older kids, the same project can become more advanced with movable parts, costumes, props, scripts, jokes, scenes, and puppet shows. That makes paper bag puppet crafts useful for preschool, elementary school, rainy-day play, library programs, summer camps, birthday parties, and holiday activities.
Another advantage is that the paper bag already does half the engineering. The folded bottom flap becomes the puppet’s mouth or face, while the long part of the bag becomes the body. When a child slips a hand inside and moves the flap, the puppet talks. Is it sophisticated theater technology? Not exactly. Is it extremely satisfying? Absolutely.
Basic Supplies for Making Paper Bag Puppets
Before choosing one of the three paper bag puppet ideas below, gather a few basic materials. You can use what you already have, and substitutions are encouraged. Crafting should not feel like assembling a spaceship manual.
Essential Materials
- Brown or white paper lunch bags
- Construction paper or colored cardstock
- Markers, crayons, colored pencils, or washable paint
- Glue stick or school glue
- Child-safe scissors
- Pencil for sketching shapes before cutting
Optional Decorations
- Googly eyes
- Yarn for hair, whiskers, tails, or manes
- Buttons, pom-poms, felt, ribbon, or fabric scraps
- Stickers, craft foam, tissue paper, or pipe cleaners
- Scrap cardboard for stronger ears, hats, wings, or accessories
Helpful Setup Tips
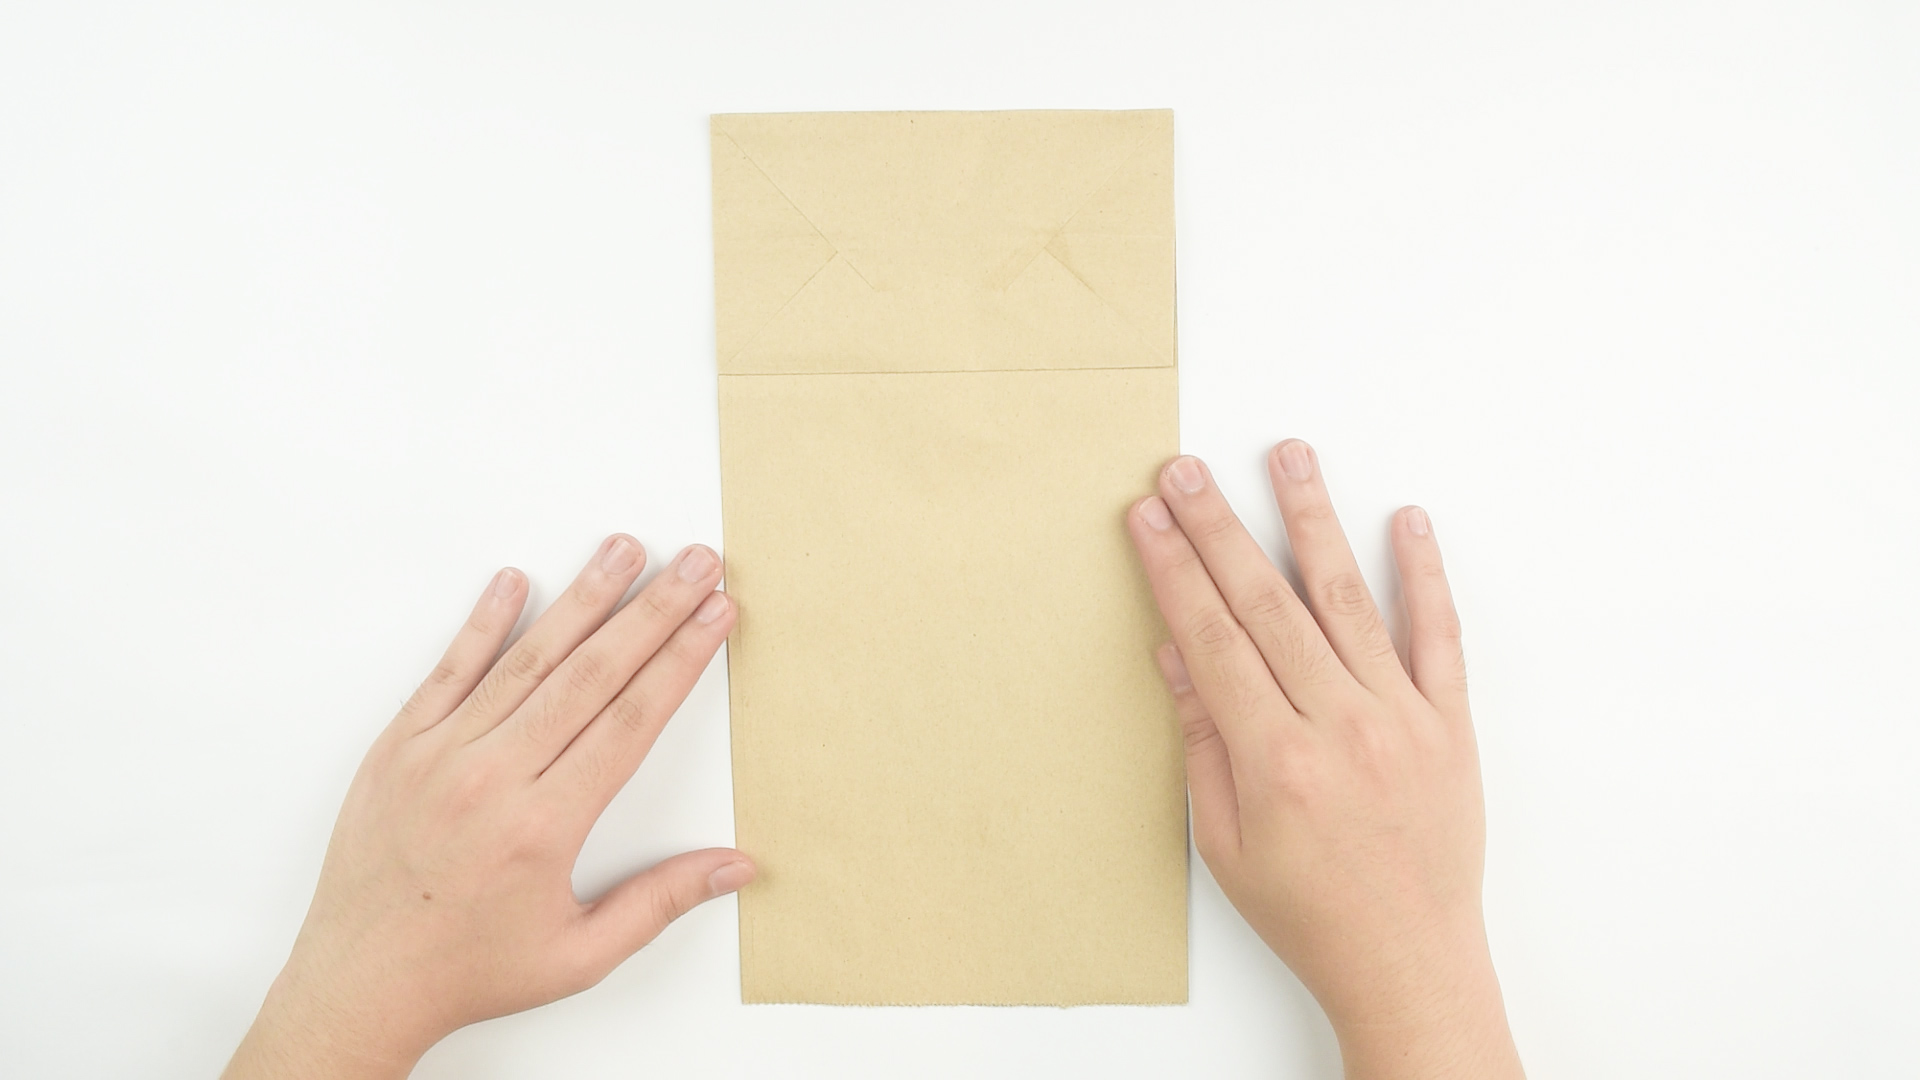
Place the paper bag flat on the table with the bottom flap facing up. This flap usually becomes the puppet’s face or moving mouth. Put newspaper, scrap paper, or a washable mat under the project if you are using paint or liquid glue. For younger kids, pre-cut a few circles, triangles, ears, noses, and arms so the activity stays fun instead of turning into a scissors marathon.
Way 1: Make a Classic Animal Paper Bag Puppet
The animal paper bag puppet is the superstar of this craft category. It works for dogs, cats, lions, owls, frogs, bunnies, bears, pigs, elephants, raccoons, birds, monsters that claim to be animals, and whatever creature a child proudly announces after gluing on six ears.
Best Animal Ideas
If you are making this craft with a group, choose animals that can be built from simple shapes. A cat needs triangle ears, whiskers, a nose, and a tail. A dog can have floppy ears and a tongue. A lion needs a mane made from strips of paper or yarn. An owl looks great with big round eyes, wings, and a small triangle beak. A bunny can use tall ears, rosy cheeks, and two front teeth.
Step-by-Step Instructions
- Position the bag. Lay the paper bag flat with the folded bottom flap facing up. The flap will become the animal’s head or mouth area.
- Plan the face. Use a pencil to lightly mark where the eyes, nose, mouth, ears, and other features will go.
- Create the mouth. Draw a smile along the lower edge of the flap, or glue a red paper tongue underneath so it appears when the puppet “talks.”
- Add eyes and nose. Draw eyes with markers, glue on googly eyes, or cut circles from paper. Add a nose using paper, a pom-pom, or a colored oval.
- Cut animal parts. Make ears, wings, paws, whiskers, teeth, horns, spots, stripes, or a tail from construction paper.
- Glue everything in place. Attach ears behind the top of the flap, paws on the body, and tails or wings along the sides.
- Let it dry. Give the glue a few minutes to set before the puppet debuts on stage. A puppet with sliding ears is funny, but usually not on purpose.
- Perform. Slip your hand into the bag and place your fingers inside the flap to move the mouth.
Design Example: Friendly Lion Puppet
To make a lion, cut a large circle or cloud shape from orange or yellow paper for the mane. Glue it around the flap, then add a smaller face shape on top. Use strips of paper around the edge for a shaggy effect. Add round eyes, a triangle nose, whisker dots, and paws on the lower bag. For extra personality, give the lion sleepy eyelids, dramatic eyebrows, or a tiny crown. Suddenly, you have the king of the lunch bags.
Learning Extension
Animal paper bag puppets are perfect for science and reading activities. Children can create puppets after learning about habitats, farm animals, ocean life, pets, or endangered species. Ask questions such as: Where does your animal live? What does it eat? What sound does it make? What problem does it need to solve in today’s puppet show?
Way 2: Make a Storybook or Character Paper Bag Puppet
The second way to make a paper bag puppet is to turn the bag into a character. This can be a storybook hero, fairy-tale villain, community helper, family member, classroom mascot, historical figure, superhero, pirate, astronaut, chef, teacher, firefighter, or an entirely original character named “Captain Waffle Shoes.” Respect the creative process.
Why Character Puppets Work So Well
Character puppets encourage kids to think beyond decoration. They begin asking questions: Who is this puppet? What does it want? What does it say? Is it brave, shy, silly, bossy, kind, confused, or convinced the moon is made of mashed potatoes? These questions naturally lead to storytelling, dialogue, emotional vocabulary, and imaginative play.
Step-by-Step Instructions
- Choose a character. Pick a person from a favorite book, a family member, a job role, a holiday figure, or an original character.
- Decide on key details. Think about hair, clothing, facial expression, accessories, and colors that make the character recognizable.
- Build the face. Use the paper bag flap as the face. Draw or glue on eyes, eyebrows, nose, cheeks, mouth, glasses, freckles, or a mustache.
- Add hair or headwear. Cut paper strips, glue on yarn, or add a paper hat, crown, helmet, bandana, or chef’s hat.
- Create clothes. Use the main body of the bag for the outfit. Add a shirt, dress, jacket, cape, uniform, apron, or patterned paper.
- Attach arms and props. Glue paper arms to the sides. Add a book, wand, spoon, shield, microphone, map, flower, or tiny sign.
- Give the puppet a voice. Ask the child to name the character and say one sentence in the puppet’s voice.
Design Example: Storybook Hero Puppet
For a storybook hero, choose three visual clues from the book. Maybe the character has a red cape, round glasses, striped shirt, or big boots. Recreate those clues with construction paper instead of trying to copy every detail. The puppet does not need to be perfect; it needs to be expressive. A slightly crooked paper crown can actually improve the drama.
Classroom and Reading Ideas
After reading a book, each child can make a puppet of one character and retell the story from that character’s point of view. This works especially well for fairy tales because students can compare perspectives. The wolf may insist he was misunderstood. The pig may request stronger building materials. The gingerbread man may still be running, which is honestly impressive.
Character puppets are also useful for social-emotional learning. A child can create a puppet that feels nervous on the first day of school, proud after trying something hard, frustrated after losing a game, or excited to make a new friend. Talking through a puppet can make big feelings easier to discuss because the puppet provides a playful distance.
Way 3: Make a Recycled Mixed-Media Paper Bag Puppet
The third method is the most open-ended: a recycled mixed-media paper bag puppet. This version uses leftover craft supplies, clean packaging, scrap paper, fabric bits, buttons, yarn, cardboard, tissue paper, and other safe household materials. It is ideal for monsters, robots, dragons, aliens, birds, sea creatures, fantasy animals, and wonderfully unclassifiable beings.
Why Try Mixed Media?
Mixed-media puppets teach kids that art materials do not have to come from a fresh package. Scraps can become scales, bottle caps can become robot buttons, tissue paper can become feathers, yarn can become hair, and cardboard can become armor. This approach encourages problem-solving: “What could I use for wings?” “How can I make the puppet look fuzzy?” “Can this cereal box become a dragon tail?”
Step-by-Step Instructions
- Collect safe recycled materials. Use clean cardboard, paper scraps, fabric pieces, yarn, buttons, ribbon, tissue paper, and magazine cutouts.
- Choose a creature or theme. Try a robot, dragon, alien, ocean monster, forest creature, silly chef, or weather puppet.
- Cover the bag if desired. Glue colored paper over the front of the bag or paint it before adding decorations.
- Create bold features. Use large eyes, dramatic teeth, bright hair, wings, antennae, scales, or a big expressive mouth.
- Add texture. Layer tissue paper, fabric, yarn, paper strips, or cardboard shapes to make the puppet more interesting.
- Include one surprise detail. Add a hidden tongue, a tiny pocket, a removable hat, a tail, a sign, or a flap that opens.
- Name the puppet. A mixed-media puppet deserves a memorable name, such as Professor Fluffbolt, Luna the Dragon, or Blip the Recycling Robot.
Design Example: Recycling Robot Puppet
To make a robot, cover the paper bag with gray or silver paper. Use circles or bottle caps for buttons, rectangles for eyes, and strips of paper for arms. Add a square mouth under the flap so it opens and closes like a talking machine. Draw wires, switches, and a control panel on the body. The finished robot can introduce a lesson about recycling, technology, shapes, or following directions.
Design Example: Silly Monster Puppet
For a monster, there are almost no rules, which is very convenient for anyone whose crafting style is “energetic chaos.” Add three eyes, one tooth, mismatched horns, yarn hair, a polka-dot belly, and accordion-fold arms. Monsters are great for younger kids because unusual features look intentional. If the nose ends up above the eyebrows, congratulations: it is a rare upside-nose monster.
Tips for Making Paper Bag Puppets Easier and Better
Use Big Shapes for Younger Kids
Large circles, triangles, rectangles, and strips are easier for small hands to glue and arrange. Save tiny details for older children or adult helpers. Big shapes also show up better during puppet shows.
Let the Bag Open Naturally
Do not glue the flap shut. The flap is what allows the puppet to “talk.” If you are adding a mouth, place the top lip on the flap and the bottom lip underneath it.
Keep Decorations Lightweight
Heavy decorations can make the puppet flop forward or tear. Use cardstock, construction paper, tissue paper, felt, or light cardboard. If you use buttons or pom-poms, glue them securely and let them dry completely.
Prepare a Drying Station
Set finished puppets on a table or tray to dry. Write each child’s name on the back of the bag before crafting, especially in classrooms, camps, or parties. Otherwise, five nearly identical bunny puppets may cause a diplomatic crisis.
Encourage Original Choices
Adults often want the puppet to look “right,” but kids learn more when they make decisions. If a child wants a blue giraffe with sneakers and a pizza hat, that puppet clearly has places to be.
How to Turn Paper Bag Puppets Into a Puppet Show
Once the puppets are finished, do not stop at “cute craft on the fridge.” Let them perform. A puppet show gives the project a second life and helps children practice speaking, listening, sequencing, and cooperation.
Create a Simple Stage
A table, couch back, cardboard box, or curtain between two chairs can become a stage. Keep it simple. The audience is usually very forgiving, especially if snacks are available.
Write a Three-Part Story
Help children plan a beginning, middle, and end. For example: the puppet loses something, meets a friend, and solves the problem. Or the puppet wants to throw a party, forgets the invitations, and asks the audience for help.
Use Easy Dialogue Prompts
- “Hello, my name is…”
- “Today I am looking for…”
- “I feel happy/sad/nervous/excited because…”
- “Can you help me solve this problem?”
- “The funniest thing that happened today was…”
Connect the Show to Learning
A paper bag puppet show can support reading, science, social studies, and emotional learning. Animal puppets can explain habitats. Community helper puppets can describe their jobs. Storybook puppets can retell a chapter. Emotion puppets can act out ways to calm down, apologize, share, or ask for help.
Common Paper Bag Puppet Mistakes to Avoid
Using Too Much Liquid Glue
A little glue goes a long way. Too much glue can wrinkle the paper bag and make pieces slide around. Glue sticks are often easier for younger children.
Forgetting Which Side Is the Front
Before decorating, place the bag with the flap facing up and opening at the bottom. This orientation makes the puppet work properly when a hand goes inside.
Adding Tiny Details Too Early
Start with big features first: head, mouth, eyes, ears, body, arms. Add small details last. This helps children see the puppet come together and prevents frustration.
Skipping the Play Part
The puppet is not truly finished until it has spoken at least one line. Even a quick “Hello, I am a chicken and I demand cookies” counts as a successful performance.
Experience Notes: What Making Paper Bag Puppets Teaches in Real Life
One of the best things about making paper bag puppets is that the activity rarely goes exactly as planned, and that is part of its charm. In real classrooms, homes, libraries, and craft tables, the most memorable puppets are often the ones that begin with a mistake. A child cuts one ear larger than the other, and suddenly the dog becomes a “super-listening dog.” Someone glues the eyes too close together, and the puppet becomes a suspicious detective. A paper tongue falls off, and now the frog has a dramatic backstory. These small surprises teach flexibility better than any perfect sample project ever could.
Paper bag puppets also show how differently children think. Give ten kids the same brown bag and the same pile of paper scraps, and you will not get ten identical puppets. One child may carefully copy a cat from a picture. Another may invent a rainbow dinosaur who speaks in whispers. Another may spend twenty minutes making a hat and then announce that the puppet is “a hat salesman who is also a turtle.” This is not a distraction from the craft. It is the point. The bag becomes a safe little stage where children can test ideas, personalities, voices, and jokes.
Adults often learn something too: simple materials are sometimes better than complicated kits. When every piece is pre-cut and every instruction is fixed, children may focus on matching the example. With paper bags, scraps, and open-ended prompts, they focus on creating. That difference matters. A puppet does not have to look polished to be meaningful. A lopsided puppet that a child proudly names and performs with has more value than a flawless craft assembled mostly by an adult.
Another real-life benefit is conversation. Some children who are quiet in group settings become surprisingly expressive when speaking through a puppet. The puppet can be brave when the child feels shy. It can ask a question, tell a joke, or explain a feeling. Parents and teachers can use this gently: “How does your puppet feel today?” or “What does your puppet need help with?” The answers may be silly, serious, or both.
Finally, paper bag puppets are wonderfully forgiving. They work for quick ten-minute crafts or longer storytelling projects. They fit rainy afternoons, classroom units, birthday parties, book reports, holiday activities, and family play. They can be made neatly at a desk or enthusiastically at a kitchen table covered in paper confetti. By the end, the child has not just made a craft. They have made a character, a voice, a story, and possibly a new household celebrity who needs a standing ovation before dinner.
Conclusion
Learning how to make a paper bag puppet is simple, but the creative possibilities are huge. With one paper lunch bag and a handful of basic supplies, kids can create animal puppets, storybook characters, family puppets, robots, monsters, and original performers ready for their big stage moment. The three methods in this guide give you flexible starting points: the classic animal puppet, the character puppet, and the recycled mixed-media puppet.
Best of all, paper bag puppets are more than a cute craft. They encourage storytelling, fine motor practice, creative thinking, emotional expression, and playful learning. They are affordable, adaptable, and easy to customize for different ages and themes. So grab a paper bag, rescue those construction paper scraps from the drawer, and prepare for a tiny performer with a very big personality.