Finding cement splatter on your car is the kind of surprise nobody orders. One minute your vehicle is minding its business near a construction zone, and the next it looks like it lost a fight with a sidewalk. Cement, concrete, mortar, and cement dust can cling stubbornly to paint, glass, wheels, and trim. Worse, dried cement is gritty and mineral-heavy, which means the wrong removal method can scratch clear coat faster than you can say, “I should not have used a kitchen knife.”
The good news: you can often remove cement from a car at home if the splatter is light to moderate, the paint is in decent condition, and you work patiently. The secret is not brute force. It is softening, dissolving, rinsing, repeating, and protecting the finish afterward. Think spa day, not demolition day.
This guide explains how to remove cement from a car in 8 practical steps, including what tools to use, what to avoid, when to call a professional, and how to protect your paint once the cement is gone.
Why Cement Is So Hard to Remove from Car Paint
Cement and concrete are not ordinary dirt. Once wet cement dries, it bonds into a hard, mineral-based crust. Cement dust can also mix with rain, humidity, or morning dew and form a gritty film that sticks to the clear coat. If you drag that grit across the paint, you may create swirl marks, scratches, or dull patches.
Another issue is chemistry. Cement residue is alkaline and mineral-rich, while many cement removers rely on acidic formulas to break down the deposit. Used correctly, a dedicated concrete remover can help loosen hardened splatter. Used carelessly, strong acids can damage paint, stain trim, etch glass, irritate skin, and create fumes. That is why the safest approach is to start mild, test first, and increase cleaning strength only when necessary.
Before You Start: Supplies You Will Need
Gather your tools before touching the cement. Once the area is wet, you do not want to run around looking for microfiber towels like a contestant on a very boring game show.
Recommended supplies
- Garden hose or pressure washer on a gentle setting
- pH-neutral car wash soap
- Two buckets, preferably one for clean soapy water and one for rinsing
- Clean microfiber wash mitts and microfiber towels
- Spray bottle
- Distilled white vinegar mixed with water for light residue
- Automotive-safe concrete or cement remover for heavier deposits
- Soft detailing brush
- Clay bar or synthetic clay mitt with clay lubricant
- Polish, wax, paint sealant, or ceramic spray protection
- Nitrile gloves and eye protection
What not to use
- Metal scrapers, screwdrivers, razor blades on paint, or putty knives
- Dry towels rubbed directly over cement dust
- Sandpaper unless you are trained in paint correction
- Undiluted muriatic acid
- Household bathroom cleaners not labeled safe for automotive surfaces
- Magic erasers on glossy paint
A simple rule: if the tool sounds like it belongs in a toolbox instead of a detailing kit, keep it away from your car’s paint.
How to Remove Cement from a Car: 8 Steps
Step 1: Park in the shade and inspect the damage
Move the car to a shaded, cool area. Direct sunlight can dry cleaners too quickly, which may leave stains or make cement residue harder to remove. Look closely at the affected panels. Is the cement fresh and soft, powdery, lightly speckled, or hardened into thick blobs? Is it on paint, glass, plastic trim, chrome, wheels, or rubber seals?
This inspection matters because different surfaces tolerate different cleaning methods. Painted panels need the gentlest approach. Glass is more durable, but it can still be scratched by grit. Textured plastic trim can stain if strong chemicals sit too long. Wheels may handle stronger cleaners, but only if the wheel finish is compatible.
If the cement is thick, widespread, or has been baking on the car for weeks, consider taking photos before cleaning. If the damage happened near a construction site, parking garage, or contractor’s work area, photos may help with an insurance or reimbursement claim.
Step 2: Rinse thoroughly before touching the paint
Start with water, not towels. Rinse the affected area from top to bottom using a hose or a pressure washer on a low to moderate setting. Keep the nozzle at a safe distance, especially near older paint, chipped clear coat, decals, parking sensors, or edges of protective film.
The goal is to remove loose dust and sandy particles before any contact wash. Cement dust behaves like tiny gravel. If you wipe it dry, you are basically giving your paint an exfoliation it absolutely did not request.
For fresh cement splatter, a long rinse may remove more than expected. If the cement has not fully cured, water and patience can do a surprising amount of work. Avoid blasting one spot aggressively, because high pressure can force grit across the paint or damage weak trim.
Step 3: Soak the area with car wash soap
Mix pH-neutral car wash soap with water according to the product directions. Soak a microfiber wash mitt in the solution and gently lay the suds over the cement spots. Do not scrub yet. Let the soapy water dwell for several minutes to soften dirt around the cement and reduce friction.
For vertical panels, reapply suds often so the area stays wet. You can also place a wet microfiber towel over small cement spots for a few minutes. This helps hydrate the residue and makes later removal safer.
After soaking, gently wash around the contaminated area using straight-line motions. Rinse the mitt frequently in a separate bucket. If you feel hard particles dragging under the mitt, stop and rinse again. The paint should never feel like you are washing it with beach sand.
Step 4: Test a mild vinegar solution on a small area
For light cement dust or faint mineral haze, a diluted vinegar solution may help. Mix equal parts distilled white vinegar and water in a spray bottle. Spray a small, hidden test area first, such as a lower painted section or inside a door jamb edge where appropriate. Let it sit briefly, then rinse and inspect.
If the test area looks fine, spray the solution onto the cement spots. Keep the surface wet for a short dwell time, usually one to three minutes. Do not let vinegar dry on paint, glass, trim, or metal. After the dwell time, rinse thoroughly.
Vinegar is mild compared with professional cement removers, but it is still acidic. It may not remove thick cured concrete, and repeated use can strip wax or sealant. That is not a disaster, but it means you should plan to re-protect the paint later.
Step 5: Use an automotive-safe cement remover for stubborn spots
If water, soap, and diluted vinegar are not enough, move to a dedicated automotive-safe cement or concrete remover. Choose a product labeled for use on vehicle paint, glass, or exterior surfaces, and read the directions carefully. Wear gloves and eye protection. Work in a ventilated area. Avoid windy conditions that can blow product mist onto your face, nearby vehicles, or sensitive surfaces.
Apply the remover to a small section at a time. Let it dwell only as long as the label recommends. Most products work best when kept wet, so reapply lightly if needed rather than allowing the chemical to dry. You may see bubbling, softening, or a change in texture as the product reacts with the mineral deposit.
Do not assume stronger is better. Muriatic acid and harsh concrete cleaners can be dangerous and may harm automotive finishes, aluminum, chrome, rubber, and plastic. For a daily driver with factory paint, a safer dedicated remover is usually a better choice than a hardware-store acid experiment. Your car is not a driveway.
Step 6: Gently loosen the cement with microfiber or a soft brush
Once the cement has softened, gently wipe with a wet microfiber towel or agitate with a soft detailing brush. Use light pressure. If a spot does not move, add more dwell time instead of more muscle. The moment you start forcing it, the cement wins and your clear coat loses.
For small raised dots, try pinching the softened residue with a soaked microfiber towel and lifting it away. Do not flick, chip, or scrape. On glass only, some professionals use plastic razor blades or specialized glass-safe tools, but even then the surface must be wet and clean. Never use a razor blade on painted panels.
Work slowly across one panel at a time. Rinse after each section so loosened particles do not dry back onto the finish. Replace dirty towels with clean ones often. A towel loaded with cement grit becomes sandpaper with a laundry tag.
Step 7: Rinse, rewash, and repeat if necessary
After chemical treatment and gentle agitation, rinse the panel thoroughly. Then wash the area again with car soap to remove any remaining cleaner. Inspect the paint from different angles. Cement residue can hide as tiny white specks, chalky smears, or rough patches that are easier to feel than see.
Run your clean hand inside a thin plastic sandwich bag and lightly glide it over the washed paint. The bag increases sensitivity, helping you feel bonded contaminants. If the area still feels gritty or bumpy, repeat the softening process rather than jumping straight to aggressive rubbing.
Multiple gentle rounds are safer than one heroic attack. This is detailing, not arm wrestling.
Step 8: Clay, polish, and protect the paint
Once visible cement is gone, use a clay bar or synthetic clay mitt with plenty of lubricant to remove remaining bonded contaminants. Glide the clay lightly over the surface in straight lines. If it sticks or skips, add more lubricant. Fold or knead the clay frequently to expose a clean surface. If you drop the clay on the ground, throw it away. It has officially joined the gravel community.
After claying, rinse or wipe the area clean and inspect the finish. If you see light haze, water spots, or fine scratches, a mild polish may restore gloss. Apply polish by hand or machine according to your skill level and the product directions. If the paint damage is deep, leave correction to a professional detailer.
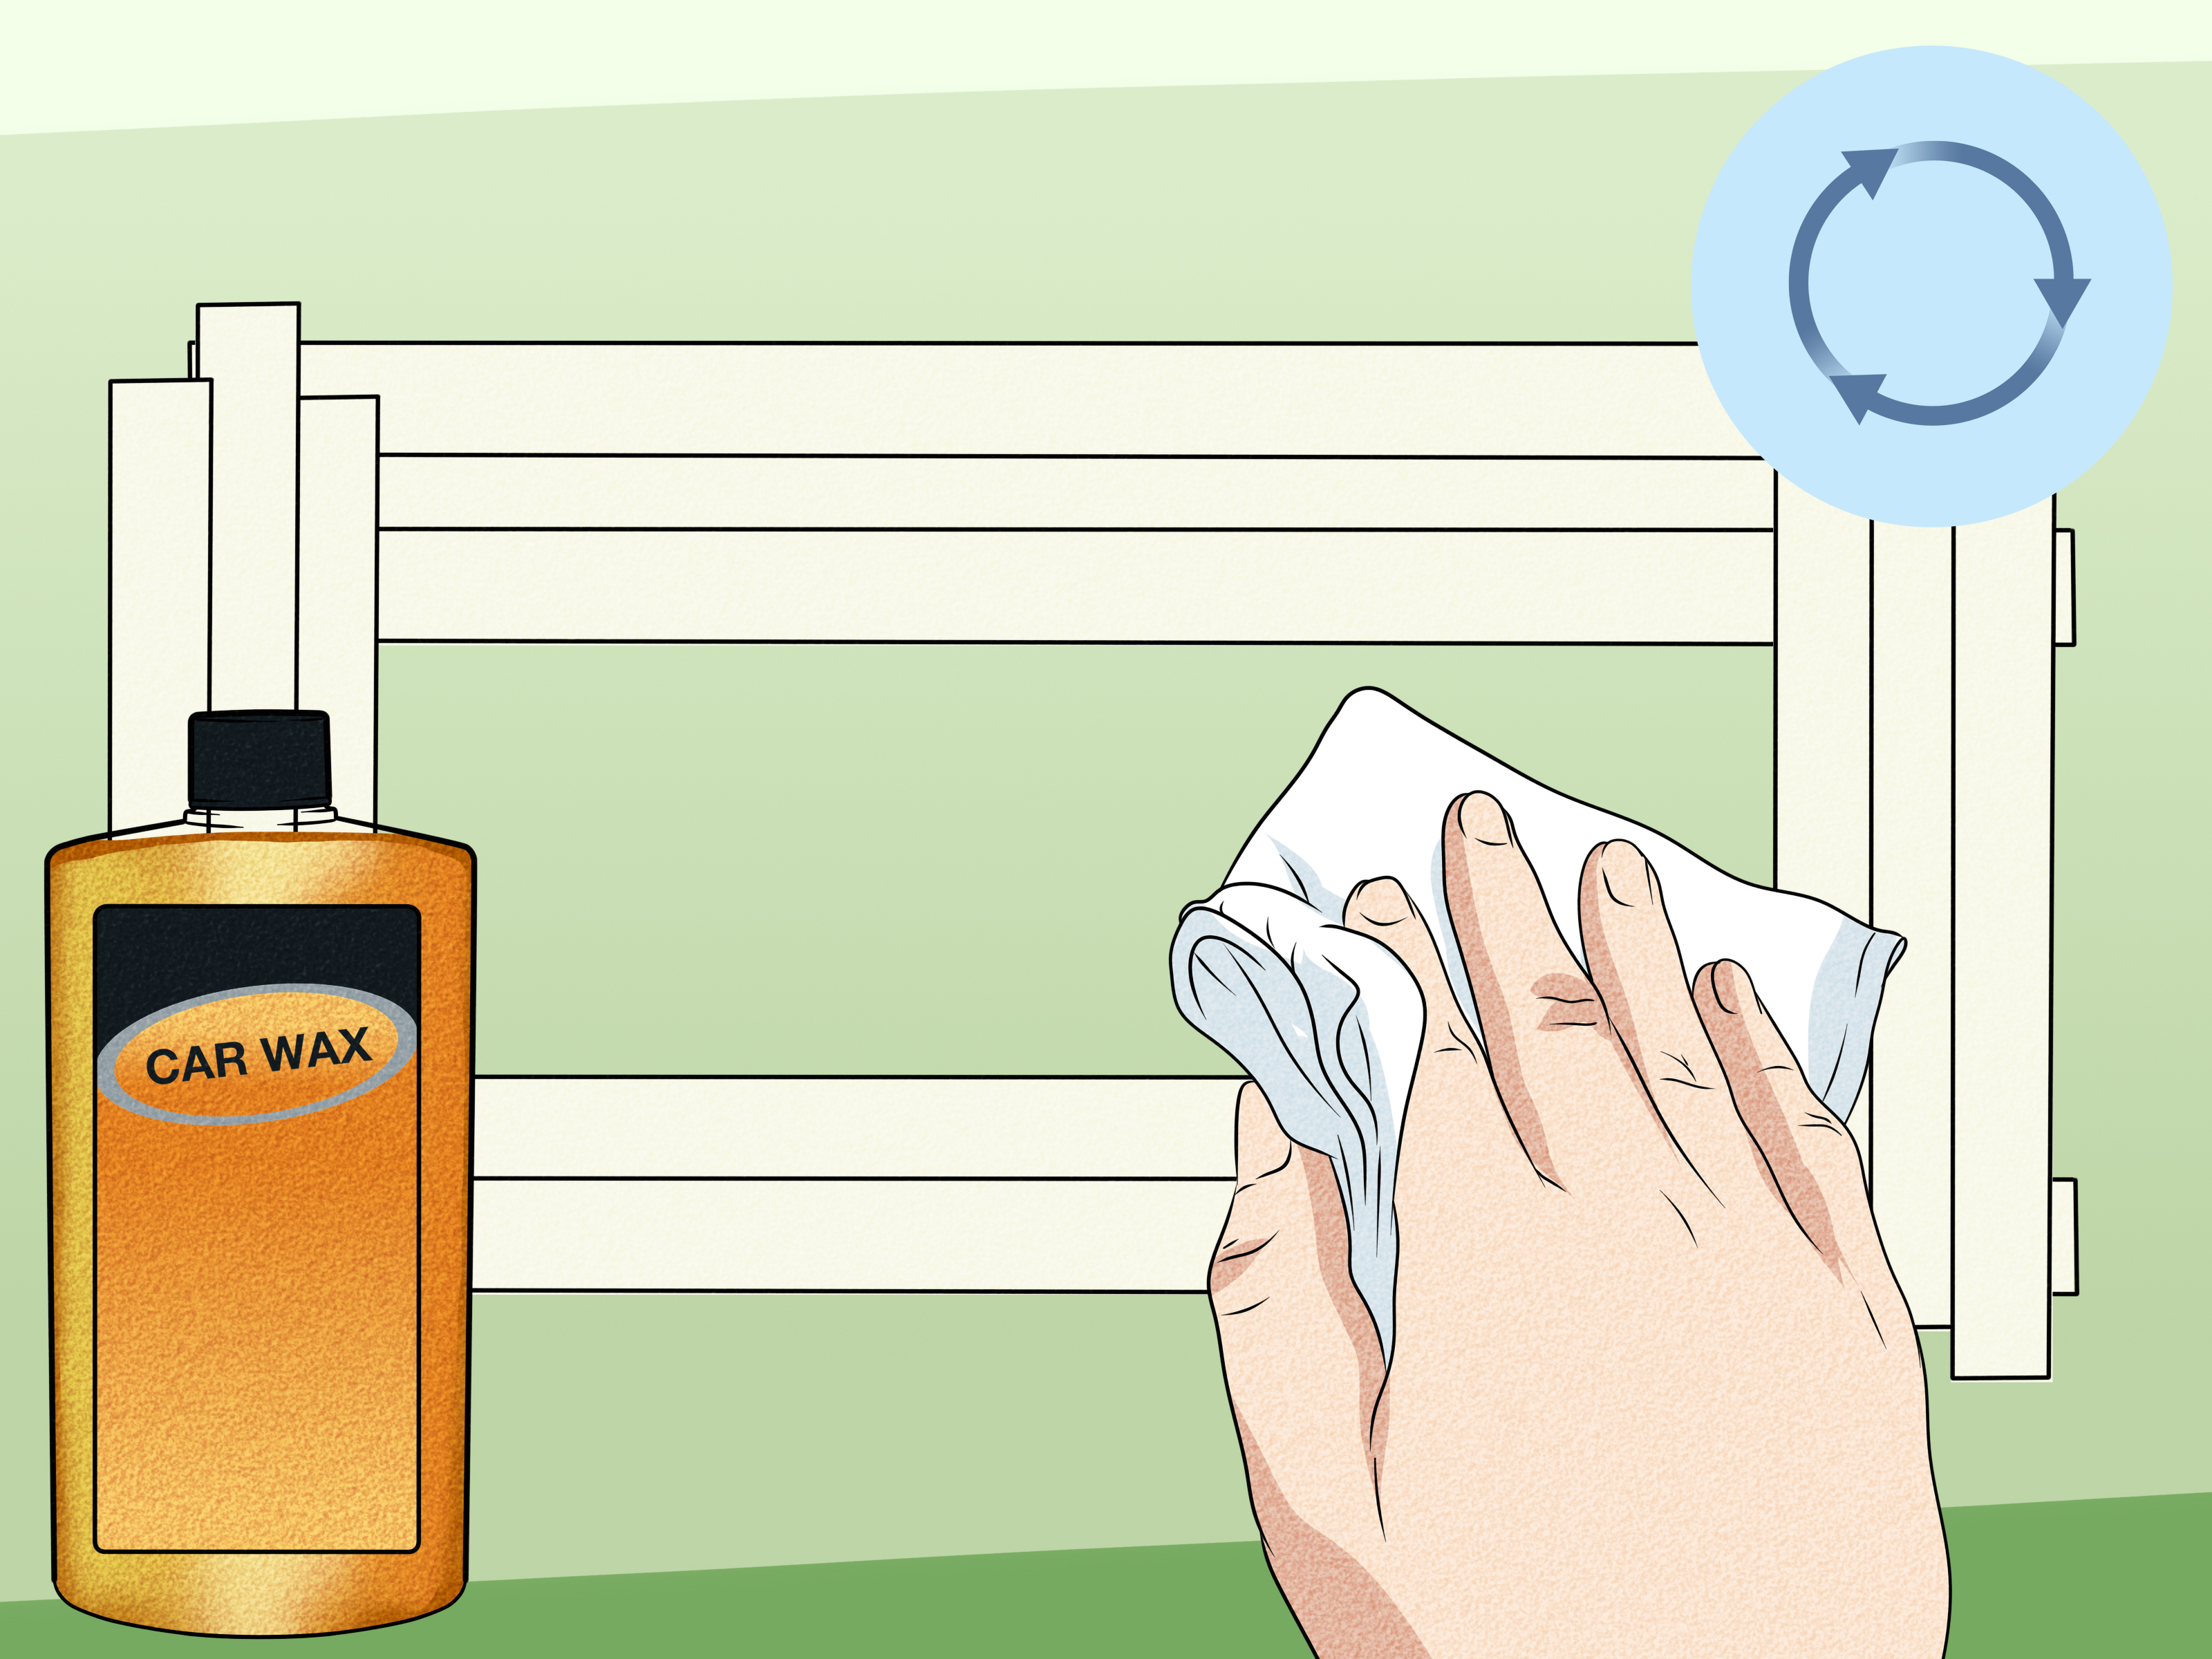
Finally, apply wax, paint sealant, or ceramic spray protection. Cement removal can strip existing protection, and freshly cleaned paint needs a barrier against water, sun, road grime, and future construction-zone drama.
How to Remove Cement from Car Windows
Glass can tolerate more cleaning pressure than paint, but it is not invincible. Rinse first, soak with soapy water, and use an automotive-safe cement remover if needed. A clay bar can also help remove mineral film from glass. For stubborn spots, a plastic razor blade may be used carefully on wet glass, but avoid rubber seals, tint film, and painted edges.
Never scrape dry glass covered in cement dust. Cement grit can scratch glass, especially if dragged with pressure. After cleaning, wash the glass again and use an automotive glass cleaner for a clear finish.
How to Remove Cement from Wheels and Tires
Wheels require caution because finishes vary. Painted, powder-coated, polished aluminum, chrome, and matte wheels can react differently to chemicals. Start with a rinse and pH-neutral soap. If cement remains, use a product labeled safe for your wheel type. Agitate with a soft wheel brush and rinse thoroughly.
For tires, cement dust usually comes off with repeated rinsing and a tire-safe cleaner. Avoid soaking tire sidewalls in harsh acids. If cement is packed into tread grooves, rinse patiently and use a stiff tire brush, not a metal tool.
Common Mistakes That Can Damage Your Car
Scraping first
The biggest mistake is trying to pop cement off with a hard object. Paint is protected by a clear coat, not an invisible force field. Scraping can leave deep scratches that cost far more to fix than the original cement problem.
Letting chemicals dry
Whether you use vinegar or a dedicated remover, do not let it dry on the surface. Dry chemicals can leave stains, streaks, or residue. Work in small sections and rinse thoroughly.
Using strong acid without experience
Strong acids may dissolve cement, but they can also burn skin, irritate lungs, discolor metals, stain trim, and damage finishes. If the cement requires aggressive chemicals, that is a sign to call a professional detailer.
Skipping paint protection
After cement removal, the paint may be bare of wax or sealant. Leaving it unprotected makes future contamination harder to clean. Always finish with protection.
When Should You Call a Professional Detailer?
Call a professional if the cement covers large areas, has been cured for a long time, sits on delicate matte paint, affects a wrapped vehicle, or appears to have etched the clear coat. You should also get help if the car is expensive, newly painted, ceramic coated, or leased. A trained detailer can test products, use controlled chemical removal, perform paint decontamination, polish safely, and reapply protection.
Professional help is also smart when the cement came from a construction accident. A detailer can document the contamination and provide an invoice, which may be useful if another party is responsible.
Prevention Tips: How to Protect Your Car Near Construction
- Park away from active concrete pouring, cutting, grinding, or demolition.
- Avoid parking under unfinished garages or near construction runoff.
- Wash your car soon after driving through cement dust or road construction zones.
- Keep a healthy layer of wax, sealant, or ceramic protection on the paint.
- Use a car cover only on a clean vehicle; covering a dusty car can grind particles into the paint.
- Report heavy splatter quickly if it happened at a job site or parking area.
Prevention is not always possible, but protected paint gives you a fighting chance. Cement is much less scary when it lands on a slick, well-maintained surface instead of neglected clear coat.
Real-World Experience: What Actually Works Best
In real life, cement removal is rarely a perfect eight-step fairy tale. Sometimes the cement is fresh and comes off with a rinse. Sometimes it has baked in the sun for three days and behaves like it signed a lease on your hood. The most important lesson from hands-on car care is that patience beats pressure almost every time.
A common experience is the “construction parking lot surprise.” A driver parks near a building project for a workday, returns home, and notices tiny gray dots along the lower doors and rocker panels. At first, the dots look like ordinary road grime. After a normal wash, they remain. This is where many people make the first mistake: they scratch at a dot with a fingernail. If it does not move easily, stop. Fingernails can still drag grit across paint. The better move is to soak, test a mild solution, and keep the residue wet until it softens.
Another real-world scenario involves cement dust rather than obvious chunks. This usually happens near roadwork, parking garages, or masonry repairs. The car may look dusty, but after a rain shower, the dust turns into a chalky film. Owners often think a quick automatic car wash will solve it. Sometimes it helps, but brush-style washes can grind mineral residue into the finish. A careful hand wash is safer. Pre-rinsing for several minutes makes a noticeable difference because it removes loose abrasive material before the wash mitt touches the paint.
Detailers often find that the lower panels need the most repeat work. The front bumper, rocker panels, wheel arches, and rear quarter panels collect road spray and construction debris. These areas may require two or three gentle rounds of remover and rinsing. That does not mean the product is failing. It means the safer process is working gradually. Cement removal should feel boring. If it feels dramatic, noisy, or crunchy, something is wrong.
One practical trick is to use lighting from different angles. Cement specks can disappear under garage lighting and then reappear in sunlight like tiny gray ghosts. After rinsing and drying, inspect the panel outdoors or with a handheld detailing light. Feel the surface gently with a plastic bag over your fingers. Smooth paint usually means the residue is gone. Roughness means bonded contamination remains, even if the panel looks clean.
Experience also teaches that clay bars are best used after the cement has been chemically softened and mostly removed. Clay is excellent for leftover film and tiny bonded particles, but it is not a bulldozer. If you try to clay over hard cement chunks, you may drag them across the clear coat. Save clay for the final cleanup stage, then polish only if needed.
Finally, the most overlooked step is protection. Many people celebrate once the cement disappears and forget that cleaners, vinegar, and decontamination can remove wax. A quick coat of sealant or wax makes the car easier to clean next time. It also restores slickness, gloss, and peace of mind. In other words, do not just remove the cement; make sure the paint is ready for whatever the road throws at it next.
Conclusion
Removing cement from a car is a slow-and-steady job. Start with a thorough rinse, soften the residue with soap and water, test a mild vinegar solution for light deposits, and use an automotive-safe cement remover for stubborn splatter. Avoid scraping, harsh rubbing, and strong acids unless you truly know what you are doing. Once the cement is gone, clay the paint, polish if necessary, and apply fresh protection.
The best method is not the most aggressive one. It is the one that removes the cement while leaving your clear coat glossy, smooth, and unbothered. Your car has already survived the cement. Do not make it survive a bad cleaning method too.
Note: This article is for educational car-care guidance. Always test cleaners on a small hidden area, follow product labels, wear protective gear, and consult a professional detailer for severe cement contamination or delicate finishes.