Frozen gutters are winter’s way of saying, “Your house has chosen drama.” One day you have a quiet roofline. The next day you have icicles, a gutter packed with ice, and the vague feeling that your home is trying to grow its own glacier. The good news is that you can deal with gutter ice safely and intelligently. The bad news is that brute force is not the answer. Your gutters are not impressed by your shovel, your ladder confidence, or your “I watched one video, I got this” energy.
In most cases, ice in gutters is tied to a bigger issue: melting snow on the roof refreezes at the colder eaves and in the gutter system. That means the smartest fix is not just “remove the ice,” but “remove the ice without wrecking the gutters, shingles, landscaping, or your weekend.” This guide walks through 11 practical steps, starting with the safest options first and ending with the long-term fixes that keep the whole mess from coming back.
Why Ice Builds Up in Gutters
Gutter ice usually starts when snow on the roof melts, runs down toward the colder edge of the roof, and refreezes near the eaves, gutters, or downspouts. Add leaves, grit, or a partially clogged downspout, and now the water has nowhere to go. It freezes layer by layer until your gutter looks like it has been stuffed with a brick of cloudy ice.
That buildup can bend gutters, loosen fasteners, create giant icicles, and push water back under shingles. In plain English: what looks like a decorative winter fringe can turn into a leak, a warped gutter, and a repair bill that arrives with the emotional warmth of a tax notice.
How to Remove Ice from Gutters: 11 Steps
Step 1: Start with a safety check, not a hero moment
Before touching anything, look at the situation from the ground. If the gutter is sagging, the roof is steep, the house is more than one story, there are power lines nearby, or you already have water leaking indoors, skip the DIY experiment and call a roofing or ice-dam removal professional. Adult homeowners should only do ground-based work they can reach safely. No climbing onto an icy roof. No ladder on snowy ground. No audition for a cautionary tale.
Step 2: Figure out whether you have simple gutter ice or a full ice dam
If the ice is only in the gutter or hanging as icicles, the problem may still be manageable from the ground. If you see water stains on ceilings, thick ice running up under the lower roof edge, or meltwater trapped behind a ridge of ice, you are likely dealing with an ice dam. That matters because gutter ice can sometimes be eased open; a true ice dam often needs a wider drainage strategy and, in many cases, professional steam removal.
Step 3: Clear the area below the gutter
Move cars, patio furniture, bins, and anything breakable away from the fall zone. Keep kids, pets, and curious neighbors out of the area. If you have shrubs under the eaves, cover them lightly before you begin melting ice. Falling chunks and salty runoff are not kind to plants, windows, or innocent lawn flamingos.
Step 4: Remove loose snow from the roof edge with a roof rake
Use a long-handled roof rake while standing firmly on the ground. Focus on the lower three to four feet of roof above the gutter, or as much as you can safely reach. This reduces the amount of meltwater feeding the frozen gutter. Use gentle downward pulls and avoid gouging the shingles. The goal is to remove loose snow, not scrape the roof like you are sanding a table.
This step is one of the most useful because it tackles the source of the problem. If fresh snow keeps melting and refreezing, clearing the ice in the gutter alone is like mopping while someone keeps tipping over a bucket.
Step 5: Remove only loose, reachable icicles from the side
If large icicles are hanging from the gutter edge and can be reached safely from the ground, knock off only the loose sections using a long extension tool while standing off to the side, never directly underneath. Do not hit the gutter itself. Do not swing wildly. And do not assume every icicle needs to come down right now. Sometimes the smarter move is to leave the stubborn ones alone and focus on opening a drainage path instead.
Step 6: Check the downspout opening for visible blockage
Sometimes the gutter ice problem starts because the downspout entrance or elbow is plugged with leaves, twigs, or slush. If you can safely reach a visible opening from the ground, gently remove loose debris by hand or with a plastic tool. Avoid metal chisels, screwdrivers, or anything that can puncture or dent the gutter. If the downspout is frozen solid inside, don’t start pounding on it like it owes you money. Move to a melting method instead.
Step 7: Create a melt channel with calcium chloride
This is one of the most practical homeowner methods. Fill a tube sock, nylon stocking, or similar fabric sleeve with calcium chloride ice melt and tie it off. Then position it vertically so it crosses the ice buildup and slightly overhangs the roof edge or gutter line. As the calcium chloride dissolves, it melts a narrow channel through the ice so trapped water can escape.
Use a long-handled tool to guide the sock into place if needed. Do not use rock salt or standard sodium chloride. Those products can be rough on shingles, metal, and nearby plants. Calcium chloride is the better choice for this kind of targeted roof-edge melting. It is still smart to protect landscaping below because the runoff is not exactly a spa treatment for your shrubs.
Step 8: Be patient and repeat as needed
Once the melting sock is in position, give it time to work. This is not microwave popcorn. Depending on temperature, ice thickness, and sun exposure, it may take a while to open a real channel. In some cases, you may need more than one sock placed a few feet apart to create additional drainage paths. Replace them when they dissolve or stop working.
The key is to think in terms of controlled drainage, not total instant removal. You do not need every ounce of ice gone in the first hour. You need water to stop backing up.
Step 9: On a milder day, use warm tap water only as a temporary assist
If temperatures are moderate and you already have some drainage started, warm tap water can help widen a channel. This is a short-term move, not a magic cure. Work from the lower edge upward so you are helping water escape rather than trapping more of it behind ice. Do not try this when everything will simply refreeze immediately and turn your walkway into a skating rink with legal consequences.
Think of warm water as a helper, not the headline act. If you rely on it alone in deep freeze conditions, you may just create shinier ice.
Step 10: Avoid the methods that damage gutters and roofs
Do not attack the ice with an axe, hatchet, hammer, pry bar, open flame, or pressure washer. Do not climb onto the roof to chip at the ice unless you are a properly equipped professional. And do not pound on the gutter itself. Gutters bend easily, seams split, fasteners pull out, and shingles lose granules faster than your patience on hold with customer service.
Some homeowners make the problem worse by cutting at the ice without removing the snow feeding it. Others break off a section of gutter along with the ice. The safest mindset is simple: melt a path, reduce the snow load, and stop before the repair bill grows a second head.
Step 11: Fix the cause so the ice does not come back next week
Removing ice is the emergency response. Prevention is the real win. Start by cleaning gutters and downspouts thoroughly in the fall so meltwater can drain. Then look at the attic. Warm air leaking into the attic is a major cause of roof-edge melting. Air sealing around ceiling penetrations, adding insulation where needed, and keeping soffit vents clear can help keep the roof colder and more even in temperature.
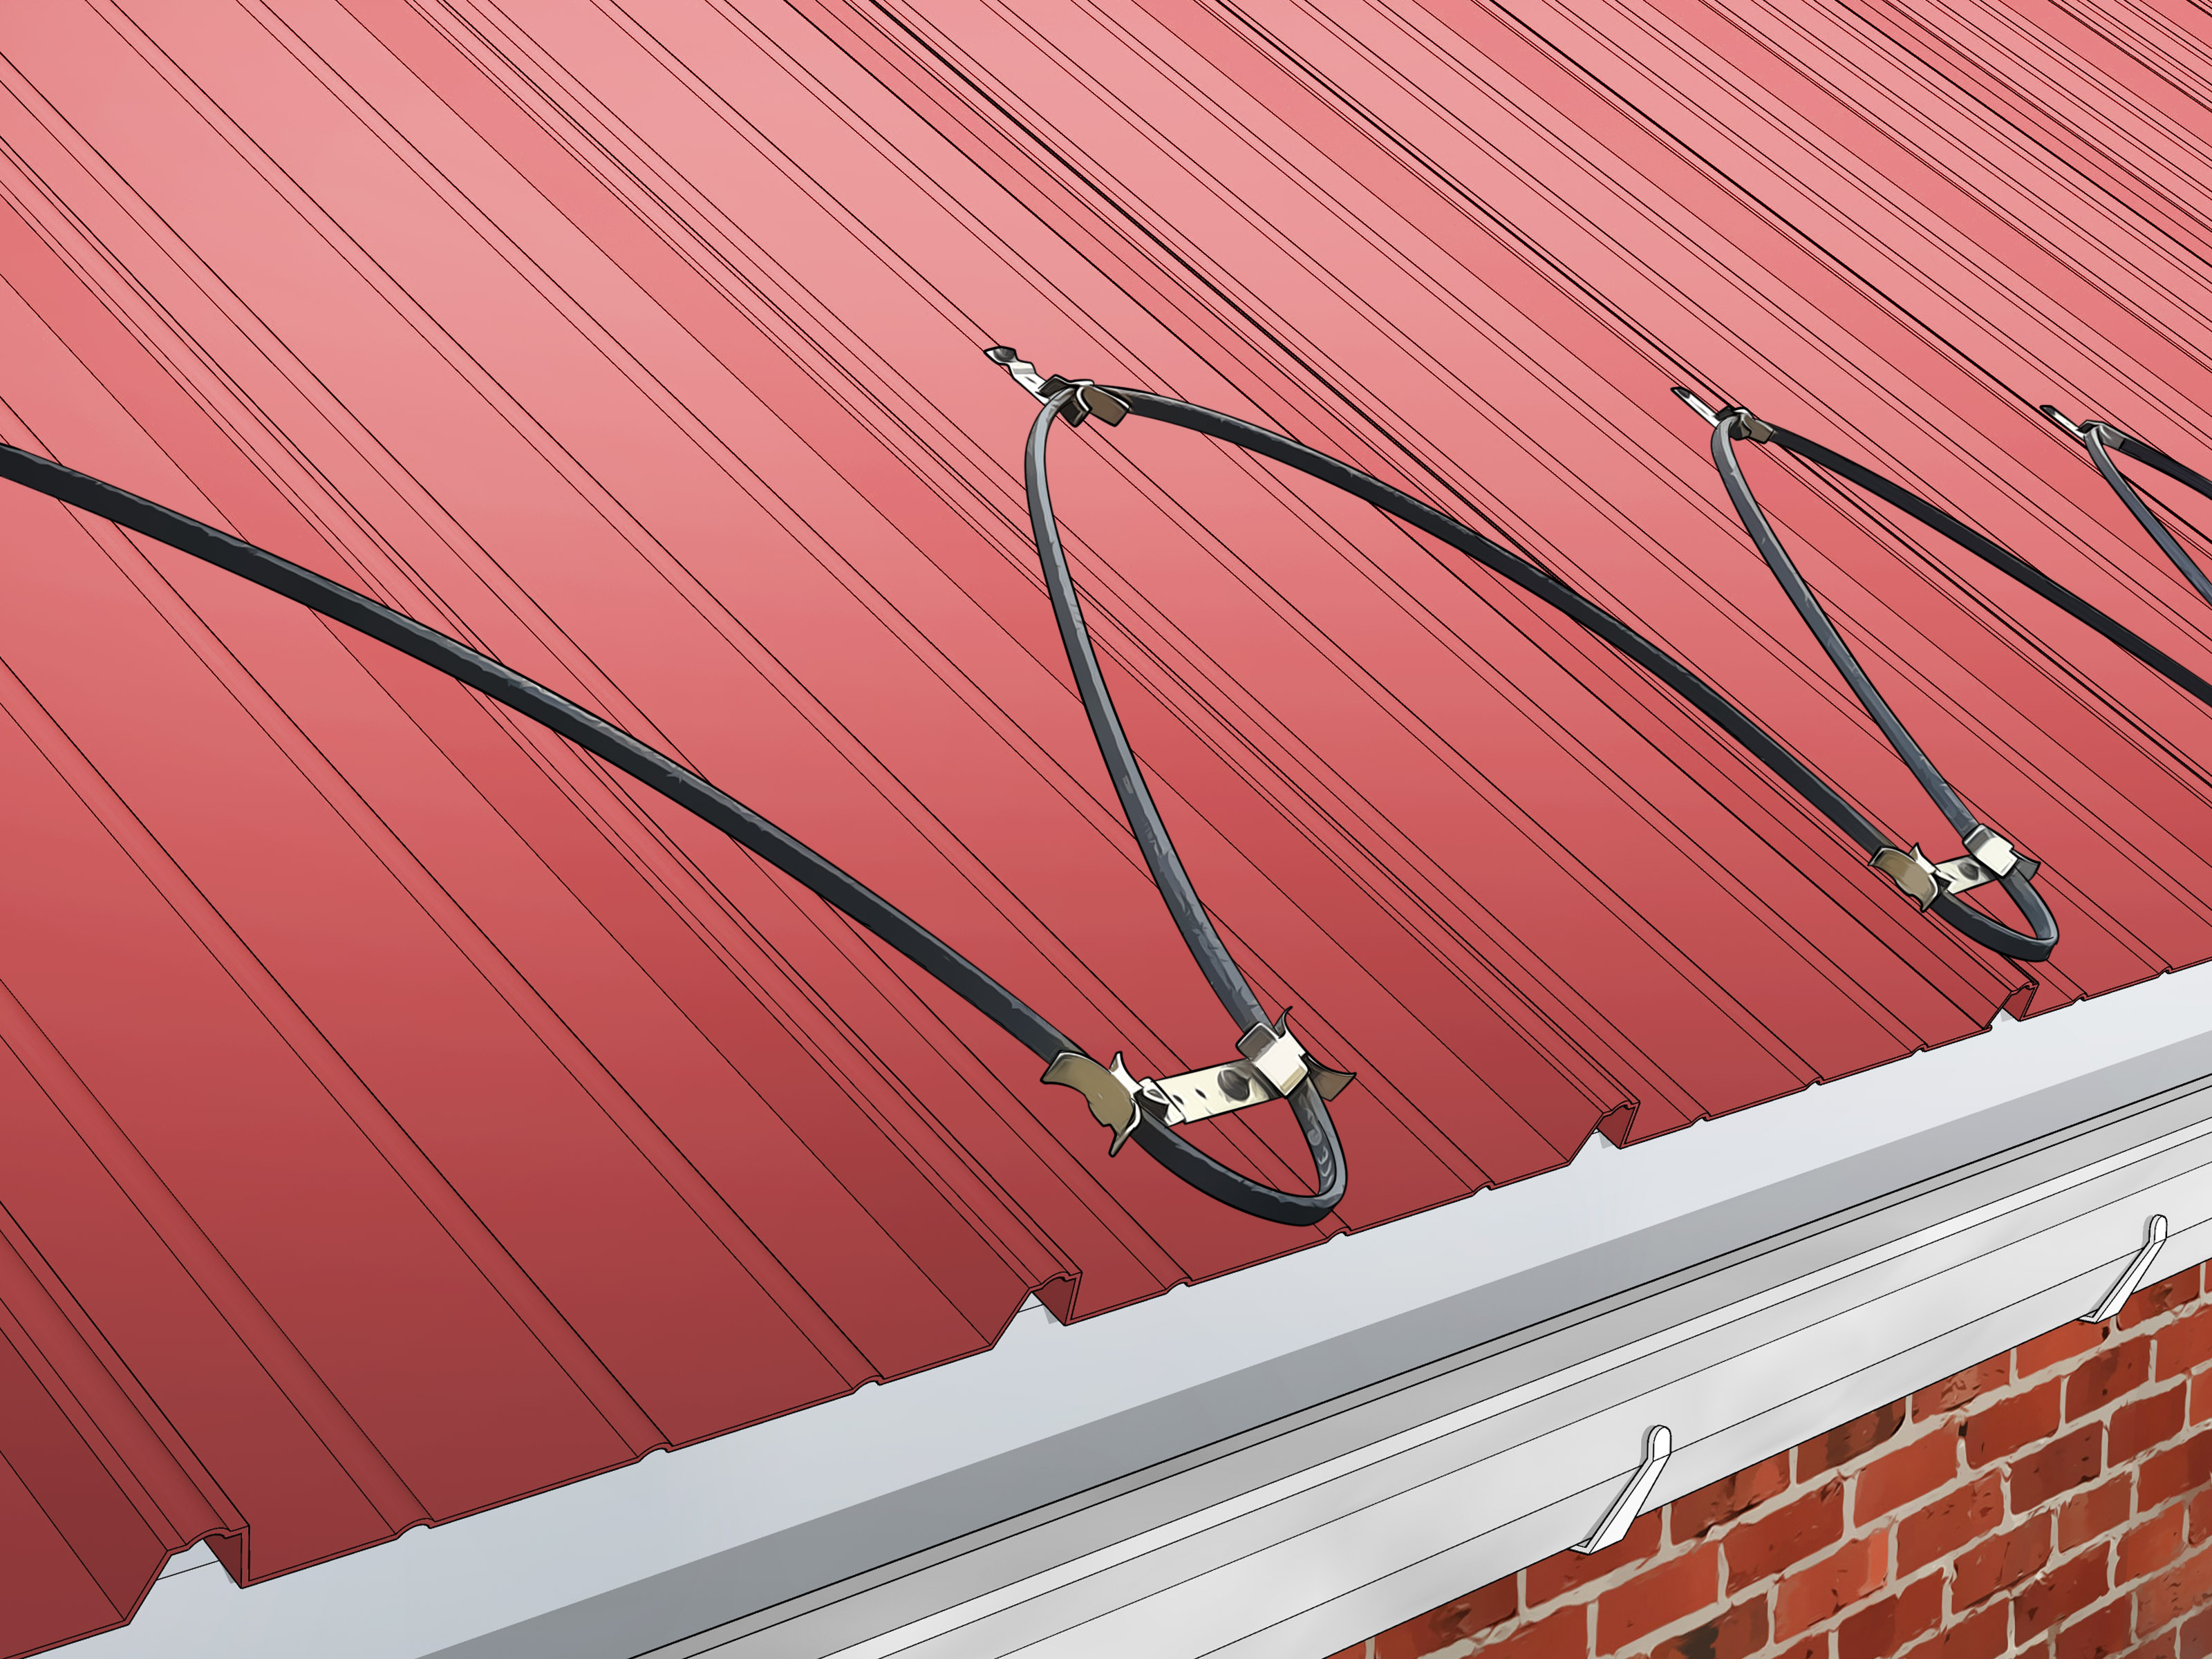
If your house gets repeat ice trouble every winter, have a professional inspect the gutter pitch, attachment points, attic insulation, and ventilation. In some homes, heat cables can serve as a preventive measure in problem areas, but they are not a substitute for solving heat loss and drainage issues. They are more like backup singers than the lead vocalist.
When to Call a Professional Right Away
There is a point where the smartest DIY decision is to stop DIY-ing. Call a professional if:
- The house is two stories or taller and the ice cannot be reached safely from the ground.
- You have active interior leaks, wet insulation, or ceiling stains.
- The gutter is sagging, pulling away, or carrying very heavy ice.
- You suspect the downspout is frozen solid inside the wall of ice.
- The roof is steep, complex, or has skylights, valleys, or tricky transitions.
- You want the ice removed without mechanical chipping; pros often use steam for safer removal.
Professional steam removal is often the best option for large ice dams because it melts ice without the same level of shingle and gutter abuse caused by chopping tools. Yes, it costs more. No, replacing damaged gutters and fixing water intrusion is not a fun budget alternative.
Common Mistakes That Make Gutter Ice Worse
- Ignoring the roof snow above the gutter: If the snow stays, the water supply stays.
- Using the wrong ice melt: Rock salt can be harsher on roofing materials and plants.
- Standing directly under icicles: Gravity is undefeated.
- Hitting the gutter instead of the ice: Metal loses that argument fast.
- Assuming gutters alone are the problem: Attic heat and air leaks are often the real culprits.
- Waiting too long: Small ice problems are annoying. Big ones become leaks, rot, and mold.
Experience Section: What Homeowners Learn the Hard Way
In real life, gutter ice problems usually do not begin with a dramatic crunch. They begin quietly. A homeowner notices thicker icicles than usual. Then a patch of ice appears in one corner of the gutter. Then the front step gets wetter during the day and slicker at night. By the time someone says, “Huh, that looks weird,” winter has already started building a small frozen infrastructure project over the front porch.
One of the most common lessons homeowners learn is that the gutter is often just the visible part of the problem. People naturally focus on the ice they can see hanging from the eaves, but the real issue is often the warm attic, the blocked downspout, or the pile of snow feeding the freeze-thaw cycle. That is why some people knock down the icicles and feel triumphant for exactly six hours, only to wake up to a new icy sculpture the next morning. The house was not healed. It just reset the timer.
Another common experience is underestimating how heavy frozen gutters can get. What looks like a decorative strip of winter buildup may actually be putting serious strain on the fasteners holding the gutter to the fascia. Homeowners often do not notice the problem until spring, when they realize the gutter has pulled loose, the slope is wrong, and every rainstorm now sends water toward the foundation instead of away from it. Winter leaves a little souvenir, and that souvenir is drainage failure.
People also learn very quickly that impatience is expensive. The urge to attack the ice with a hammer, shovel, or whatever tool happens to be in the garage is strong. But aggressive chipping can crack seams, dent metal, shred shingles, and send heavy chunks crashing down in unpredictable ways. The safer approach feels slower, but it tends to save both the house and the person standing below it. Winter maintenance rewards calm people. It punishes improv comedy with tools.
Then there is the landscaping lesson. Many homeowners discover too late that whatever drips off the roof does not vanish into another dimension. It lands on shrubs, mulch beds, walkways, and front steps. That is why targeted melting matters, and why protecting plants and keeping runoff away from walking paths can make a real difference. A gutter fix is not much of a victory if it creates a frozen sidewalk or fries the hedge under the eaves.
Finally, experienced homeowners tend to become prevention enthusiasts. Once someone has dealt with frozen gutters in January, they suddenly become very interested in boring autumn tasks like cleaning downspouts, checking attic insulation, sealing air leaks, and making sure soffit vents are not blocked. It turns out the secret to removing ice from gutters is often learning how not to meet that ice in the first place. Winter still gets a vote, of course, but preparation keeps it from writing the whole speech.
Final Thoughts
If you are wondering how to remove ice from gutters safely, the best answer is simple: work from the ground, remove the snow feeding the ice, melt a drainage channel with calcium chloride, and call a professional when the setup becomes risky or the problem grows beyond reach. Gutter ice is annoying, but it is also a warning sign. Treat it like one. The sooner you deal with the source, the less likely your home is to end up with leaks, bent metal, and a very expensive winter memory.