Jelly cube slime is the delightfully squishy cousin of classic clear slimethe kind of sensory craft that makes people poke it once, then suddenly lose twenty minutes of their day. It stretches, squishes, crunches, and pops thanks to soft sponge cubes folded into a glossy slime base. If regular slime is fun, jelly cube slime is slime wearing tiny memory-foam pillows.
The good news? You do not need a science lab, a giant craft budget, or a mysterious slime wizard living in your pantry. With clear school glue, baking soda, contact lens solution, food coloring, and small sponge cubes, you can make a satisfying batch at home. This guide walks you through exactly how to make jelly cube slime in 11 steps, plus safety tips, troubleshooting fixes, texture upgrades, storage advice, and real-world experience notes to help your slime survive more than one afternoon of enthusiastic squishing.
What Is Jelly Cube Slime?
Jelly cube slime is a type of clear or translucent slime mixed with small foam or sponge cubes. The cubes absorb some of the slime over time, creating a bouncy, squishy texture that feels different from fluffy slime, butter slime, or basic school glue slime. When you press the cubes, they can make soft popping or crackling sensations. That satisfying texture is why jelly cube slime is especially popular for sensory play, ASMR videos, and stress-relief crafts.
The best jelly cube slime usually starts with clear PVA school glue because it gives the finished slime a glassy, jewel-like look. White glue works too, but it creates a creamier, opaque slime. For the “jelly cube” effect, many crafters use melamine sponge pieces, soft cosmetic sponge pieces, or clean foam cubes. Melamine sponge gives a crisp, squishy cube texture, while softer foam creates a gentler feel.
Safety First: Read This Before You Start
Slime is fun, but it is not food, skin care, or a snack for curious pets. Adult supervision is recommended, especially when kids are measuring ingredients or handling contact lens solution. Many contact lens solutions contain borate ingredients, such as boric acid or sodium borate, which help activate slime. These ingredients should be used carefully and only as directed.
Wash hands before and after making slime, keep slime away from eyes and mouths, and do not use slime on broken or irritated skin. If a child has sensitive skin, consider gloves or choose a gentler sensory activity. Slime should not be given to toddlers or children who may put it in their mouths. When slime smells strange, changes color unexpectedly, dries out, or gets dirty, toss it. The slime had a good run. Give it a respectful farewell and move on.
Ingredients for Jelly Cube Slime
- 1/2 cup clear PVA school glue
- 1/2 teaspoon baking soda
- 1 1/2 to 2 1/4 teaspoons contact lens solution containing boric acid or sodium borate
- 1 to 3 drops liquid food coloring, optional
- 1/4 melamine sponge or soft foam sponge, cut into small cubes
- Glitter or slime sprinkles, optional
- A small splash of water, optional, for a looser texture
Tools You Will Need
- Mixing bowl
- Spoon or silicone spatula
- Scissors for cutting sponge cubes
- Measuring spoons
- A clean tray or mat
- Airtight container or zip-top bag for storage
How to Make Jelly Cube Slime: 11 Steps
Step 1: Prepare Your Work Area
Cover your table with a washable mat, parchment paper, or a plastic tray. Slime has a talent for finding fabric, carpet, sleeves, and places you did not know existed. Keep paper towels nearby, tie back long hair, and make sure your ingredients are measured before you begin. This makes the process smoother and prevents the classic “Where did the baking soda go?” kitchen mystery.
Step 2: Cut the Sponge Into Jelly Cubes
Take a clean melamine sponge or soft foam sponge and cut it into small cubes. Aim for pieces about 1/4 inch to 1/2 inch wide. Smaller cubes make the slime more flexible and easier to stretch. Larger cubes create a chunkier slime with more dramatic pops when squeezed. Avoid dirty kitchen sponges or scrub pads, because they can scratch hands and ruin the smooth texture.
Step 3: OptionalColor the Cubes
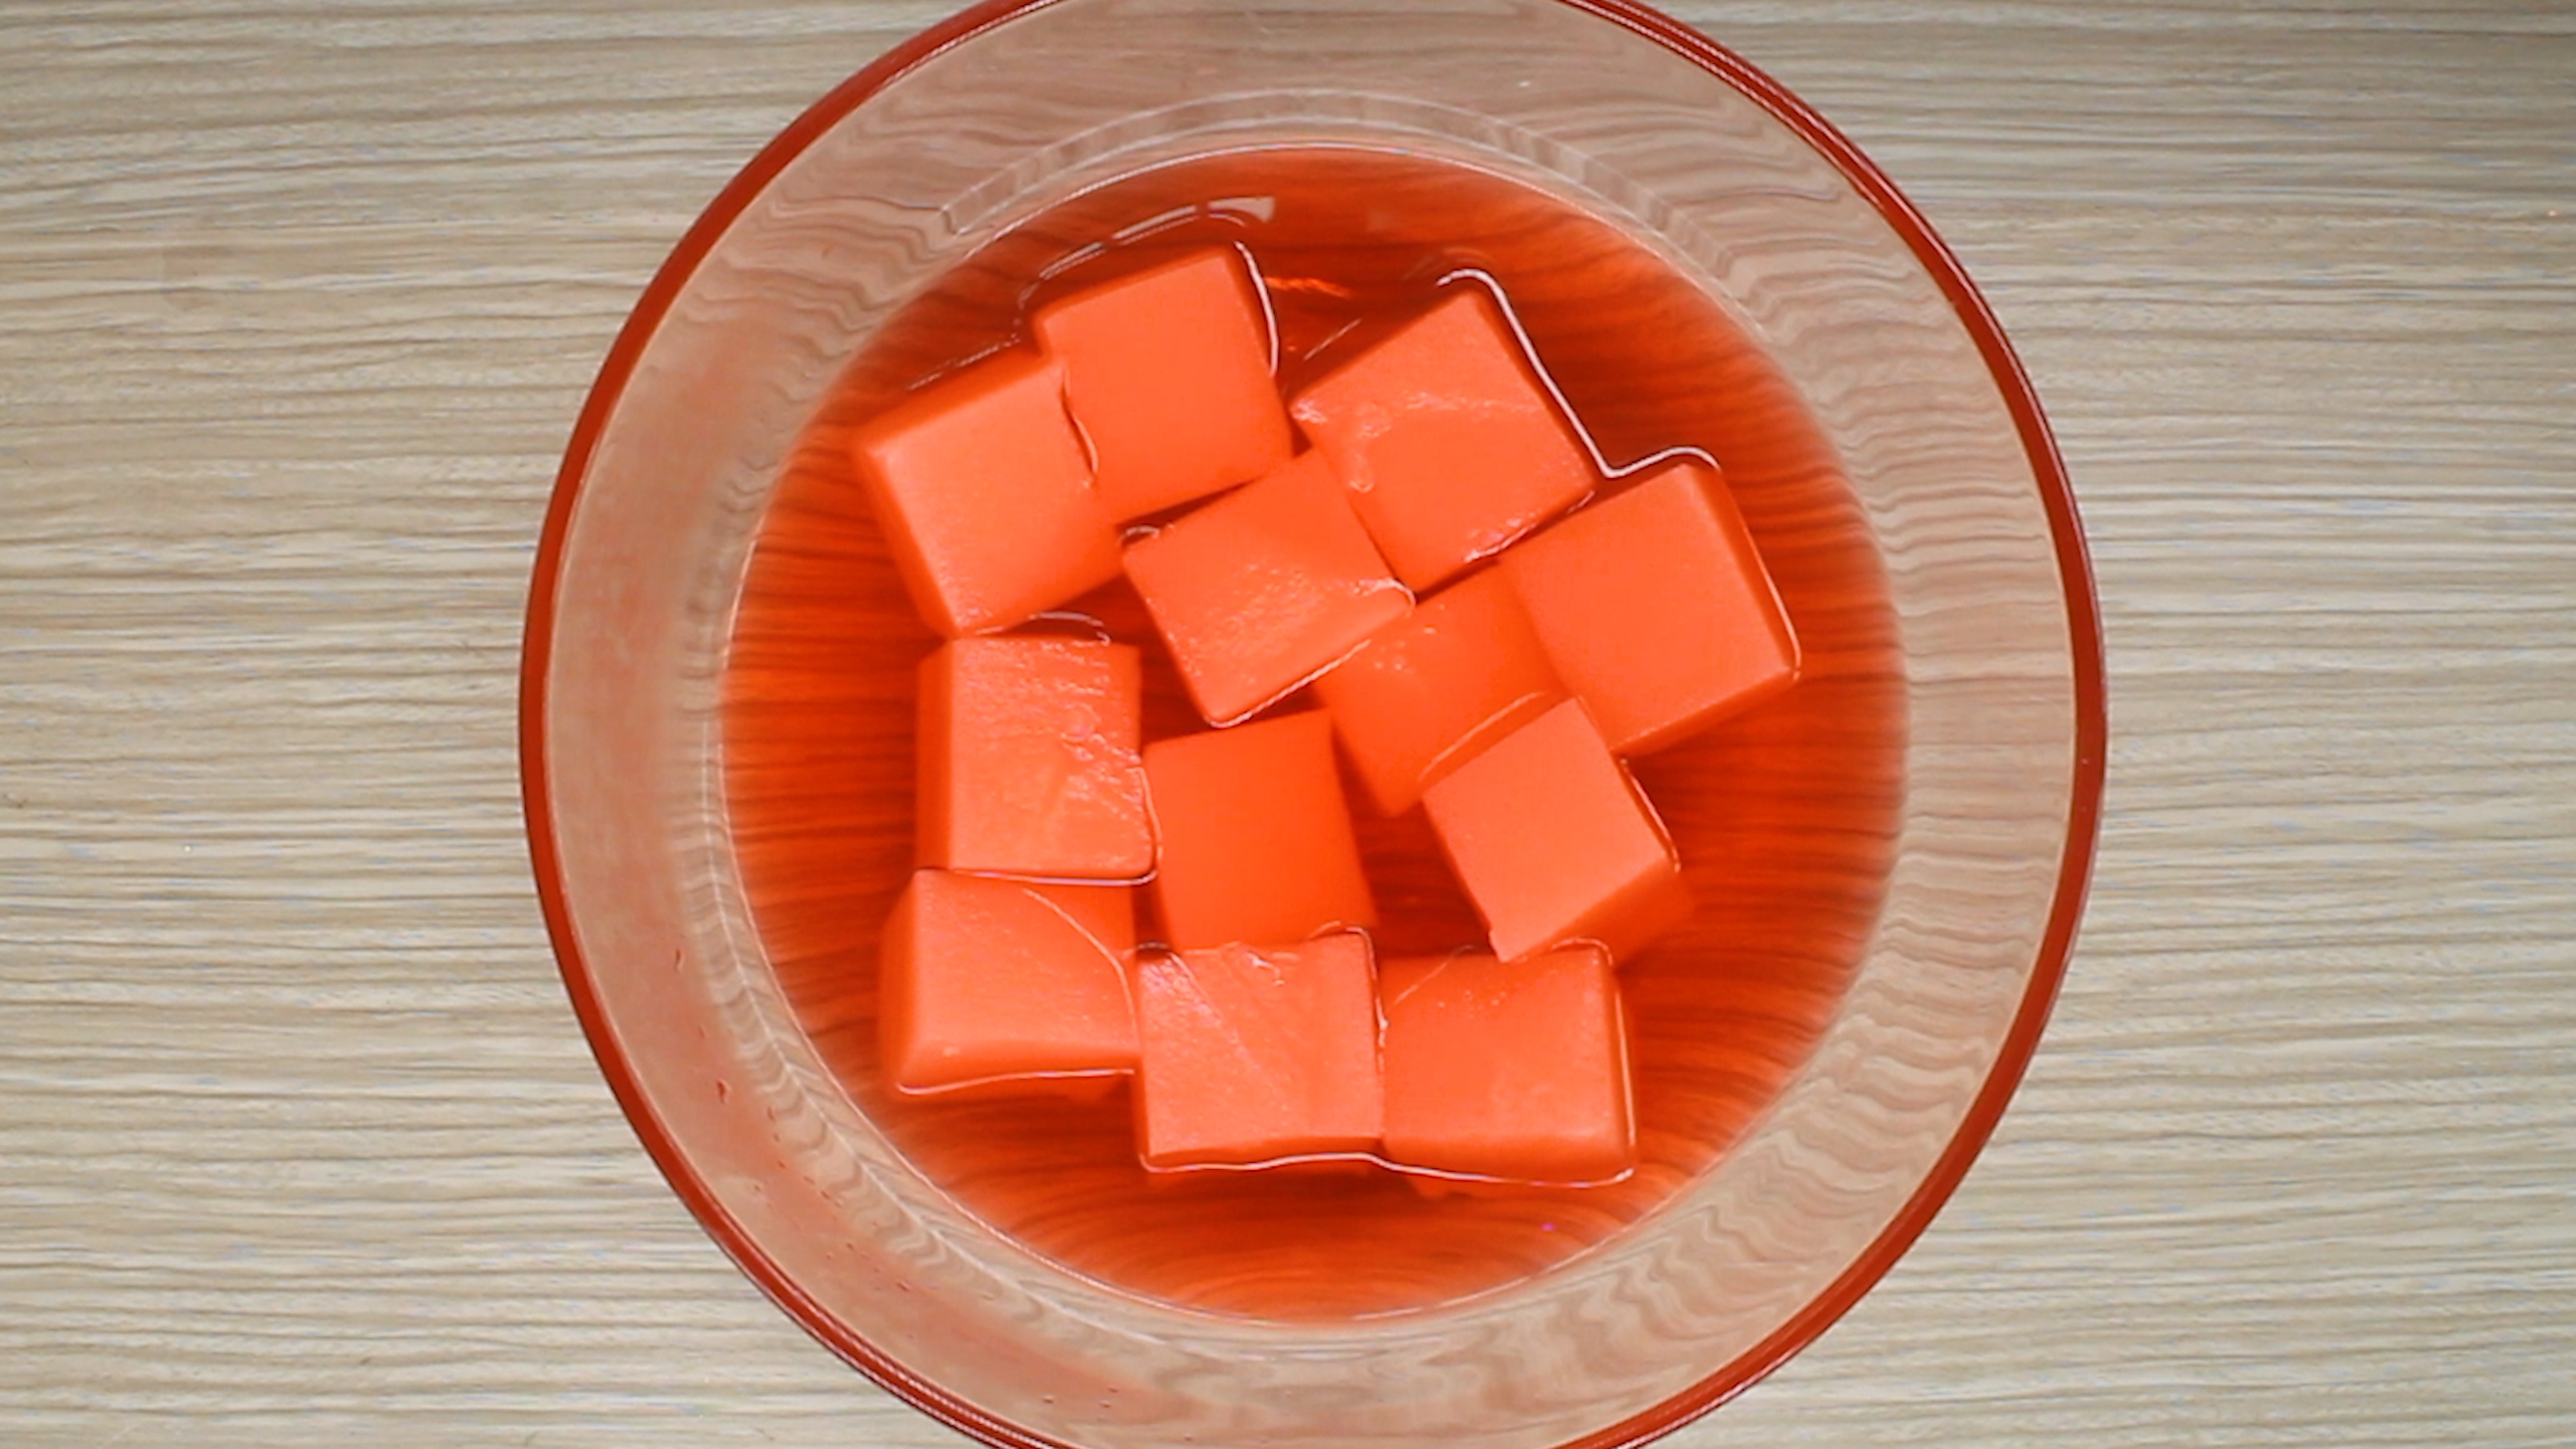
If you want colored jelly cubes, add a few drops of food coloring to a small bowl of water, then dip the sponge cubes briefly. Squeeze out the extra liquid before adding them to your slime. Do not soak them until they are dripping wet, or your slime may become loose and watery. Think “lightly tinted,” not “sponge swimming pool.”
Step 4: Pour Clear Glue Into the Bowl
Add 1/2 cup clear PVA school glue to your mixing bowl. Clear glue is ideal for jelly cube slime because it lets the cubes show through beautifully. If you only have white school glue, you can still make the recipe, but the result will look more milky and pastel instead of crystal-clear.
Step 5: Add Baking Soda
Stir 1/2 teaspoon baking soda into the glue until the mixture looks smooth. Baking soda helps firm up the slime and works with the contact lens solution to create the stretchy texture. Mix thoroughly here; dry clumps of baking soda can create grainy patches later.
Step 6: Add Color and Sparkle
Add 1 to 3 drops of liquid food coloring. Start small because clear slime shows color quickly, and too much dye can stain hands or surfaces. If you want glitter, add a pinch now. Fine glitter gives a soft shimmer, while chunky glitter creates a party-in-a-bowl effect. Keep the decorations light so the slime still stretches well.
Step 7: Activate the Slime Slowly
Add 1 teaspoon of contact lens solution and stir. The mixture will begin to thicken. Add more contact lens solution 1/4 teaspoon at a time until the slime starts pulling away from the sides of the bowl. Do not dump in too much at once. Overactivated slime becomes stiff, rubbery, and about as fun as chewing on a pencil eraserplease do not test that comparison.
Step 8: Knead Until Stretchy
Once the slime forms, pick it up and knead it with clean hands for 2 to 5 minutes. It may feel sticky at first, but kneading helps the texture improve. If it sticks aggressively to your fingers after several minutes, add a few drops of contact solution and keep kneading. If it feels too firm, add a tiny splash of water or a few drops of glue and work it in slowly.
Step 9: Fold in the Jelly Cubes
Place the sponge cubes on top of the slime, then fold the slime over them. Press gently and keep folding until the cubes are evenly distributed. Do not add too many cubes at once. A packed slime may look exciting, but too many sponge pieces can absorb the slime and make it stiff overnight. Start with a small handful and add more only if the base slime can handle it.
Step 10: Let It Rest Overnight
Put the slime in an airtight container and let it sit overnight. This resting time helps bubbles settle, improves the clear look, and allows the cubes to absorb some slime. The next day, the texture should be squishier, stretchier, and more satisfying. Waiting is the hardest step, but jelly cube slime rewards patience. It is basically the sourdough starter of the slime world, minus the bread and the responsibility.
Step 11: Play, Store, and Refresh
After resting, take the slime out and test the texture. Stretch it slowly, poke the cubes, and press them between your fingers. Store the slime in an airtight container when you are done. If it becomes sticky later, knead in a few drops of contact lens solution. If it becomes stiff, add a little clear glue or a tiny bit of water. Always wash hands before play to help the slime last longer.
Troubleshooting Jelly Cube Slime
Why Is My Jelly Cube Slime Too Sticky?
Sticky slime usually needs more kneading or a tiny bit more activator. Add contact lens solution in very small amounts, a few drops at a time. Overdoing it can turn your slime from stretchy to bouncy in the wrong way.
Why Did My Slime Turn Rubbery?
Rubbery slime usually means too much activator was added or too many sponge cubes absorbed the base. Try kneading in a small amount of clear glue. If the slime is extremely stiff, it may be easier to make a fresh batch and use fewer cubes next time.
Why Is My Clear Slime Cloudy?
Clear slime often looks cloudy right after mixing because kneading traps air bubbles. Let it sit in an airtight container for one to three days, and it should become clearer. Avoid overmixing glitter, dye, or foam pieces if your goal is a glassy finish.
Why Are the Cubes Falling Out?
If the cubes keep escaping, the slime may be too firm or the cubes may be too large. Cut smaller sponge pieces and make sure the base slime is stretchy enough to wrap around them. A slightly softer slime holds cubes better than a stiff one.
Fun Jelly Cube Slime Variations
Crystal Clear Jelly Cube Slime
Skip food coloring and use clear glue with white sponge cubes. Let the slime rest for several days so air bubbles rise out. This creates a clean, glassy look that makes the cubes appear suspended inside.
Watermelon Jelly Cube Slime
Tint the slime pink or red, add a small amount of green glitter, and use black slime sprinkles sparingly for a watermelon-inspired look. Keep decorations minimal so the slime still stretches smoothly.
Pastel Cloud Jelly Cube Slime
Use one drop of pastel food coloring and smaller sponge cubes. This version looks soft, dreamy, and very giftable. It is also perfect for beginners because pale colors hide small mixing mistakes.
Glitter Galaxy Jelly Cube Slime
Tint the slime blue, purple, or black and add fine silver glitter. The cubes will look like tiny floating space rocks. It is dramatic, shiny, and only slightly less complicated than actual astronomy.
How Long Does Jelly Cube Slime Last?
Homemade jelly cube slime can last one to three weeks when stored properly, although the texture changes over time. The cubes may absorb more slime, making the batch thicker or firmer. Always store slime in an airtight container, keep it away from heat, and play with clean hands. If it smells odd, grows spots, becomes unusually watery, or picks up dirt, throw it away.
Expert Tips for Better Jelly Cube Slime
- Use clear PVA glue for the best glossy look.
- Add activator slowly; you can always add more, but you cannot easily remove it.
- Cut cubes evenly so the slime has a balanced texture.
- Let the slime rest overnight before judging the final feel.
- Do not overload the slime with sponge cubes, glitter, or charms.
- Keep the slime away from carpet, clothing, pets, and younger children.
- Label the storage container so nobody mistakes it for a snack. It happens.
Real-World Experience: What Making Jelly Cube Slime Actually Feels Like
The first thing most people notice when making jelly cube slime is that the recipe changes personality as you go. At the beginning, it looks like colored glue in a bowl. Not very impressive. Then the baking soda disappears into the mixture, the contact lens solution goes in, and suddenly the spoon starts dragging through something thicker. This is the “wait, it is actually becoming slime” moment, and it is deeply satisfying.
The trickiest part is usually knowing when to stop adding activator. Beginners often panic when the slime feels sticky and keep adding more contact solution. That is understandable, but patience works better. Slime needs kneading time. At first, it may cling to your fingers like it has emotional attachment issues. After a few minutes of stretching, folding, and pressing, the texture usually becomes smoother and easier to handle. A few sticky moments are normal; a rubber ball is not the goal.
Cutting the cubes is another surprisingly important part of the experience. If the cubes are too large, the slime can feel lumpy and awkward. If they are too tiny, you may lose the dramatic jelly cube effect. A mix of small and medium cubes often gives the best result: small pieces help the slime stretch, while larger pieces create the satisfying squish. Kids usually love the cube-cutting step, but scissors should be handled carefully and supervised.
One of the best experiences comes the day after making the slime. Fresh jelly cube slime is fun, but rested jelly cube slime is better. Overnight, the cubes absorb some of the slime and become softer. The slime may also look clearer as bubbles settle. When you press into it the next day, the cubes make gentle pops and squishes that feel completely different from ordinary slime. This is the moment when people understand why jelly cube slime has such a loyal fan club.
Mess control matters too. Slime-making is more relaxing when everything has a place: bowl in the center, cubes on a tray, storage container open and ready. The fastest way to turn a fun craft into a tiny household emergency is to let slime wander onto fabric. Keep it on a hard surface, and do not play with it near blankets, rugs, upholstered chairs, or anyone wearing black pants before an important event.
The most successful jelly cube slime sessions are playful but not rushed. Let people poke, stretch, fold, and compare textures. Try one batch with fewer cubes and one with more cubes. Make a clear version and a pastel version. Notice how the slime changes after ten minutes, after one day, and after a week. That hands-on experimenting is part of the fun. Jelly cube slime is not just a recipe; it is a small science lesson disguised as a squishy craft project with excellent sound effects.
Conclusion
Learning how to make jelly cube slime is simple once you understand the balance: a stretchy clear slime base, the right amount of activator, and sponge cubes that are small enough to fold in smoothly. The 11 steps above give you a reliable method for making glossy, squishy, cube-filled slime at home without overcomplicating the process.
Start with clear glue, add baking soda, activate slowly with contact lens solution, knead until stretchy, fold in the cubes, and let everything rest overnight. From there, you can customize the color, sparkle, cube size, and theme. Whether you want a crystal-clear slime, a pastel sensory craft, or a glittery galaxy batch, the same basic technique will help you get that wonderfully squishy jelly cube texture.
Just remember the golden slime rules: supervise kids, do not eat it, wash hands, store it properly, and never trust slime near carpet. Follow those, and your jelly cube slime should be stretchy, satisfying, and ready for many glorious pokes.