For possible lead-paint work, EPA guidance recommends dust-containment materials, wet sanding supplies, a HEPA vacuum, disposable protective clothing, eye protection, gloves, and consideration of a disposable N-100 certified respirator. A regular household vacuum can redistribute fine lead dust rather than contain it. n>
How to Remove Paint from Iron Railings in 14 Steps
Step 1: Inspect the Railing for Structural Damage
Before worrying about paint, make sure the railing is still safe. Hold it firmly and check for movement at the posts, base plates, anchors, welds, and connections to masonry. Look for cracks, missing fasteners, deep corrosion, bent sections, holes, and joints that have rusted almost completely through.
Paint removal cannot repair structural failure. If the railing moves under normal hand pressure or has severely thinned metal, have it evaluated and repaired before refinishing. A beautifully painted railing that wobbles is still a wobbly railingjust one wearing nicer clothes.
Step 2: Determine Whether the Old Paint May Contain Lead
If the railing is associated with a home built before 1978, treat the coating as potentially lead-based unless reliable testing shows otherwise. EPA-recognized test methods or a certified lead professional can help determine whether lead is present. When the age of a surface is unknown, EPA advises taking the safer approach and following lead-safe practices. not dry-sand, torch, grind, or blast unidentified old paint. Lead-contaminated dust can settle on soil, steps, windowsills, clothing, tools, and nearby play areas. If lead is confirmed or strongly suspected, hiring a certified contractor is often the safest decision, especially for a large railing system.
Step 3: Choose a Suitable Workday
For outdoor railings, select a dry period with moderate temperatures, low wind, and no rain expected during preparation and coating. Wind makes containment difficult and carries chips beyond the work area. Hot direct sunlight may cause chemical stripper to dry prematurely, while cool or damp conditions can delay primer curing.
Read the temperature and humidity requirements printed on the stripper, primer, and paint labels. Product directions outrank optimistic weather forecasting and your personal desire to finish before lunch.
Step 4: Gather Protective Equipment and Read Every Label
Wear eye protection, gloves, sturdy clothing, and footwear that covers the entire foot. Select respiratory protection according to the hazard, product label, and applicable occupational requirements. Chemical-resistant gloves are particularly important because ordinary fabric work gloves may absorb stripper and hold it against your skin.
Read the product label and safety data sheet before opening any chemical remover. In the United States, consumers should not use paint removers containing methylene chloride. Consumer paint-and-coating removal with methylene chloride was prohibited, and EPA has since restricted most other uses because of serious health risks. tep 5: Protect Steps, Masonry, Plants, and Nearby Surfaces
Cover the ground and surrounding surfaces with heavy plastic sheeting or durable drop cloths. Extend the covering far enough to catch chips that bounce, roll, or achieve unexpected freedom. Tape the edges where practical and protect adjacent brick, concrete, stone, siding, glass, and painted trim.
Move vehicles, furniture, toys, grills, and planters away from the work zone. Chemical residue, rust, and paint chips can stain porous masonry, so take special care around stone steps and curbing. National Park Service guidance for iron fence work similarly stresses protecting nearby stone and masonry from chemicals, paint, and rust debris. tep 6: Wash and Degrease the Railing
Remove cobwebs, soil, mildew, pollen, oily residue, and bird deposits before scraping. Use mild detergent, water, and a nonmetallic scrub brush, then rinse as directed. Grease and dirt can clog sandpaper, reduce the effectiveness of chemical stripper, and disguise the boundary between sound and failed paint.
Allow the railing to dry thoroughly. Avoid trapping water inside hollow sections, joints, or decorative pockets. Painting over damp iron invites new corrosion beneath the coatingthe home-improvement equivalent of making the bed while someone is still sleeping in it.
Step 7: Scrape Away Loose and Peeling Paint
Begin with a hand scraper on flat bars, posts, rails, base plates, and broad decorative areas. Hold the blade at a shallow angle and push toward the lifting edge. The objective is to remove unstable coating without gouging the metal or digging under firmly bonded paint.
Use a plastic scraper on delicate details or softer metals. On iron and steel, a sharp metal scraper is generally effective, but control matters more than enthusiasm. Continue until remaining paint resists moderate scraping and does not crack away around the edges. Practical restoration guides recommend scrapers for flat areas and wire brushes for curved sections. tep 8: Wire-Brush Curves, Corners, and Decorative Details
Use a stiff wire brush around scrolls, pickets, collars, welds, bolts, leaves, and other shapes a flat scraper cannot reach. Work from several directions because rust and paint tend to hide on the undersides of horizontal rails and behind ornamental elements.
A narrow “toothbrush-style” wire brush is useful around joints. A larger brush covers long straight sections faster. Remove loose rust until the surface feels firm rather than flaky. You do not need to polish every section to a mirror finish, but no new coating can stabilize rust that is falling off in layers.
Step 9: Soften Stubborn Layers with a Metal-Safe Paint Remover
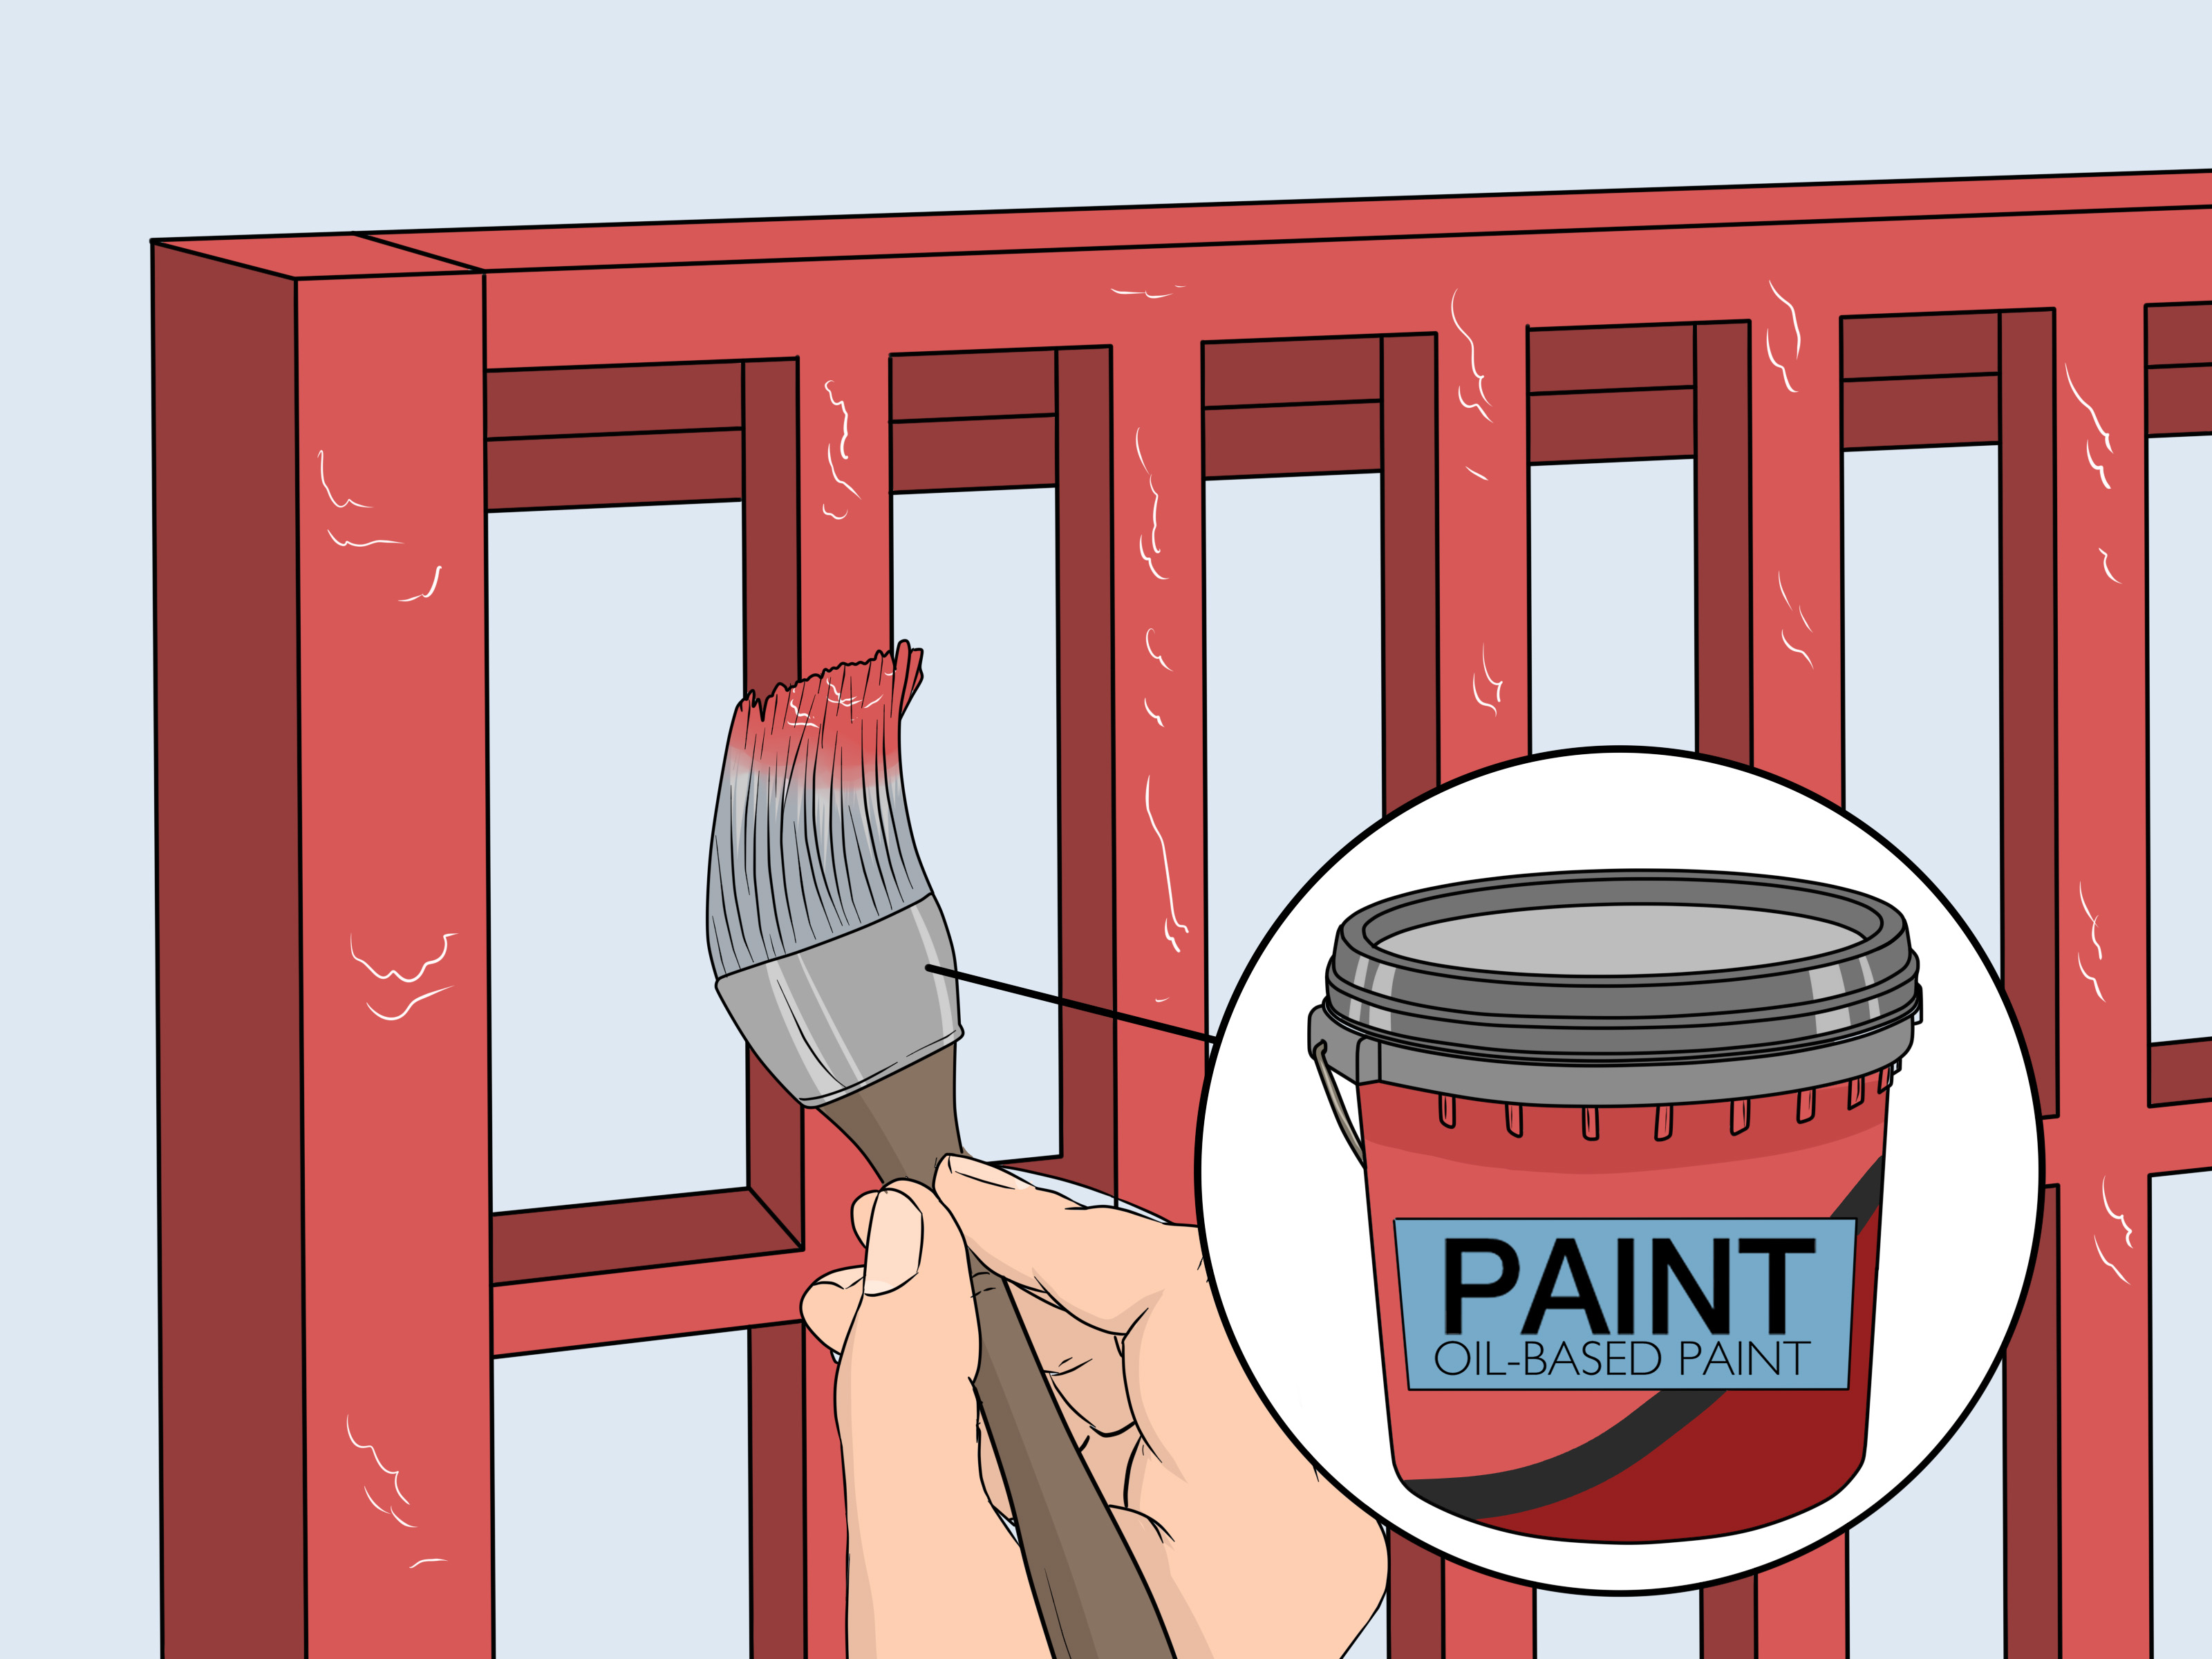
For thick, tightly packed coatings, apply a paint remover specifically labeled for use on metal. Test it first in an inconspicuous area. Use a disposable brush to lay on the manufacturer’s recommended thickness, allow the stated dwell time, and prevent it from drying out unless the instructions say otherwise.
Scrape away the softened coating into a lined container or onto the protected work surface. Detailed railings may require more than one application. Never mix stripping products, and do not assume that “low odor” means “harmless.” Ventilation, gloves, eye protection, containment, and label compliance are still essential.
Step 10: Sand Remaining Paint Edges and Rough Metal
Once loose material is gone, sand the transition between exposed iron and firmly attached paint. Start with approximately 80- or 120-grit abrasive on rough edges, then refine with 150-grit paper or a sanding sponge. The goal is a smooth feathered edge that will not announce itself through the final coat.
For lead-safe work, favor wet sanding or power tools connected to a properly functioning HEPA vacuum system. EPA guidance specifically recommends wet methods and HEPA-equipped tools to reduce the spread of dust. Uncontrolled power sanding, grinding, and abrasive blasting can distribute contaminated particles far beyond the railing. tep 11: Remove or Stabilize Remaining Rust
Continue brushing and sanding until loose rust is gone. Shallow surface corrosion can often be cleaned mechanically. Rust inside pits may be treated with a rust converter or metal-conditioning product if the selected primer system permits it.
Follow the converter’s application, neutralizing, rinsing, and drying directions exactly. Some products are designed to remain as a coating; others leave residue that must be removed. Do not stack random chemicals like toppings at a frozen-yogurt shop. Confirm that the rust treatment, primer, and topcoat are compatible.
Painting over loose rust commonly leads to blistering and peeling because the unstable material continues to detach beneath the new coating. tep 12: Clean the Railing and Inspect It Again
Vacuum or collect all dust and chips, then wipe the railing using the cleaner recommended by the primer manufacturer. Change rags frequently rather than moving residue from one baluster to another. Pay close attention to crevices, horizontal ledges, bolt heads, welds, and the underside of the top rail.
Run a clean white cloth across several areas. If it picks up orange dust, black residue, or chalky paint, continue cleaning. Inspect the railing under bright light and scrape any edges that still appear lifted. A clean, stable surface is more important than racing toward the satisfying paint-can-opening ceremony.
Step 13: Apply Rust-Inhibiting Metal Primer Promptly
Prime exposed iron as soon as it is clean and dry. Bare iron can begin developing flash rust quickly when exposed to moisture and oxygen, particularly outdoors or in humid weather. Preservation guidance recommends protecting newly exposed metal without unnecessary delay. a corrosion-resistant primer intended for iron or steel and compatible with the planned topcoat. Brush primer into joints, pits, welds, corners, undersides, and decorative recesses before covering easier surfaces. Heavily rusted metal may require a different primer than clean or lightly rusted metal, so match the product to the railing’s condition. tep 14: Repaint and Allow the Finish to Cure
After the primer has dried within its specified recoat window, apply a durable interior or exterior metal paint as appropriate. Two thin coats usually produce better coverage around intricate shapes than one heroic, drip-heavy coat. Brush from unpainted areas toward freshly coated sections and inspect the railing from both sides.
Let each coat dry according to the label, and protect the railing from rain, sprinklers, heavy handling, and curious fingerprints during curing. Dry-to-touch time is not the same as full cure time. Once cured, inspect the finish annually and touch up chips promptly before rust gains another foothold.
Experience from Real Iron-Railing Restoration Projects
The biggest lesson from removing paint from iron railings is that the visible surface rarely tells the entire story. A railing may have only a few peeling spots on top while the underside of the handrail is hiding long ribbons of loose coating. Water settles around collars, base plates, welds, and horizontal joints, so those areas often require more work than the broad surfaces everyone notices first.
One practical approach is to divide the railing into small sectionsperhaps one post and three or four pickets at a time. Complete the scraping and brushing for that section before moving forward. This prevents the project from becoming an intimidating maze of half-cleaned metal. It also makes it easier to spot missed areas when the light changes during the day.
Tool size matters more than many first-time DIYers expect. A large wire brush is excellent for straight rails but clumsy around decorative scrollwork. Keeping a narrow brush, a small triangular scraper, and folded strips of sandpaper nearby can save considerable time. Folded abrasive paper can be pulled around round bars using a back-and-forth motion, almost like polishing a shoe. It looks slightly ridiculous, but it works.
Another lesson is to let chemical stripper do its job. Beginners often apply too little product, wait five minutes, decide it has failed, and begin scraping aggressively. Many removers work better in a generous, even layer and need the full dwell time listed on the label. On railings with multiple old coats, the first application may remove only the upper layers. A second controlled application is usually safer and cleaner than forcing the scraper against stubborn paint.
However, chemical stripper is not automatically the fastest choice everywhere. On long sections where paint is already flaking, a scraper and wire brush may be quicker. Save the chemical product for stubborn recesses and thick buildup. Using the right method in the right location is more efficient than committing to one technique as though you have sworn allegiance to it.
Cleanup should happen throughout the project, not only at the end. Paint chips quickly hide beneath shoes, stick to damp concrete, and migrate beyond the work area. Periodically collect debris, replace torn plastic, and check the edges of the containment. When lead may be present, follow EPA lead-safe cleanup methods, including HEPA vacuuming and wet wiping rather than dry sweeping. mer application reveals every preparation shortcut. Rough paint edges become visible, rust dust turns the brush dirty, and missed pinholes suddenly look enormous. Treat the first few brush strokes as a final inspection. Stop and correct contamination or loose material instead of burying it beneath primer and hoping for a small miracle.
Thin coats are also easier to control on vertical metal. Heavy primer gathers around rings, collars, and the bottoms of horizontal bars before forming drips. These drips harden into bumps that must be sanded, creating extra work that could have been avoided by loading the brush more lightly.
Finally, schedule more time than the railing’s size suggests. Iron railings contain a surprising amount of surface area because every bar has multiple sides. Ten linear feet of railing is not merely ten feet of painting. It includes posts, pickets, curves, edges, undersides, joints, and ornamental details. Preparation may consume most of the project, but that effort determines whether the new finish lasts for years or begins peeling after the next difficult winter.