A scratch on an LCD screen has a special talent for stealing your attention. It can be smaller than a cat hair, yet somehow your eyes find it during every movie, every spreadsheet, and every late-night scroll through vacation photos you definitely meant to organize three years ago.
The good news: some marks that look like scratches are actually smudges, residue, or tiny scuffs in the screen coating. Those can often be improved with safe cleaning and careful masking. The less exciting news: a true gouge in an LCD panel cannot be magically “healed” at home. LCD screens are layered, delicate, and usually coated with anti-glare or anti-reflective finishes. Scrubbing them like a dirty baking pan is a fast way to turn one scratch into a modern art project called “Permanent Cloudy Blob.”
This guide covers three practical ways to fix, reduce, or manage a scratch on an LCD screen: cleaning and inspecting the mark, filling or minimizing a light scratch, and protecting or replacing the screen when damage is too deep. These methods apply to many LCD monitors, laptop screens, TVs, and portable displays, but always check your manufacturer’s care instructions first. Screens vary, coatings vary, and warranties have a way of becoming shy when they see toothpaste, glass cleaner, or mystery liquid from the garage.
Before You Start: Know What Kind of Scratch You Have
Not every mark on an LCD screen is the same. Before reaching for a cloth, repair kit, or dramatic sigh, identify the damage as accurately as possible.
Surface smudge
A smudge is usually caused by fingerprints, skin oil, dust, food mist, or the mysterious fog that appears when someone points at a screen with a snack hand. Smudges often look like scratches when the screen is off, but they disappear or fade after gentle cleaning.
Light surface scratch
A light scratch may only affect the outer coating or plastic surface layer. You can often feel little or no groove with a fingernail. These scratches may be reduced visually, especially on matte LCD screens, though they may not disappear completely.
Deep scratch or gouge
A deep scratch catches your fingernail, shows rainbow-like distortion, creates bright lines when the screen is on, or appears to cut through the coating. This kind of damage is usually permanent without professional repair or screen replacement.
Crack, pressure mark, or pixel damage
If you see black spots, colored lines, bleeding ink-like patches, dead pixels, flickering, or a spiderweb crack, you are no longer dealing with a cosmetic scratch. That is screen damage. Skip the home remedies and move to repair options.
What Not to Use on an LCD Screen
The internet has many bold suggestions for screen scratches. Some are useful. Some are spicy nonsense wearing a helpful hat. Before discussing what to do, let’s cover what not to do.
- Do not use toothpaste. Toothpaste is mildly abrasive. It may polish plastic in some situations, but LCD coatings are too delicate for this kitchen-sink science experiment.
- Do not use baking soda paste. It can scratch, haze, or strip protective coatings.
- Do not use glass cleaner. Many glass cleaners contain ammonia or alcohol that can damage anti-glare coatings.
- Do not spray liquid directly onto the screen. Liquid can drip into bezels, ports, and panel layers.
- Do not use paper towels or tissues. They can be surprisingly abrasive and may leave lint behind.
- Do not press hard. LCD pixels and layers do not appreciate being massaged like pizza dough.
- Do not use Magic Erasers or abrasive pads. They are designed to remove material. Unfortunately, your screen coating counts as material.
The safest tools are simple: a clean microfiber cloth, distilled water, manufacturer-approved screen cleaner, cotton swabs for tiny areas, and patience. Patience is free, although rarely included in the box.
Way 1: Clean and Inspect the Scratch Safely
The first way to fix a scratch on an LCD screen is to make sure it is actually a scratch. This sounds obvious, but many “scratches” turn out to be dried droplets, grease lines, dust trails, sticker residue, or marks left by a keyboard touching a laptop screen.
Step 1: Power off and unplug the device
Turn off the monitor, laptop, or TV. Unplug it if possible. A dark screen makes marks easier to see, and powering down reduces risk while cleaning. For laptops, disconnect the charger. For TVs and desktop monitors, unplug the power cord before cleaning.
Step 2: Remove loose dust first
Use a dry microfiber cloth to gently lift dust from the screen. Do not start with moisture while dust is sitting there. Dust particles can act like tiny sandpaper bits when dragged across the display. Use light, sweeping motions. Imagine you are dusting a butterfly’s eyeglasses.
Step 3: Use a slightly damp microfiber cloth
If the mark remains, lightly dampen a corner of the microfiber cloth with distilled water. The cloth should be damp, not wet. If you can squeeze water out of it, it is too wet. Wipe the area gently in one direction or with soft circular motions, depending on the screen finish and manufacturer guidance.
Step 4: Dry immediately
Use a second clean, dry microfiber cloth to remove moisture. This helps prevent streaks and reduces the chance of liquid creeping into the screen edge.
Step 5: Inspect from different angles
After the screen dries, inspect the mark under indirect light. Tilt the screen slightly. Look at it while the display is off and again with a plain white or gray background. If the mark disappears after cleaning, congratulations: your scratch was a smudge in a Halloween costume.
When this method works best
This method works best for fingerprints, oily streaks, dried splashes, dust scratches, and marks caused by soft contact. It is also the safest first step before trying any cosmetic scratch repair. Never skip cleaning; rubbing filler or polish over dirt is like waxing a car during a sandstorm.
Way 2: Minimize a Light Scratch with a Gentle Filler
If the scratch is still visible after cleaning but does not feel deep, you may be able to reduce its appearance. The keyword is “reduce.” A surface scratch on an LCD screen can sometimes be camouflaged, but not truly erased. Think of this method as soft-focus lighting for a scratch, not a time machine.
Best for matte LCD screens
Gentle filler methods are most commonly discussed for matte LCD monitors because the texture can hide tiny imperfections better than glossy glass. On glossy screens, touchscreens, tablets, phones, and premium displays with special coatings, fillers may smear, create rainbow patches, or make the screen look worse. When in doubt, do not apply anything beyond manufacturer-approved cleaner.
Option A: Petroleum jelly for a tiny matte-screen scratch
For a very fine scratch on a matte LCD screen, a tiny amount of petroleum jelly can sometimes reduce visibility by filling the groove. This does not repair the screen. It only changes how light reflects from the scratched area.
- Clean the screen using the safe method above.
- Let the screen dry completely.
- Put a pinhead-sized amount of plain petroleum jelly on a clean cotton swab.
- Gently work it into the scratch with almost no pressure.
- Use a clean microfiber cloth to remove excess residue around the scratch.
- Turn the screen on and check the result.
The trick is restraint. Too much petroleum jelly will leave a greasy halo, and nobody wants their monitor to look like it just ate fried chicken. If the area becomes cloudy, gently clean it off with a damp microfiber cloth and stop.
Option B: Use a screen-safe repair product only if approved
Some electronics-safe screen repair products claim to hide small scuffs. If you choose one, make sure it is specifically labeled safe for LCD screens and compatible with your screen finish. Read the instructions carefully, test on a tiny corner or inconspicuous edge if appropriate, and avoid any product that promises aggressive polishing. If a product sounds like it could remove paint from a tractor, it does not belong near your laptop.
Option C: Add a screen protector to hide a minor scratch
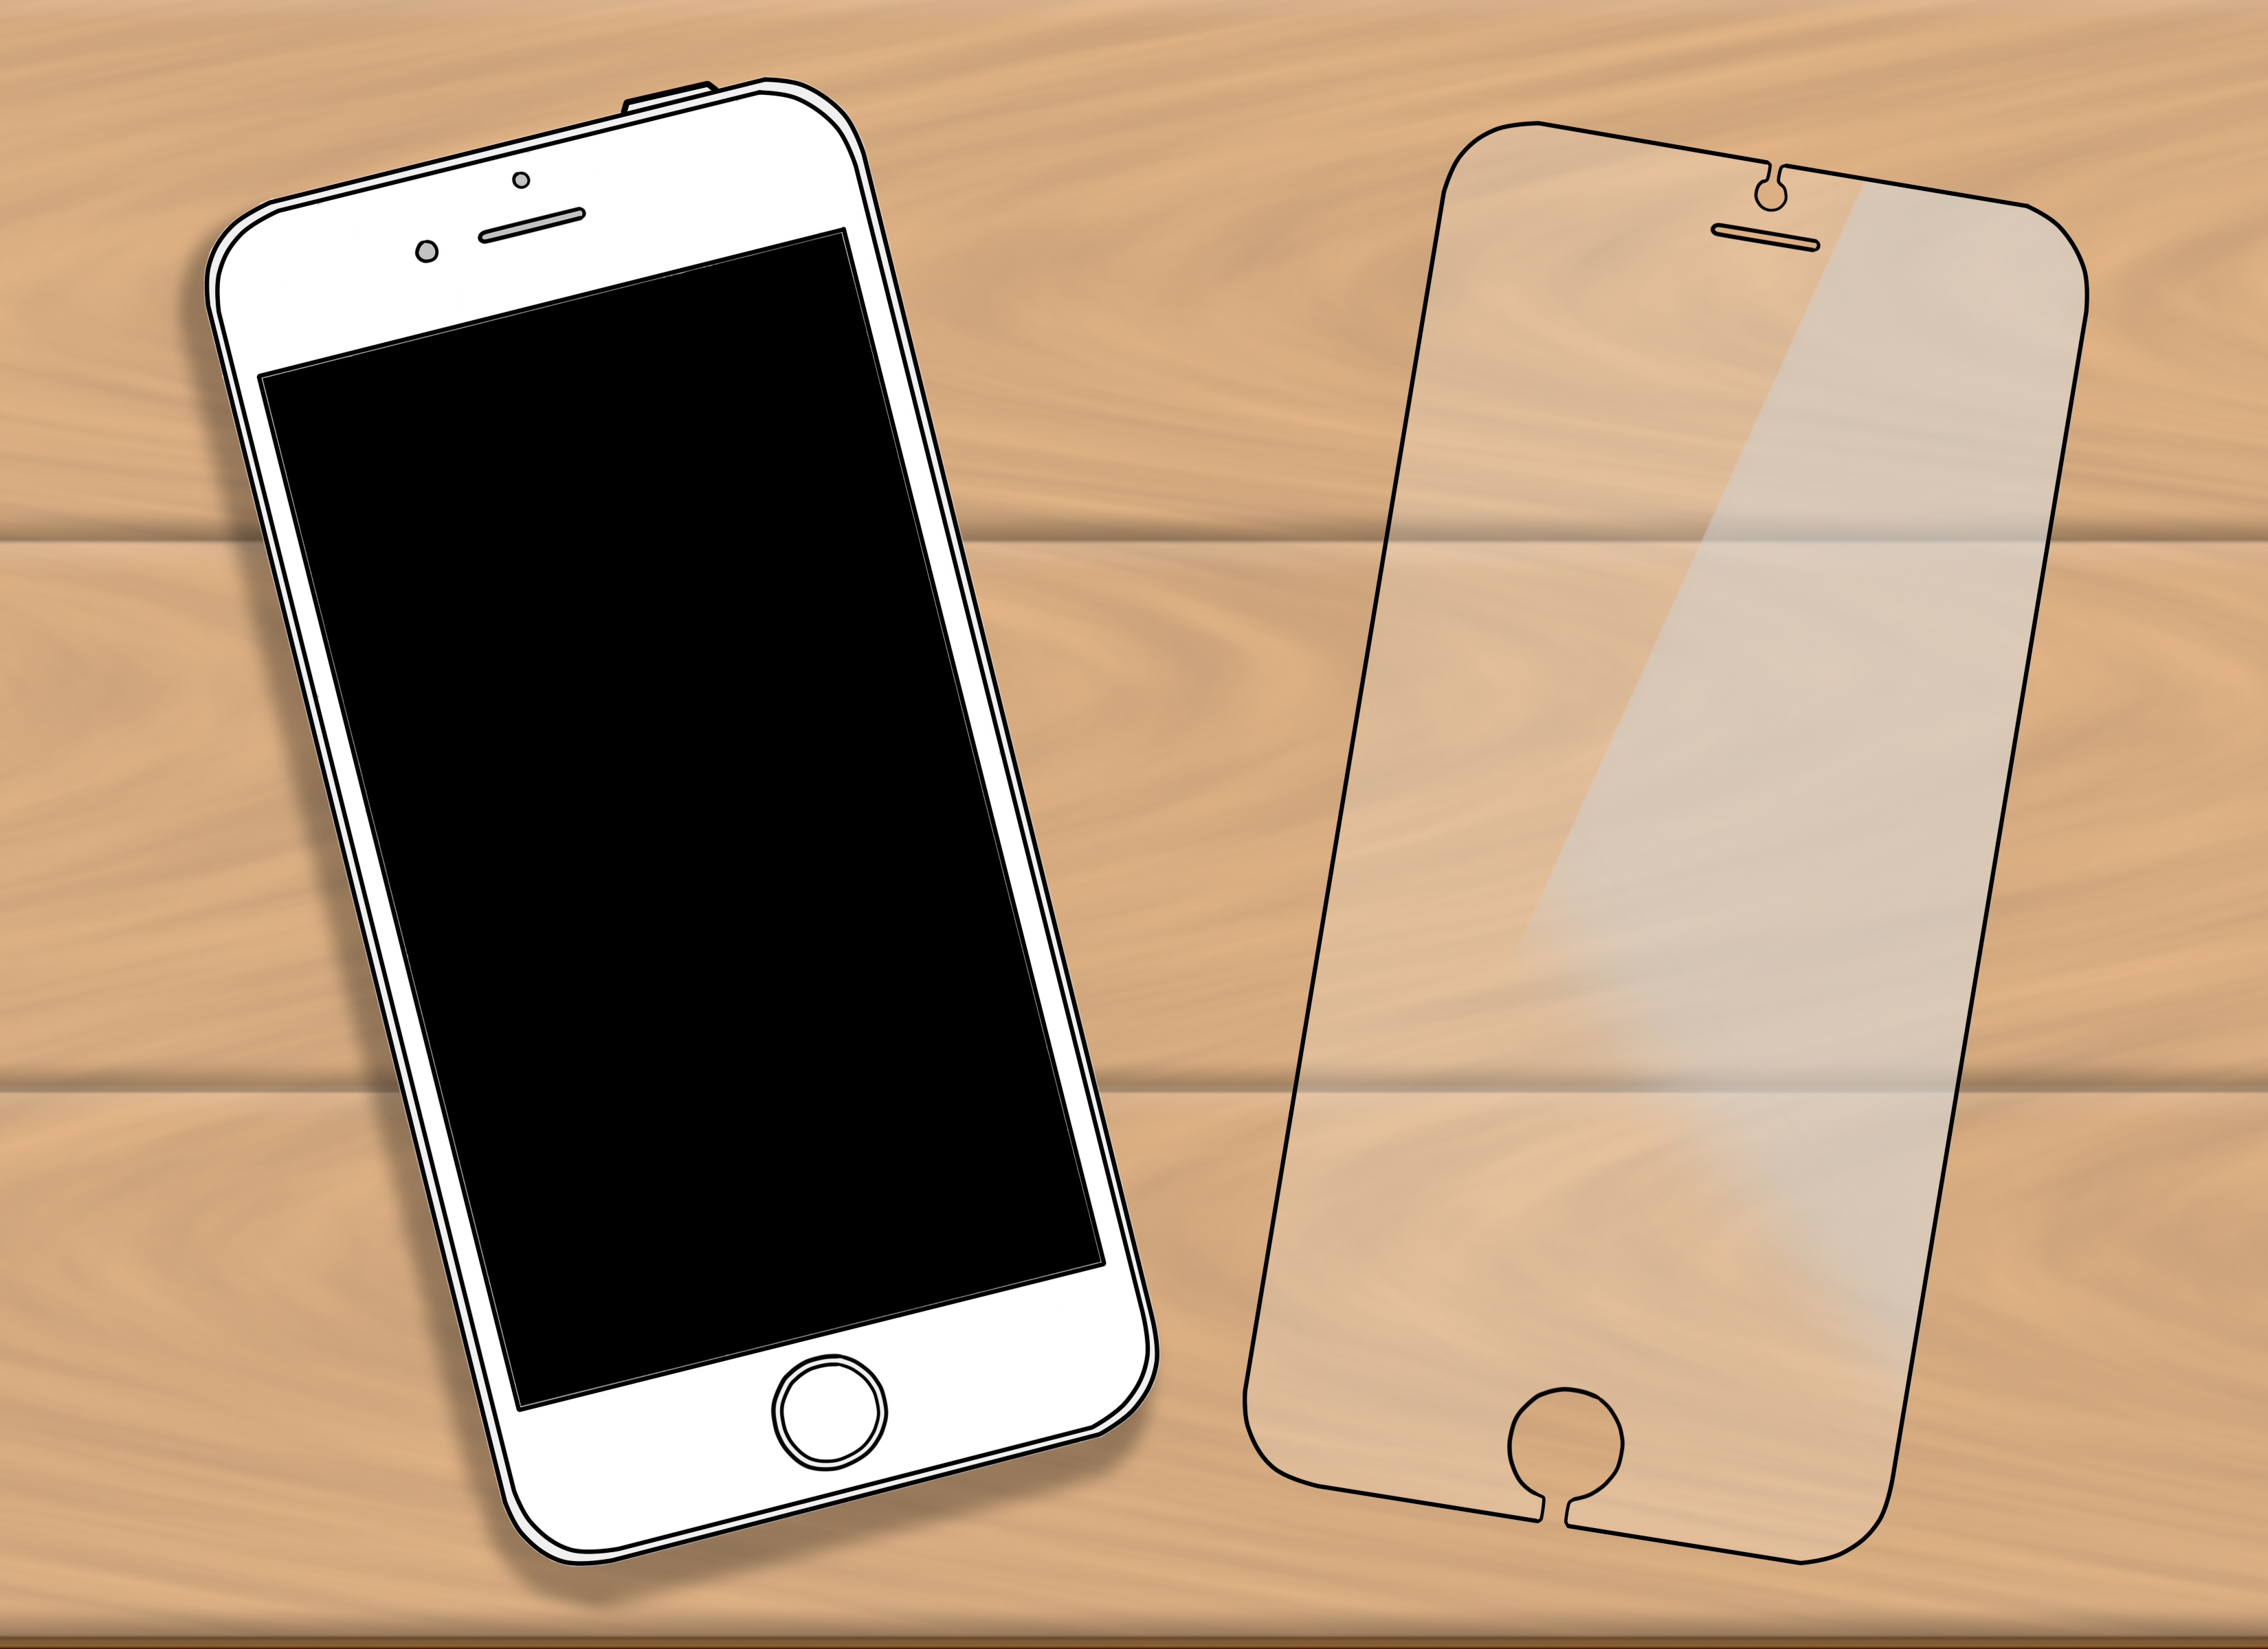
For laptops, portable monitors, tablets, handheld gaming devices, and some touchscreen displays, a high-quality screen protector can visually reduce a light scratch. The adhesive layer may fill tiny grooves, and the protector creates a new surface over the damaged area. This is often safer than rubbing compounds or home polish.
Clean the screen thoroughly before installation. Dust trapped under a screen protector becomes a permanent little bubble with a full-time job annoying you. Align carefully, apply slowly, and use the included squeegee or card wrapped in microfiber to push air outward.
When this method works best
This method works when the scratch is shallow, cosmetic, and limited to the outer surface. It is not suitable for cracks, pressure damage, dead pixels, deep gouges, or coating that is already peeling. If the scratch changes color when pressed, causes image distortion, or feels deep enough to catch a fingernail, do not keep rubbing.
Way 3: Protect, Repair, or Replace the Screen
The third way to fix a scratch on an LCD screen is accepting when “fix” means “prevent it from getting worse” or “replace the damaged part.” This is not defeat. This is wisdom wearing reading glasses.
Protect the screen from further damage
If the scratch is cosmetic and you can live with it, protect the screen going forward. For a laptop, place a soft microfiber keyboard cover or thin screen cloth between the keyboard and display when closing the lid. Many laptop screen marks come from keyboard contact, especially when a bag squeezes the device.
For a monitor or TV, keep sharp objects away from the display. Avoid pointing with pens, keys, fingernails, or anything that belongs in a toolbox. Dust regularly with a clean microfiber cloth. The less grime you have to remove later, the less rubbing the screen has to survive.
Check warranty and accidental damage coverage
Manufacturer warranties often treat scratches, cracks, and physical damage differently from defects. Standard warranties may not cover accidental scratches, but extended protection plans or accidental damage coverage might. Check your coverage before attempting any repair that could make the damage look worse or void a service option.
If the device is expensive, new, or work-issued, stop before experimenting. Contact the manufacturer, retailer, IT department, or repair provider. A small scratch is annoying; a denied warranty claim is the kind of plot twist nobody requested.
Use professional screen repair for deep damage
Deep scratches, cracks, and image problems usually require panel replacement. Laptop screens and some monitors can often be replaced by a repair shop. TVs may be trickier because large panels can cost almost as much as a replacement TV. A professional diagnosis can tell you whether repair makes financial sense.
Replace the screen when image quality is affected
If a scratch creates bright lines, visible distortion, black blotches, color streaks, or touch problems, replacement is the realistic fix. No filler can restore damaged pixels or internal LCD layers. Trying to polish a damaged panel may spread the problem or leave permanent haze.
How to Tell Whether a Scratch Is Too Deep to Fix at Home
A scratch is probably too deep for home treatment if your fingernail catches in it, the line remains visible on every background, the display shows color distortion, or the screen has cracks radiating from the mark. It is also too deep if cleaning and a light cosmetic approach make no improvement.
Another warning sign is pressure sensitivity. If the image changes when you gently touch near the scratch, stop touching it. LCD panels have layered structures, and pressure can worsen internal damage. This is especially important on laptop screens, which are thin and flexible compared with older desktop displays.
Common Myths About LCD Scratch Repair
Myth 1: Toothpaste removes LCD scratches
Toothpaste can sometimes reduce scratches on hard plastic surfaces, but LCD screens are not bathroom sinks. Toothpaste is abrasive and may damage coatings, create haze, or leave residue along the bezel.
Myth 2: Glass cleaner is safe because the screen looks like glass
Modern screens may look like glass, but many have coatings that react badly to ammonia, alcohol, or strong solvents. Use only what your device maker recommends.
Myth 3: More pressure means better results
More pressure means more risk. LCD panels can be damaged by pressing too hard. Gentle cleaning is not just polite; it is necessary.
Myth 4: A repair kit can fix any scratch
Most at-home scratch kits are cosmetic. They may hide a tiny surface mark, but they cannot rebuild a damaged LCD layer, restore dead pixels, or reverse a crack.
Best Tools for LCD Screen Scratch Care
You do not need a repair bench worthy of a spaceship. A small, safe kit is enough for most LCD screen care:
- Two or three clean microfiber cloths
- Distilled water
- Manufacturer-approved screen cleaner
- Cotton swabs for tiny areas
- A soft dust blower for loose particles, used carefully
- A screen protector for compatible devices
- A protective sleeve or laptop screen cloth
Keep these items separate from household cleaning supplies. The microfiber cloth used on a kitchen counter should not graduate to screen duty. It may carry grit, oil, or cleaner residue that can scratch or smear the display.
Prevention: The Best Scratch Repair Is Not Getting One
Preventing LCD scratches is easier than fixing them. Clean the screen only when needed, and dust it gently before wiping. Keep pens, keys, jewelry, and rough cloths away from the surface. Close laptops carefully and avoid stacking heavy books or bags on top of them.
For families, shared offices, classrooms, and gaming rooms, set one simple rule: no touching the screen unless it is designed for touch. People love pointing directly at pixels. Screens do not love being poked by nacho fingers. A microfiber cloth nearby can save a surprising number of displays from daily abuse.
Experience Notes: What Actually Works in Real Life
After dealing with scratched LCD screens on laptops, office monitors, TVs, and portable displays, one lesson stands out: most good results come from doing less, not more. The biggest mistake people make is panicking and attacking the scratch. They press harder, try three cleaners, then search for “LCD scratch fix” while holding a tube of toothpaste like a tiny weapon. That is usually when a small problem becomes permanent.
In one common situation, a laptop owner notices faint horizontal marks across the screen. They assume the display is scratched, but the pattern lines up perfectly with the keyboard. This often happens when a laptop is carried in a packed backpack. The fix is usually simple: clean the screen safely, then place a thin microfiber cloth between the keyboard and screen before closing the laptop. If the marks are only oil transfer, they may vanish. If they are shallow coating marks, they may remain faint but stop getting worse.
Another real-world example is the matte office monitor with one annoying hairline scratch near the center. On a bright spreadsheet, it looks like a tiny lightning bolt of judgment. After cleaning, a very small amount of petroleum jelly can sometimes make that line less visible by changing how it reflects light. The important part is removing excess residue. Too much filler makes the area look greasy, especially under daylight. A good result is not “invisible forever.” A good result is “less distracting while working.”
TV scratches are trickier. Large LCD TVs often have delicate anti-glare coatings, and the screen area is too big to hide mistakes. If a child, pet, or enthusiastic adult with a game controller creates a mark, start with gentle cleaning and stop there unless the manufacturer recommends a specific product. A screen protector is not practical for most large TVs, and rubbing a glossy TV panel can create cloudy spots that are more noticeable than the original scratch. Sometimes the best solution is adjusting room lighting or seating angle so the scratch catches less glare.
Portable monitors and tablets benefit most from screen protectors. If the scratch is light, a protector may make it less obvious while preventing future marks. It also gives users a replaceable surface. That is the dream: let the cheap accessory take the beating, not the expensive display.
The final practical lesson is emotional: decide how much the scratch really affects use. If the image is perfect and the mark is only visible when the screen is off, it may not deserve a risky repair attempt. If the scratch distracts you every day, use a safe cosmetic method or explore replacement. The goal is not perfection. The goal is a clear, usable screen that does not make you mutter every time sunlight hits it.
Conclusion
Fixing a scratch on an LCD screen is really about choosing the safest response for the type of damage you have. First, clean and inspect the screen carefully because many “scratches” are actually smudges or residue. Second, try a gentle cosmetic method only for very light surface scratches, especially on matte LCD screens, and avoid abrasive home remedies. Third, protect the screen or seek professional repair when the scratch is deep, affects image quality, or involves cracking.
The golden rule is simple: LCD screens reward patience and punish enthusiasm. Use microfiber cloths, minimal moisture, light pressure, and manufacturer-approved products. Skip toothpaste, glass cleaner, paper towels, and hard rubbing. A tiny scratch is annoying, but a cloudy, stripped, pressure-damaged display is a whole new subscription plan to regret.