Wooden floors have a charming way of making a room feel warm, lived-in, and slightly more sophisticated than we deserve on a Monday morning. But when gaps start showing between the boards, that charm can turn into a tiny obstacle course for crumbs, pet hair, drafty air, and the occasional mystery pebble. The good news? Many gaps in wooden floors can be improved with simple, homeowner-friendly fixes.
Before grabbing the nearest tube of filler and attacking the floor like a weekend warrior with a caffeine problem, it helps to understand why the gaps appeared in the first place. Wood is a natural material. It expands when the air is humid and shrinks when the air is dry. That means some seasonal gaps are completely normal, especially in winter when indoor heating dries out the air. Other gaps, however, stay open all year, collect debris, or become wide enough to catch socks. Those are the ones worth repairing.
This guide explains three simple ways to fill in gaps in wooden floors: using wood filler for small gaps, using rope or oakum for older wide-plank floors, and using wood slivers for larger permanent gaps. We will also cover what not to do, when to wait, and when to call a professional before your innocent floor repair becomes a dramatic home improvement documentary.
Why Wooden Floors Develop Gaps
Gaps in hardwood floors usually come from one of four causes: seasonal humidity changes, natural aging, poor installation, or moisture problems. In many homes, the most common reason is simple seasonal movement. During dry months, wood loses moisture and shrinks. When humidity rises, the boards may expand again and the gaps may close naturally.
This is why the timing of your repair matters. If you fill every narrow winter gap while the boards are at their smallest, the filler may crack, crumble, or get pushed upward when the floor expands in spring and summer. That is not a floor repair; that is a tiny volcano range in your living room.
Normal Seasonal Gaps vs. Problem Gaps
Not every gap needs to be filled. Hairline gaps that appear during dry weather and disappear when humidity returns are usually normal. The better fix is to control indoor humidity, not permanently fill a moving joint.
Persistent gaps are different. If the gaps remain open all year, are wider than a few coins stacked side by side, or appear with cupping, buckling, soft spots, water stains, or loose boards, the floor may have a deeper issue. In those cases, filling the gap only hides the symptom. It is like putting sunglasses on a raccoon and calling it a houseguest: charming, but not a solution.
Before You Start: Clean, Inspect, and Choose the Right Repair
Successful gap filling begins with preparation. Dirt, wax, old filler, pet hair, and floor polish can prevent repair materials from bonding. Use a vacuum with a narrow attachment, a stiff brush, or a plastic scraper to clean inside the gaps. Avoid metal tools that can gouge the edges of the boards.
Next, inspect the floor. Ask three questions:
- Does the gap change size with the seasons? If yes, avoid rigid fillers.
- Is the floor already finished? Finished floors often need color-matched putty or flexible repair methods.
- Is the gap narrow, medium, or wide? Small stable gaps can use filler; larger gaps may need rope or wood slivers.
Once you understand the gap, you can choose a method that works with the wood instead of fighting it like a tiny construction argument.
Method 1: Fill Small, Stable Gaps With Wood Filler or Floor Putty
For small, stable gaps, color-matched wood filler or floor repair putty is often the easiest fix. This method works best for narrow cracks, nail holes, tiny separations, and cosmetic gaps that do not open and close dramatically throughout the year.
Best For
- Small gaps between floorboards
- Minor cracks and nail holes
- Finished floors needing a quick cosmetic improvement
- Gaps that stay roughly the same size year-round
What You Need
- Vacuum or soft brush
- Plastic scraper or putty knife
- Color-matched wood filler, wood putty, or floor repair compound
- Damp cloth
- Fine-grit sandpaper, only if the product is sandable and the floor surface allows it
- Matching stain or finish, if needed
How to Do It
First, clean the gap thoroughly. The filler needs a clean surface to grip. If old filler is loose, remove it carefully. Vacuum again. Yes, again. Dust has a talent for returning like an uninvited relative.
Next, apply the filler with a putty knife. Press it firmly into the gap rather than simply spreading it over the top. For deeper gaps, apply the material in thin layers if the product instructions recommend it. Overfilling slightly can help if the filler shrinks as it dries, but do not smear it across the floor like frosting on a birthday cake.
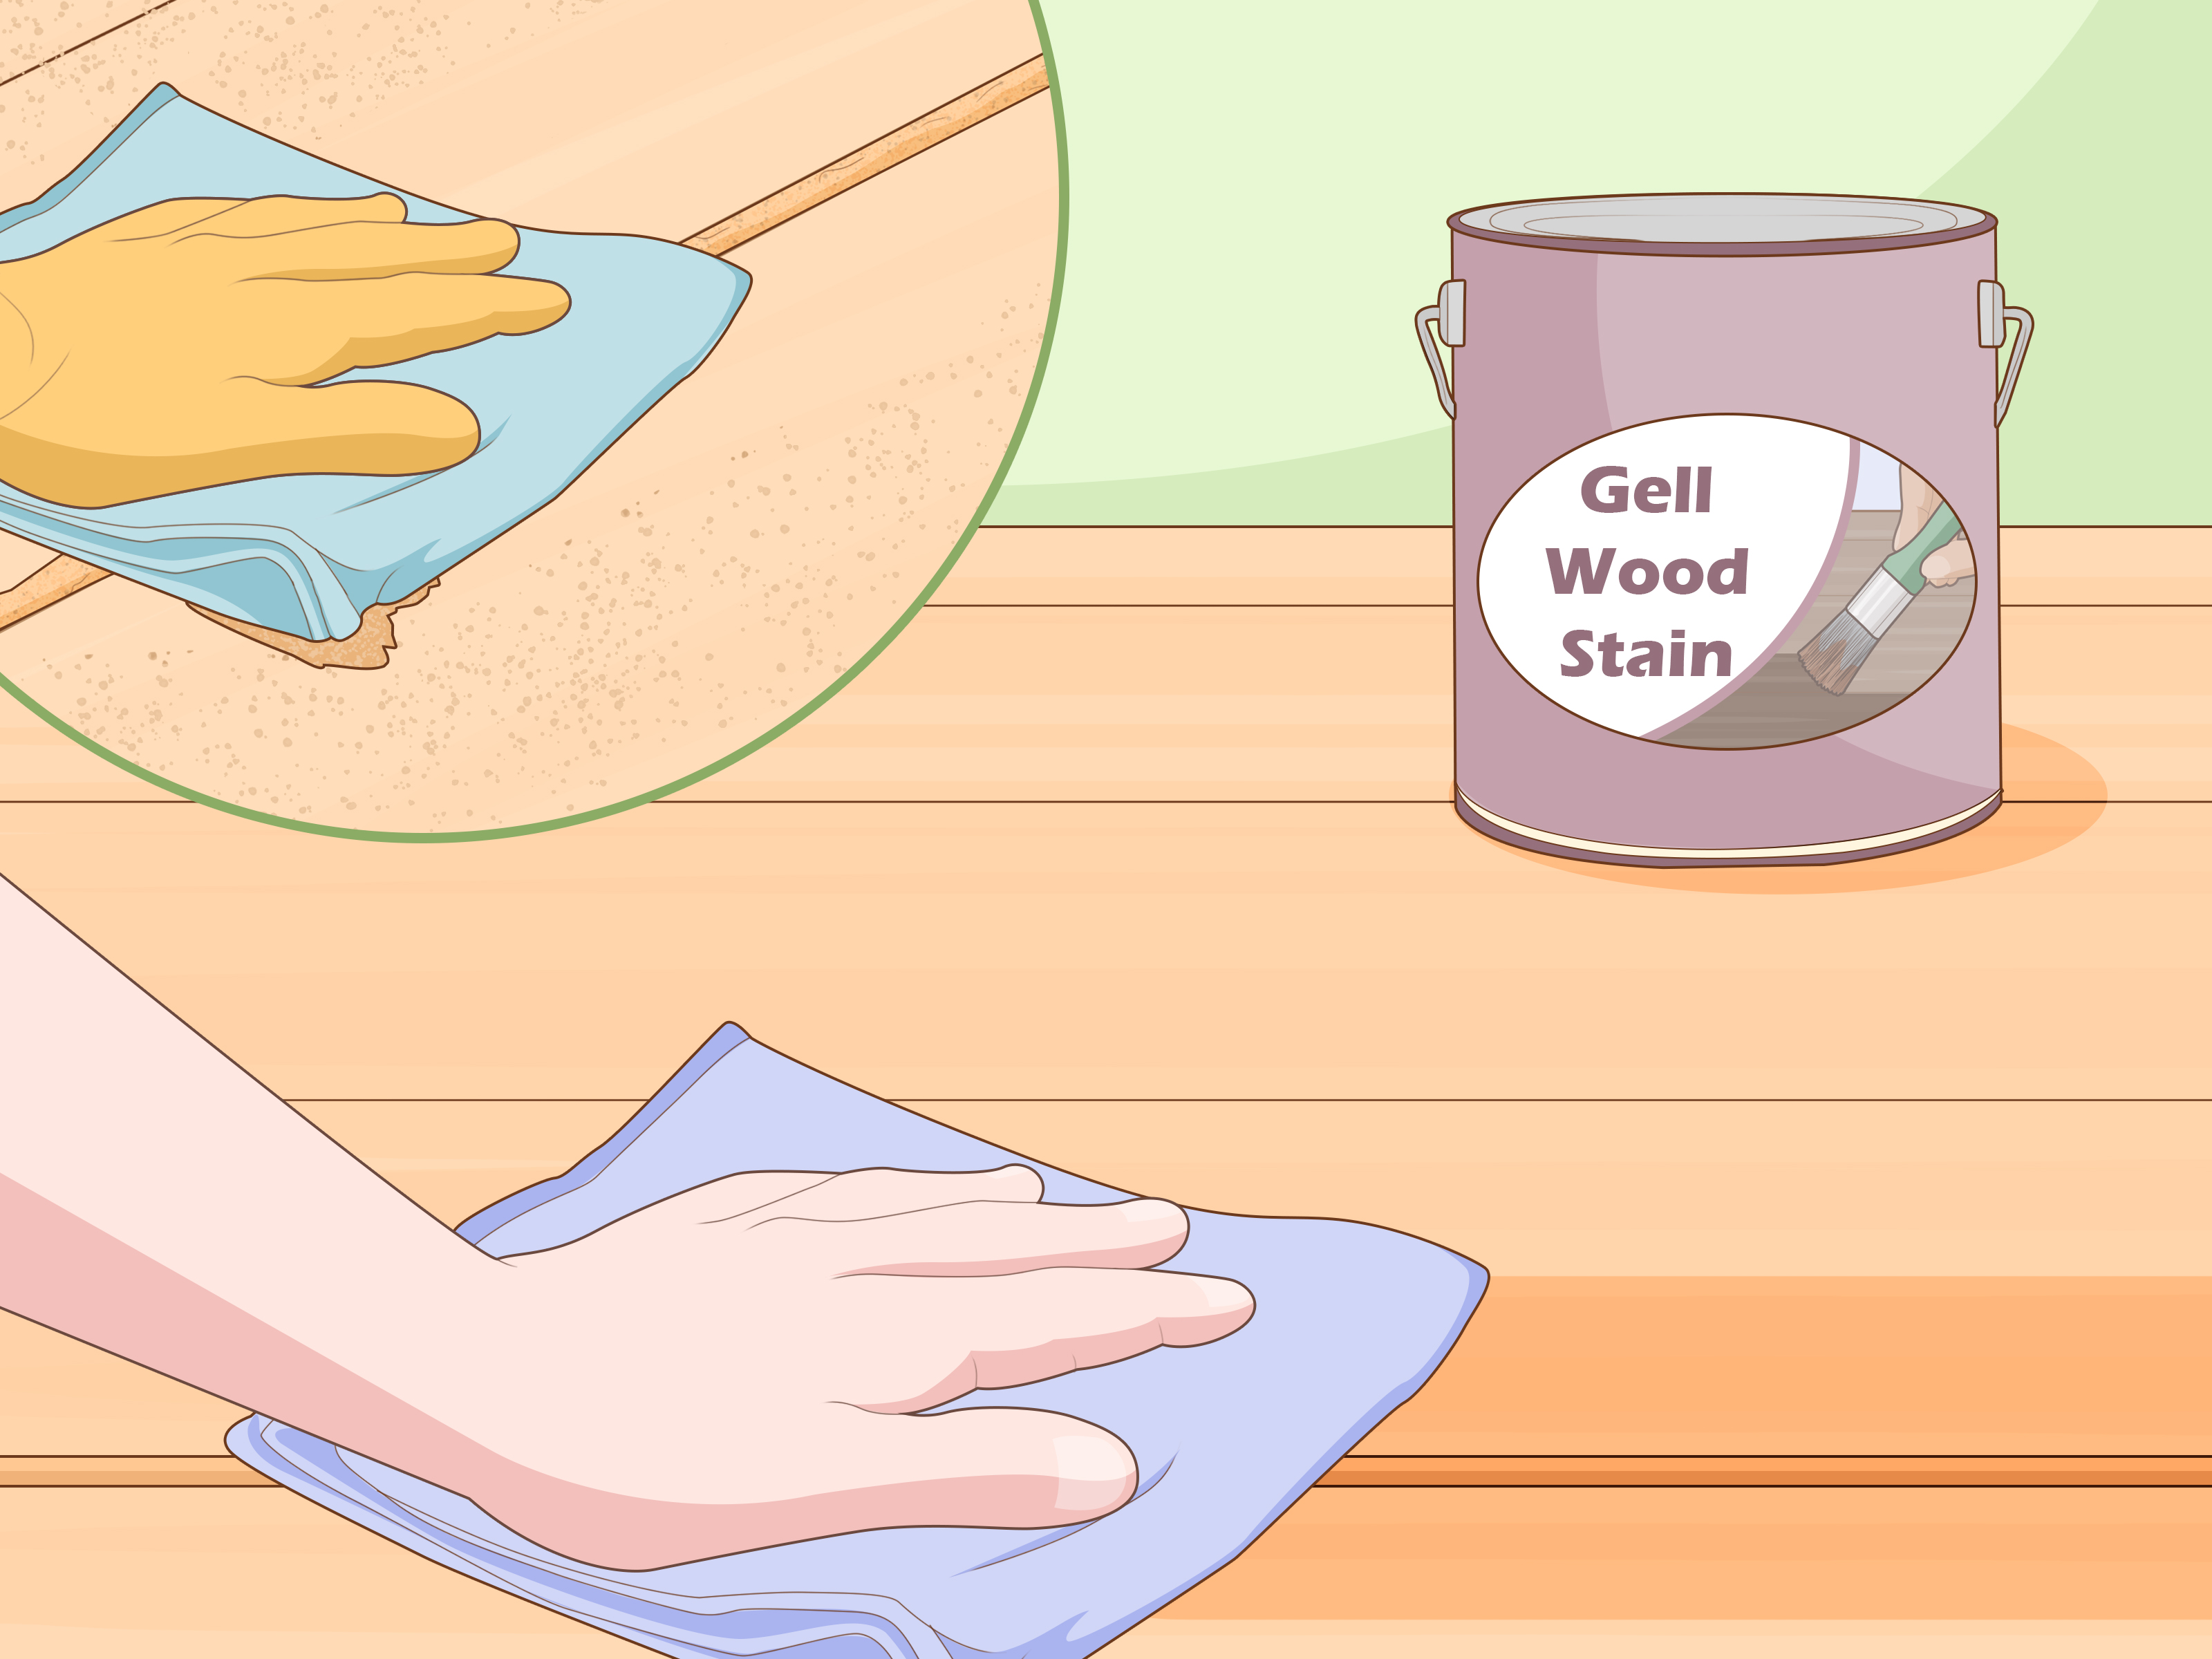
Wipe away excess filler before it dries. This is especially important on finished floors, where dried filler can leave a cloudy film or stubborn residue. Let the product cure according to the manufacturer’s instructions. If it is sandable and safe for your floor finish, sand lightly and blend the repair with matching stain or finish.
Helpful Tip
Choose the product based on your floor’s condition. Wood filler usually dries hard and can be sanded, which makes it useful for unfinished or refinishing projects. Wood putty tends to remain more flexible and is often better for small repairs on already finished wood. Always read the label, because different brands use these terms differently.
Method 2: Use Stained Rope or Oakum for Wider Gaps in Older Floors
Rope filling is an old-school solution that still works beautifully for older homes, wide-plank floors, and floors where the gaps are part of the character. Instead of trying to make an antique floor look like a brand-new bowling alley, rope filling softens the gaps, blocks drafts, and keeps debris from disappearing into the floor abyss.
This method is especially popular for historic wooden floors because rope can move slightly with the boards. It is not as rigid as hardened filler, so it is less likely to crack when the floor shifts a little with humidity changes.
Best For
- Older wooden floors
- Wide-plank flooring
- Long, consistent gaps
- Floors where a rustic or traditional look is acceptable
- Drafty gaps that collect dust and crumbs
What You Need
- Natural fiber rope, jute, cotton rope, or oakum
- Wood stain that matches the floor
- Bucket or tray for staining the rope
- Gloves
- Putty knife, painter’s tool, or blunt chisel
- Scissors or utility knife
- Vacuum and brush
How to Do It
Start by measuring the width of the gap. Choose rope slightly wider than the gap so it fits snugly. If the rope is too thin, it will sink or wiggle loose. If it is too thick, you will wrestle with it, and the rope may win.
Stain the rope before installation. Place it in a tray or bucket with wood stain and work the stain evenly into the fibers. Let it dry completely. This step is important because unstained rope can look bright and obvious against darker flooring, like a shoelace accidentally installed in your dining room.
Once dry, press the rope into the cleaned gap. Use a putty knife or blunt tool to push it down until it sits slightly below or flush with the floor surface. Do not hammer aggressively. The goal is a snug fit, not a floorboard demolition event.
Trim the rope neatly at the ends. If needed, touch up the surface with a small amount of stain. The finished result should look intentional and tidy, with the gap filled but still compatible with the natural movement and style of the floor.
Helpful Tip
Rope works best when the gaps are relatively even. If a gap changes from hairline to canyon-sized in the same run, consider combining methods or asking a flooring professional about a more permanent repair.
Method 3: Use Wood Slivers or Splines for Larger Permanent Gaps
For larger gaps that do not close seasonally, wood slivers can create a durable and attractive repair. This method involves cutting thin strips of matching wood, gluing them into the gaps, trimming them flush, and finishing them to blend with the floor.
Wood slivers are more labor-intensive than filler or rope, but they can look excellent when done carefully. This approach is commonly used when the gap is too wide for ordinary filler but the boards are still solid and worth preserving.
Best For
- Wide gaps that remain open year-round
- Solid hardwood floors
- Restoration projects
- Gaps where filler would crack or look messy
- Floors that will be sanded and refinished afterward
What You Need
- Matching wood strips or slivers
- Wood glue suitable for flooring repair
- Table saw or hand tools for cutting thin strips
- Rubber mallet
- Wood block
- Sharp chisel or flush-cut saw
- Sandpaper or floor sander
- Stain and finish
How to Do It
Clean the gap thoroughly. Cut a tapered wood strip that matches the species or color of the existing floor as closely as possible. A slight taper helps the strip wedge into the gap. Test-fit it before adding glue. It should fit firmly without forcing the floorboards apart.
Apply a small amount of wood glue to the sides of the strip, not a giant puddle. Too much glue can squeeze onto the floor surface and create finishing problems. Tap the sliver gently into place using a wood block and rubber mallet. Let the glue cure fully.
Once dry, trim the excess wood flush with the floor using a sharp chisel or flush-cut saw. Sand smooth, then stain and finish to match the surrounding boards. This method is easiest when you plan to refinish the entire floor, because blending a small spot into an old finish can be tricky.
Helpful Tip
Do not use wood slivers in gaps that are still actively expanding and contracting. A rigid strip in a moving gap can create pressure on the boards. In the worst case, that pressure may cause cracking, lifting, or buckling. Floors need room to move, even when they are being dramatic about it.
What About Sawdust and Glue?
Many DIYers make homemade wood filler by mixing fine sanding dust with wood glue or a binder. This can work for very small gaps, especially during refinishing, because the dust comes from the same floor and may match the color better than store-bought filler.
However, this mixture dries hard. It is not ideal for seasonal gaps that move. It can also stain differently than the surrounding wood because glue does not absorb stain the same way raw wood does. If you use this method, test it in a hidden area first. The test patch may save you from creating a repair that looks like a beige racing stripe across the floor.
Common Mistakes to Avoid
Filling Gaps Too Soon
If the gaps appear only during the driest months, wait. They may close when indoor humidity rises. Filling them too early can lead to cracked filler or raised repairs later.
Using Caulk Between Floorboards
Caulk is useful in many parts of a house, but it is usually not the best choice between hardwood floorboards. It can attract dirt, look shiny, smear onto the finish, and fail under foot traffic. Save caulk for trim, not the main floor surface.
Ignoring Moisture Problems
Gaps paired with cupping, buckling, stains, or soft spots may indicate moisture trouble. Fix leaks, humidity problems, or subfloor issues before filling gaps. Otherwise, the repair may fail quickly.
Choosing the Wrong Color
A filler that looks close in the container may dry lighter or darker on the floor. Always test first. Floors are not forgiving when a repair color is wrong; they will display it proudly every time sunlight hits the room.
How to Prevent Future Gaps in Wooden Floors
The best gap repair is the one you do not need to make again next season. Keep indoor humidity as consistent as possible. Many flooring professionals recommend maintaining a stable indoor range rather than letting the house swing from desert-dry winter air to tropical summer humidity.
Use a humidifier during dry months if needed. Run air conditioning or a dehumidifier during damp months. Clean spills quickly, avoid wet mopping, and use floor cleaners designed for wood. Also, make sure rugs can breathe. Rubber-backed rugs may trap moisture and create discoloration or movement problems over time.
If you install new wooden flooring, acclimate the boards before installation and leave the proper expansion space around the room perimeter. That hidden expansion gap under the baseboard is not a mistake; it is the floor’s personal breathing room.
When to Call a Flooring Professional
DIY gap filling is reasonable for small cosmetic issues, older rustic floors, and stable gaps. But some situations deserve professional help. Call a flooring contractor if boards are loose, the floor is buckling, gaps are very wide, the subfloor feels soft, or the same area keeps changing dramatically.
You should also call a pro if you are working with valuable historic flooring, expensive hardwood, engineered flooring with a thin wear layer, or a floor that needs full sanding and refinishing. A professional can identify whether the problem is humidity, installation, structural movement, or moisture intrusion. That diagnosis can prevent expensive guesswork.
Real-Life Experience: What Actually Works When Filling Floor Gaps
In real homes, floor gaps rarely behave as politely as they do in perfect step-by-step tutorials. One board is slightly cupped, another gap is full of old wax, and there is always one mysterious corner where dust gathers like it pays rent. That is why the best experience-based advice is simple: test first, repair slowly, and do not assume every gap needs the same treatment.
For small gaps in newer hardwood floors, color-matched filler is usually the fastest and cleanest option. The trick is not to overdo it. A tiny amount pressed firmly into a clean gap looks much better than a thick smear spread across several boards. Homeowners often get into trouble by trying to make the repair perfect in one pass. Instead, apply a modest amount, let it dry, inspect it, and add more only if needed. Patience is cheaper than sanding a mistake off a finished floor.
For older floors, especially in homes with wide planks, rope can be surprisingly satisfying. It does not make the floor look brand new, and that is the point. Old floors are supposed to have character. Rope filling reduces drafts and stops crumbs from vanishing into the underworld without erasing the floor’s age. The most important lesson is to stain the rope first and let it dry completely. Installing pale rope into a dark floor gap is a mistake you will notice every single day, usually while holding coffee and quietly judging your past self.
Wood slivers are the most durable-looking repair, but they require the most care. They work best when the floor is being refinished, because sanding and staining help the new strips blend in. Trying to patch one large gap in the middle of a glossy finished floor can work, but it is harder to hide. The new wood may absorb stain differently, and the finish sheen may not match. That does not mean the repair is bad; it just means expectations matter. A good repair should look neat and intentional, not magically invisible from every angle under museum lighting.
Another practical lesson: indoor humidity matters more than most people think. If a room gets very dry in winter, gaps can return even after careful filling. A simple hygrometer can tell you whether the room is too dry or too damp. It is not glamorous, but neither is crawling around with a putty knife every January. Keeping the home environment stable protects not only the gaps but also the finish, furniture, trim, and doors.
Finally, know when to stop. A few narrow lines between boards are part of owning a real wood floor. The goal is not to turn wood into plastic. The goal is to make the floor cleaner, safer, less drafty, and better looking while respecting the fact that wood moves. When you choose the right method for the right gap, the repair blends into the home instead of becoming the first thing people notice when they walk in.
Conclusion
Filling gaps in wooden floors is not complicated once you understand the type of gap you are dealing with. Small, stable gaps can often be repaired with color-matched wood filler or putty. Wider gaps in older floors may be better suited to stained rope or oakum. Larger permanent gaps may need carefully fitted wood slivers for a stronger and more polished result.
The smartest repair begins before the filler comes out. Clean the gap, check whether it is seasonal, control indoor humidity, and choose a material that matches the movement and style of your floor. Done well, a gap repair can make your wooden floor look cleaner, feel more comfortable, and stop crumbs from disappearing into another dimension. And really, that is all most of us ask from a floor.
Note: This article was written from a synthesis of practical guidance from reputable U.S. flooring, woodworking, and home-improvement resources, including professional hardwood flooring recommendations, manufacturer guidance, and established DIY repair publications.