A farmer’s tan is the unofficial uniform of yard work, weekend hikes, outdoor sports, and forgetting that sleeves create extremely accurate geometric shapes. One afternoon outside can leave your forearms several shades deeper than your shoulders, while your upper arms look as though they spent the summer working from home.
The frustrating truth is that there is no safe cream that erases a real sun tan overnight. A tan is a response to ultraviolet radiation, not surface dirt that can be scrubbed away. The fastest sensible approach is a two-part plan: stop the contrast from getting darker, then either blend the lighter areas cosmetically or let the darker areas fade gradually with gentle skin care. Done correctly, you can look noticeably more even within a day and allow the actual color difference to soften over the following weeks.
What Causes a Farmer’s Tan?
A farmer’s tan forms when clothing consistently protects part of the body while nearby skin receives more ultraviolet exposure. Your exposed forearms, lower legs, neck, or face produce additional melanin in response to UV radiation, while the covered areas remain closer to their original color. Dermatology organizations emphasize that a tan is a sign of UV-related skin injury, even when there is no redness or peeling. Repeated exposure can also contribute to uneven pigmentation, premature aging, and skin cancer risk.
Can You Remove It Quickly?
You can reduce the appearance of a farmer’s tan quickly, but the underlying pigment needs time to fade. Cosmetic body makeup, gradual self-tanner, or a professional spray tan can visually balance the contrast in hours. Gentle exfoliation may help the darker area fade more evenly as surface cells shed, but aggressive scrubbing does not pull melanin out of living skin. It usually creates irritation, dryness, and a new problem to complain about.
The Fastest Safe Plan for an Even Glow
Step 1: Check for Sunburn Before Doing Anything
Do not exfoliate freshly burned skin. If the darker area is hot, painful, swollen, blistered, or actively peeling, treat it as a sunburn rather than a cosmetic inconvenience. Use cool showers or compresses, apply a fragrance-free moisturizer or aloe-based product, drink fluids, and leave blisters and peeling skin alone. Medical guidance warns that exfoliating a healing sunburn can further damage an already weakened skin barrier.
Seek medical care for severe blistering, intense pain, fever, confusion, dehydration, or a burn covering a large area. Skin color is not a reliable measure of severity; people with deeper skin tones can also experience painful UV damage.
Step 2: Stop Adding New Color
Your farmer’s tan cannot catch up with itself if the exposed zone keeps getting darker. Apply a broad-spectrum, water-resistant sunscreen with SPF 30 or higher to all exposed skin, including the border where your sleeve or shorts end. Use enough product, apply it before outdoor exposure, and reapply at least every two hours and after swimming or heavy sweating. Clothing, shade, a wide-brimmed hat, and adjusted outdoor timing add protection that sunscreen alone cannot provide.
Do not intentionally expose the pale area to “even things out.” That strategy may narrow the color difference, but it does so by adding more UV damage. Tanning beds are not a shortcut either; they expose skin to harmful radiation and increase long-term risk.
Step 3: Choose Your Deadline
Your best method depends on when you need results:
- Tonight: Use transfer-resistant body makeup or a wash-off bronzing lotion on the lighter area.
- Within 24 to 48 hours: Apply a gradual self-tanner to the lighter area and blend carefully across the tan line.
- Over one to three weeks: Protect the skin from additional sun, moisturize daily, and gently exfoliate once or twice weekly if the skin is healthy.
- For a major event: Consider a reputable professional spray tan, explaining that you want correction rather than maximum darkness.
How to Fade the Darker Area Gently
Use Mild Exfoliation, Not Sandpaper Energy
Once the skin is calm and free of sunburn, gentle exfoliation can help remove dead surface cells and encourage a smoother-looking fade. Start with a soft washcloth in a lukewarm shower. Use light circular motions for less than a minute, then rinse and moisturize. One or two sessions per week are enough for most people.
A mild body lotion containing lactic acid or a low-strength alpha-hydroxy acid may be useful for rough, non-sensitive skin, but stronger is not automatically faster. Acids can irritate skin, especially when combined with shaving, retinoids, fragrance, or recent sun exposure. Begin on a small area, follow the product label, and stop if burning, persistent redness, itching, or scaling develops. Research on alpha-hydroxy acids confirms that they can increase cell renewal but also carry irritation potential.
Moisturize After Every Shower
Hydrated skin looks smoother and reflects light more evenly, which can make tan lines less obvious even before the pigment changes. Apply a fragrance-free body cream while the skin is slightly damp. Ingredients such as ceramides, glycerin, and hyaluronic acid help support hydration and the skin barrier. Skip heavily perfumed lotions if your skin is already irritated.
Be Patient With the Biology
A natural tan fades as pigmented skin cells move toward the surface and are shed. That process varies with skin type, depth of pigment, continued UV exposure, age, and skin-care habits. Trying to force the process with daily scrubs usually makes the border redder and more noticeable. Think “steady fade,” not “pressure-wash the forearm.”
How to Blend the Lighter Area With Self-Tanner
Self-tanner is usually the quickest way to create an even glow without further UV exposure. Most topical sunless tanning products use dihydroxyacetone, or DHA, which reacts with proteins in the outermost layer of skin to create temporary color. It does not create a protective base tan, and most formulas do not replace sunscreen.
A Simple Farmer’s Tan Correction Method
- Prepare the skin: The day before application, gently exfoliate elbows, knees, wrists, and the tan-line border. Do not apply to burned, broken, or irritated skin.
- Dry completely: Water can dilute the formula and create streaks.
- Protect dry zones: Apply a thin layer of plain moisturizer to elbows, knuckles, wrists, and other areas that absorb excess color.
- Start on the lighter skin: Apply a small amount in circular motions, using a tanning mitt when possible.
- Feather across the border: With almost no product left on the mitt, blend one to two inches into the darker area. A hard stop creates a second tan line, which is impressive only from an engineering perspective.
- Build slowly: Wait for the full development time before adding another layer. Gradual formulas are easier to control than an ultra-dark product.
- Wash your hands: Clean palms, between fingers, and around nails immediately after application.
The American Academy of Dermatology recommends exfoliating first, drying the skin, applying self-tanner in sections, and washing hands after each section to improve evenness.
What About Spray Tans?
A professional spray tan can be helpful when multiple areas are uneven, but protect the eyes, lips, nose, and airways from overspray and follow the salon’s safety instructions. The FDA has received reports of reactions associated with sunless tanning products, including rashes and respiratory symptoms in spray settings. A patchy tan is annoying; coughing through your glow-up is worse.
Body Makeup for Same-Day Results
When you have a wedding, photo session, date, or sleeveless outfit scheduled in a few hours, body makeup is the most predictable option. Choose a water-resistant, transfer-resistant formula close to the darker skin tone. Apply thin layers to the lighter area with a dense brush, sponge, or mitt, then soften the edge over the existing tan. Set it according to the product directions and let it dry completely before dressing.
Test the finish in natural daylight. Bathroom lighting has been known to approve decisions that daylight later sends back for revisions. Also test whether the product transfers onto a white towel before wearing pale clothing.
Popular “Quick Fixes” That Can Backfire
Lemon Juice
Lemon juice is acidic and can irritate skin. Citrus compounds plus sunlight may trigger a blistering or pigment-changing reaction called phytophotodermatitis. It is not a controlled skin-lightening treatment and should not be used to erase tan lines.
Baking Soda, Toothpaste, or Bleach
These belong in cleaning routines, not pigmentation routines. They can disrupt the skin barrier, cause chemical irritation, and leave the area looking more uneven. Household bleach should never be applied to skin.
Daily Harsh Scrubs
Coarse salt, sugar, stiff brushes, and aggressive scrubbing can create tiny injuries and inflammation. Inflammation itself may leave lingering discoloration, particularly in medium to deep skin tones.
Extra Sun on the Pale Area
This is the classic “solve a problem by creating a matching problem” technique. A tan provides very little natural protection and does not prevent future sunburn or skin damage.
Tanning Pills or Nasal Sprays
Avoid unapproved products marketed as internal tanning shortcuts. The FDA has warned about tanning pills, and unapproved nasal tanning sprays may contain melanotan compounds with uncertain quality and potentially serious side effects.
How to Prevent Another Farmer’s Tan
Prevention is mainly a consistency problem, not a product-discovery problem. Keep sunscreen near the door, in your work bag, and with outdoor gear. Apply it beyond the visible clothing edge because sleeves shift while you move. For long outdoor sessions, wear lightweight long sleeves or UPF-rated clothing rather than relying on one hurried sunscreen application.
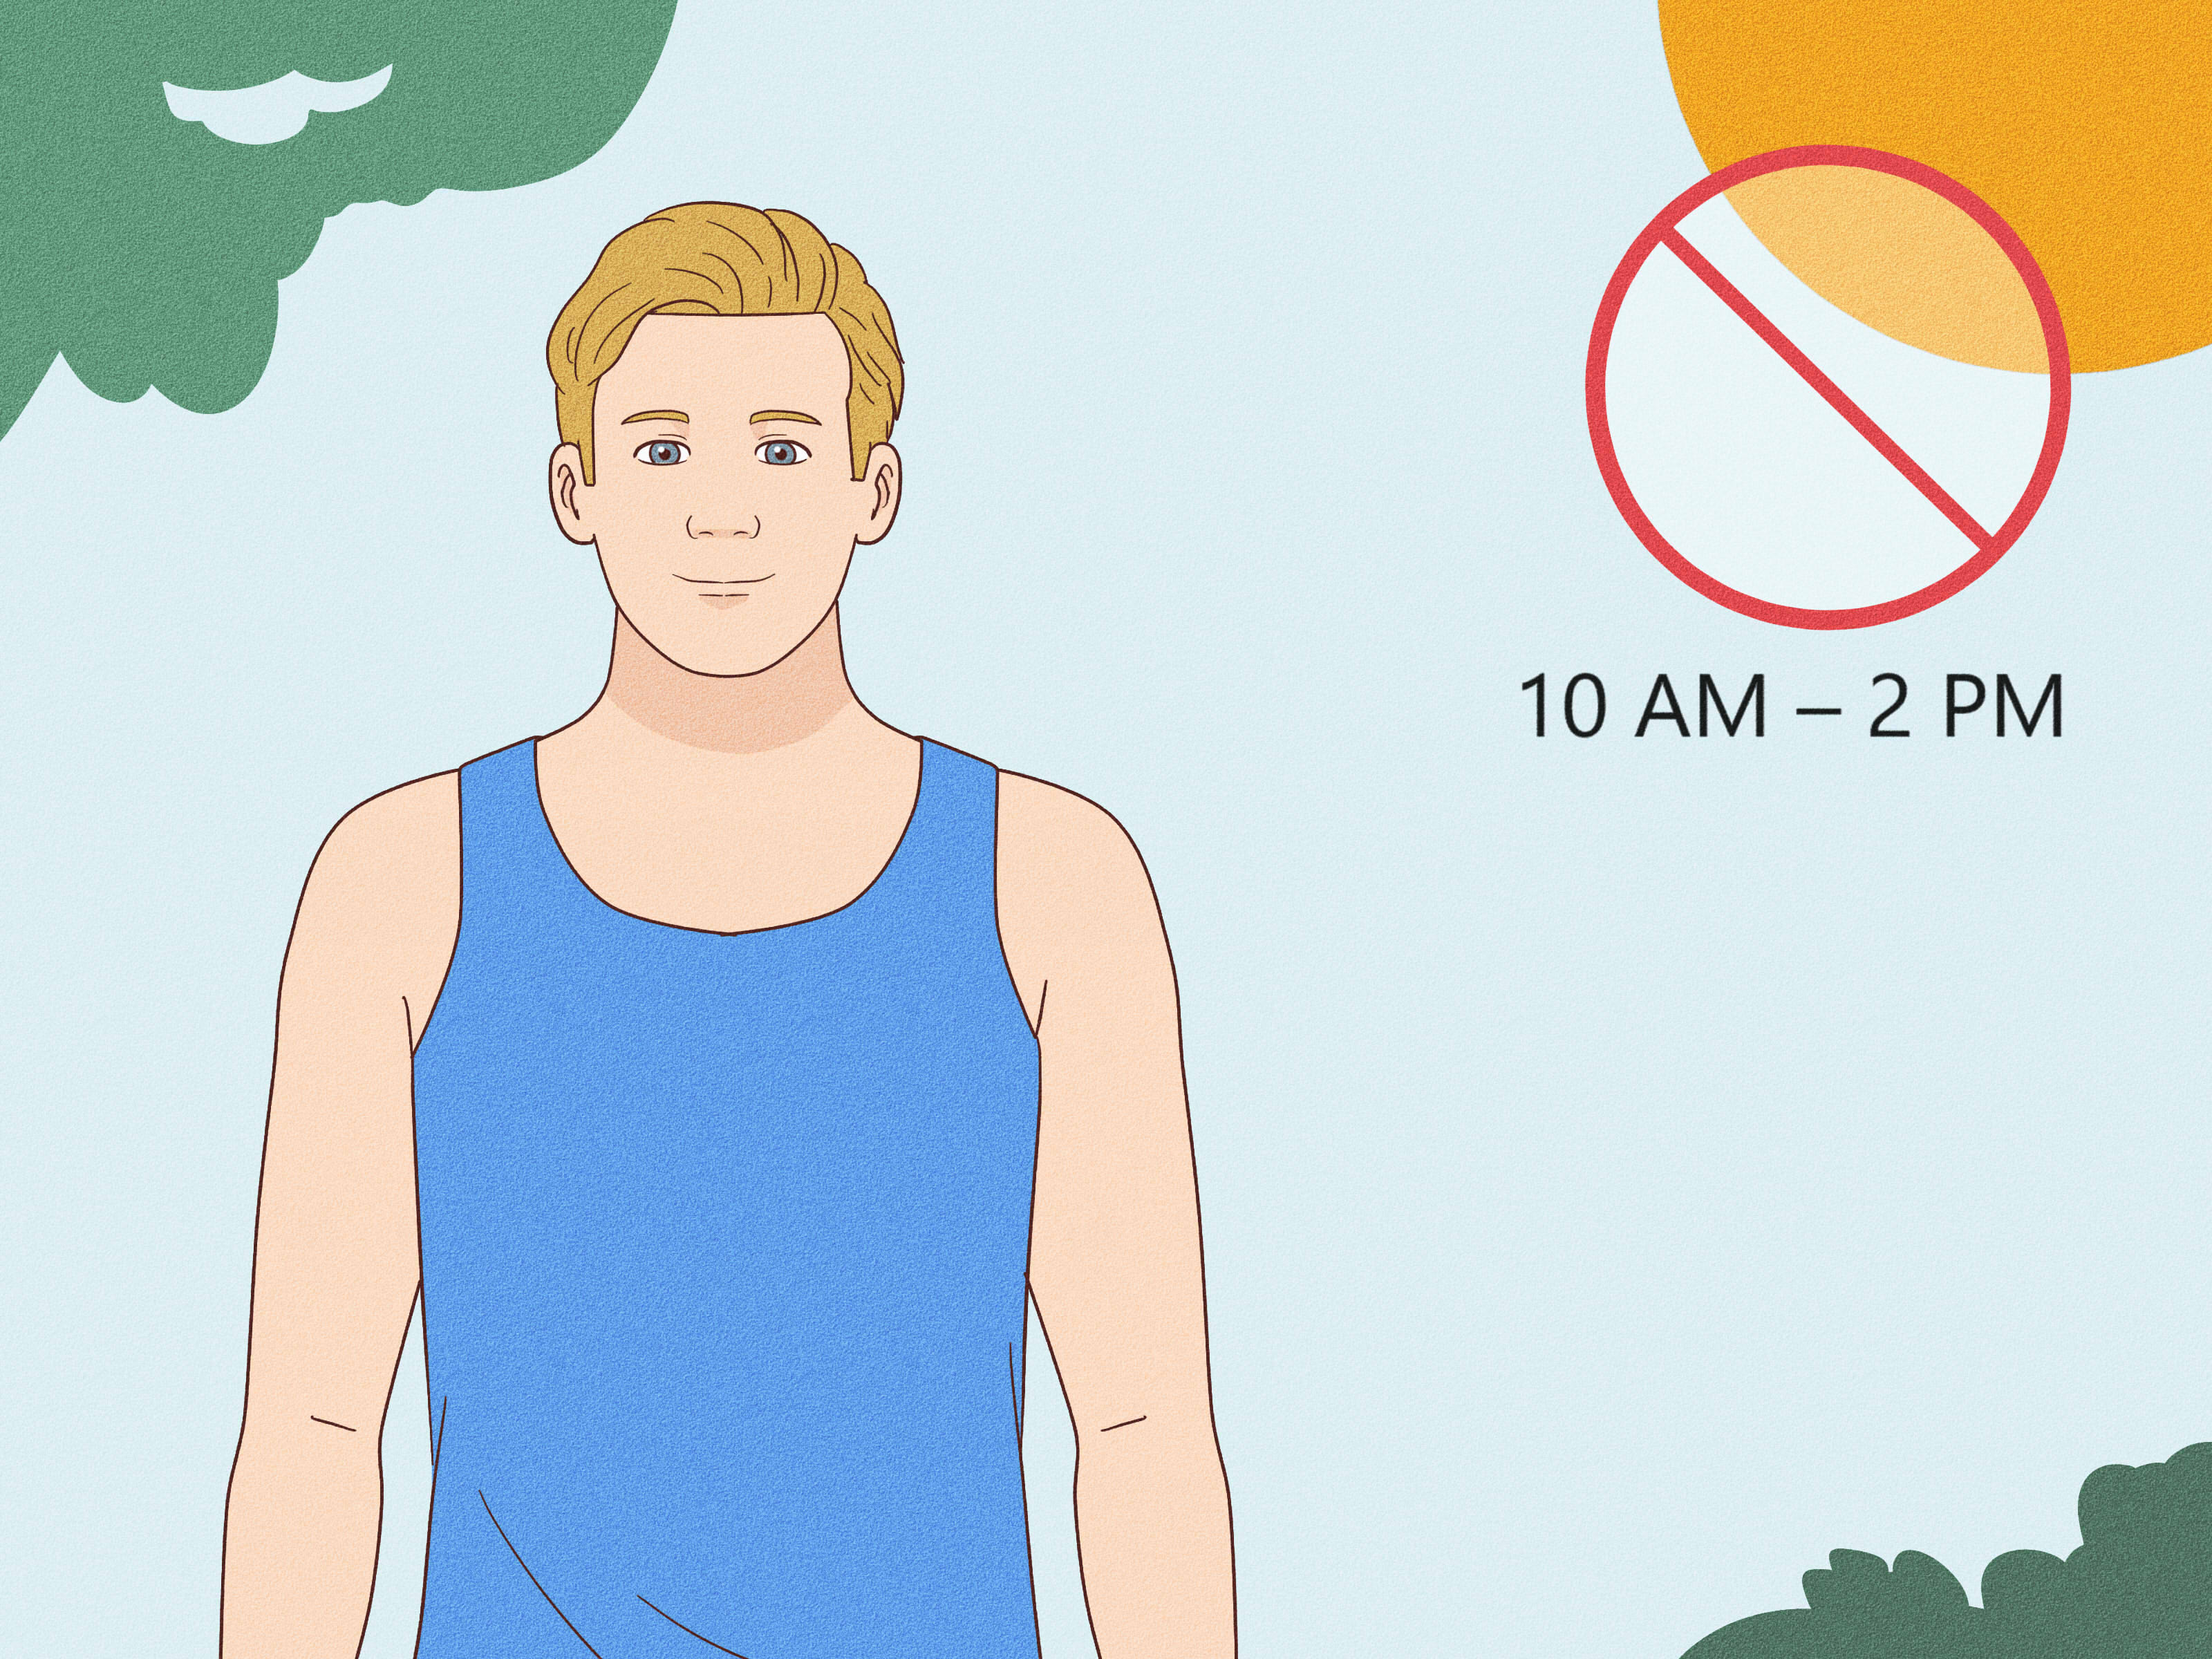
Rotate clothing coverage when practical, seek shade during intense midday sun, and check the UV index before long activities. Remember often-missed areas: ears, back of the neck, shoulders, hands, tops of feet, and the strip between a glove and sleeve. CDC guidance for outdoor workers specifically highlights protective clothing, sunscreen, and regular reapplication.
When Uneven Color Is Not Just a Tan Line
See a board-certified dermatologist if discoloration persists for months despite avoiding UV exposure, changes rapidly, becomes itchy or scaly, forms sharply white patches, or appears without an obvious clothing pattern. Conditions such as vitiligo, fungal infections, post-inflammatory hyperpigmentation, medication-related photosensitivity, and other pigment disorders can resemble uneven tanning. White or unusually light patches deserve evaluation rather than repeated self-tanner experiments.
You should also schedule a skin examination for a new or changing mole, a sore that does not heal, or a spot that changes in size, shape, color, or texture. Cosmetic correction should never hide a lesion that needs medical attention.
A Practical Seven-Day Farmer’s Tan Experience
The following experience-based timeline reflects what many people commonly notice when they use a conservative correction plan. It is not a guarantee, because skin tone, sensitivity, UV exposure, and the depth of the tan all affect the result.
Day 1: Stop the Situation From Escalating
The first day is mostly about restraint. You inspect the line, briefly consider scrubbing it with every exfoliating object in the bathroom, and then make the better decision. If the skin feels warm or tender, use cool water and moisturizer only. If it feels normal, moisturize and apply sunscreen before going outside. For an evening event, blend body makeup over the pale section. The visual improvement can be immediate, although close-up inspection may still reveal the border.
Day 2: Prepare for a Gradual Blend
Assuming there is no burn or irritation, gently buff the lighter area and tan-line edge with a soft washcloth during a short lukewarm shower. The goal is a smooth canvas, not visible skin removal. After drying, apply a small amount of moisturizer to elbows, wrists, and knuckles. In the evening, use one thin layer of gradual self-tanner on the lighter section and feather the remaining product over the line.
Day 3: Evaluate in Daylight
The color may look surprisingly subtle indoors and dramatically different beside a window. Natural light tells the truth with very little concern for your feelings. If the lighter area still needs color, add another thin layer that evening. If it already matches, stop. Overapplication is how a farmer’s tan becomes a patchwork quilt.
Day 4: Focus on Maintenance
Moisturize after showering and protect every exposed area with sunscreen. Avoid a second exfoliation session unless the skin feels completely comfortable. At this point, the contrast often looks softer because the lighter skin has cosmetic color and the darker section is no longer receiving extra UV.
Day 5: Correct Small Details
Look for pale streaks near the inner arm, wrist, ankle, or behind the knee. Use a makeup brush or cotton pad to apply a tiny amount of gradual tanner only where needed. Do not repaint the entire limb because one square inch looks imperfect. Precision usually beats enthusiasm.
Day 6: Let the Skin Rest
Use cleanser, moisturizer, and sunscreennothing exciting. A rest day reduces the chance of irritation and gives the self-tanner time to fade evenly. If the darker side is still significantly deeper, remember that true UV pigment changes gradually. Cosmetic blending can disguise the difference while biology handles the longer project.
Day 7: Review the Result and Adjust
By the end of a week, the farmer’s tan may not be biologically gone, but it should be easier to camouflage and less likely to deepen. Continue gradual self-tanner only as needed, moisturize consistently, and exfoliate no more than once or twice a week. If you return to the same outdoor routine without better protection, the original line will reappear with the confidence of a sequel nobody requested.
Conclusion: Fast Blending, Slow Fading, Better Protection
The quickest safe way to get rid of a farmer’s tan is to separate appearance from biology. For immediate results, blend the lighter skin with body makeup, gradual self-tanner, or a carefully applied spray tan. For lasting improvement, prevent additional UV exposure, moisturize, and exfoliate gently only when the skin is healthy. Avoid intentional tanning, harsh acids, household remedies, and aggressive scrubbing.
An even glow should come from smart color correctionnot from collecting matching sun damage. Protect the skin first, blend second, and give natural pigment time to fade.